1. Uvod
This manual provides detailed instructions for the installation, configuration, and operation of your ASRock X870 Taichi Creator Motherboard. This high-performance ATX motherboard is designed to support AMD Ryzen 9000, 8000, and 7000 Series Processors with an AM5 socket, offering advanced features for creators and enthusiasts.
2. Varnostne informacije
Please read the following safety guidelines carefully before installing or operating your motherboard to prevent damage to the product or injury to yourself.
- Preden se dotaknete kakršnih koli komponent, vedno izključite napajalni kabel iz stenske vtičnice.
- Wear an anti-static wrist strap to prevent electrostatic discharge (ESD) when handling components.
- Zagotovite ustrezno prezračevanje v ohišju računalnika, da preprečite pregrevanje.
- Matično ploščo hranite stran od vlage in ekstremnih temperatur.
- Refer to the CPU and other component manuals for specific installation instructions.
3. Vsebina paketa
Preverite, ali so v paketu z matično ploščo prisotni vsi spodaj navedeni elementi. Če kateri koli element manjka ali je poškodovan, se obrnite na prodajalca.
- Matična plošča ASRock X870 Taichi Creator
- Navodila za hitro namestitev
- Obvestilo o predpisih
- SATA podatkovni kabli
- Wi-Fi antena
- Vijaki in distančniki M.2
- ASRock Graphics Card Holder
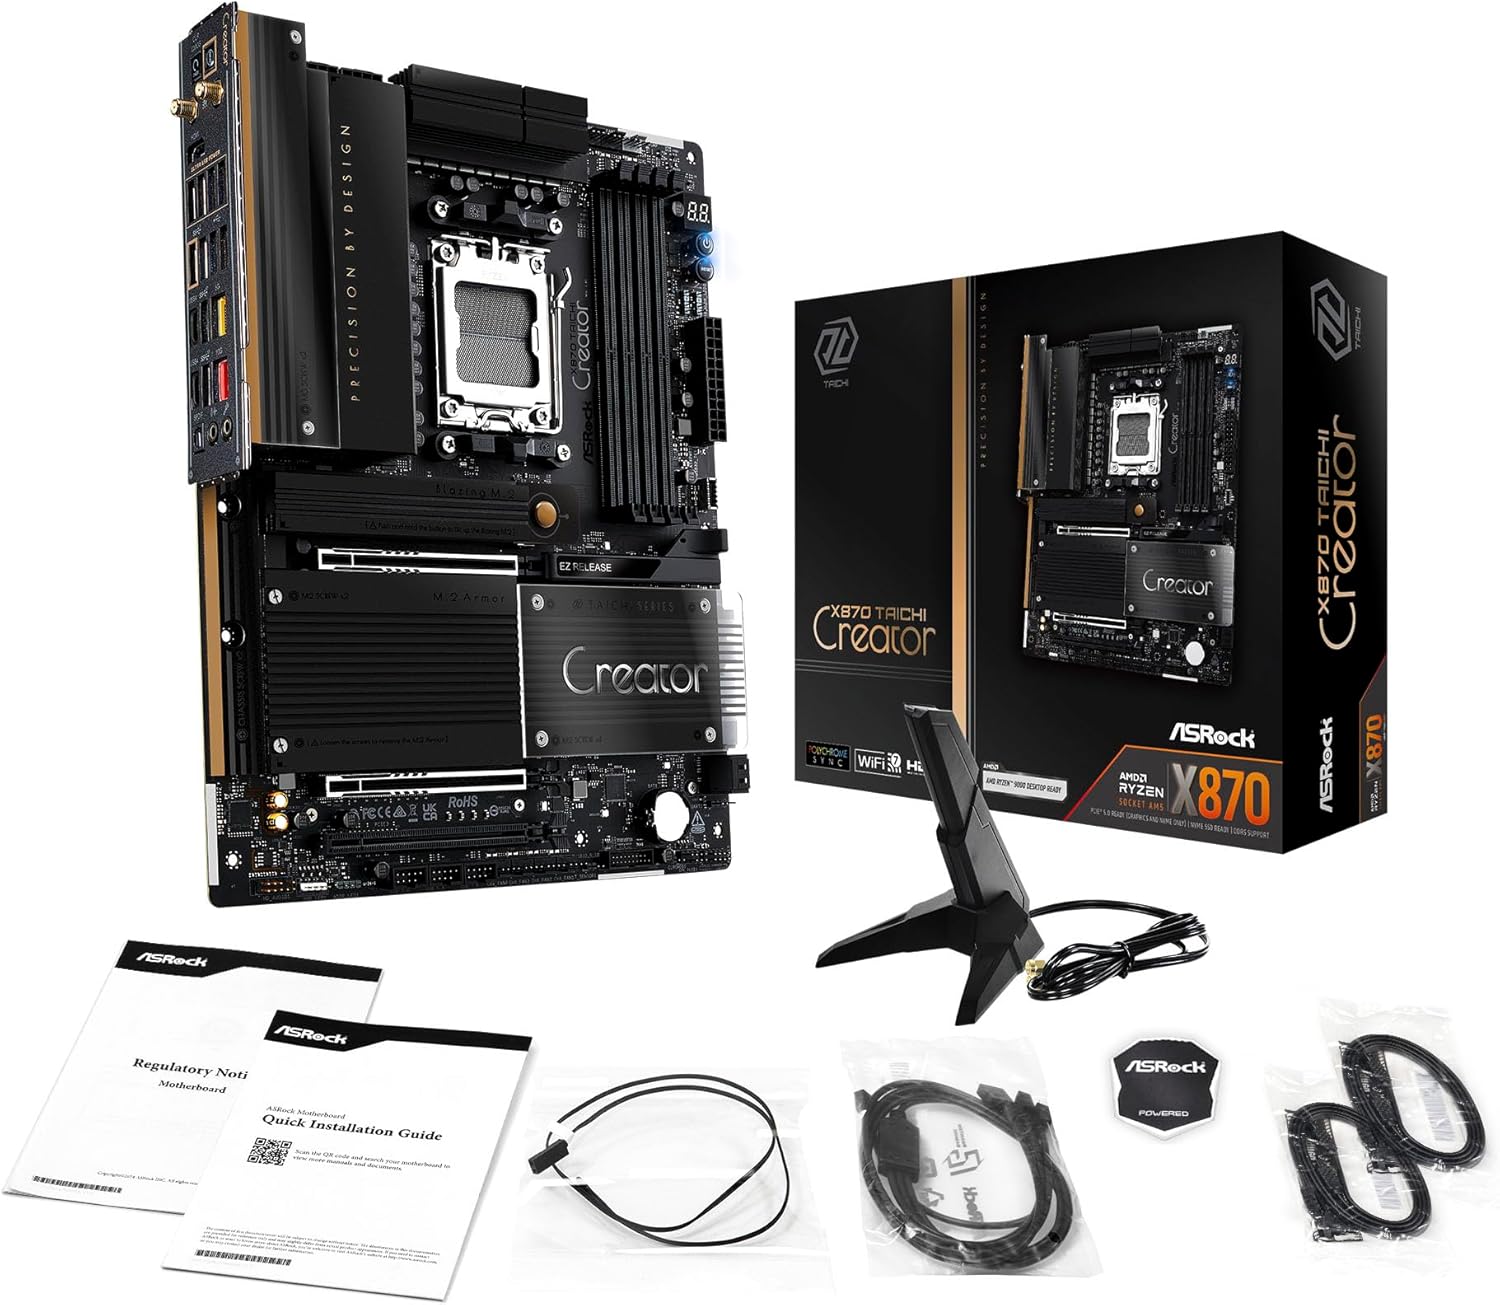
Image: The ASRock X870 Taichi Creator Motherboard shown alongside its retail packaging and various accessories, including cables, documentation, and a graphics card holder.
4. Nastavitev in namestitev
Za pravilno namestitev matične plošče in njenih komponent sledite tem korakom.
4.1. Namestitev procesorja (podnožje AM5)
- Na matični plošči poiščite vtičnico za procesor AM5.
- Gently lift the CPU retention lever.
- Align the triangular mark on your AMD Ryzen processor with the corresponding mark on the socket.
- Carefully place the CPU into the socket without applying force.
- Lower the retention lever until it clicks into place, securing the CPU.

Slika: Pogled od zgoraj navzdol view of the ASRock X870 Taichi Creator Motherboard, highlighting the central AM5 CPU socket and surrounding components like VRMs and RAM slots.
4.2. Namestitev pomnilnika (RAM)
The motherboard supports 4 x DDR5 DIMM slots for dual-channel memory technology.
- Odprite sponke na obeh koncih reže DIMM.
- Poravnajte zarezo na pomnilniškem modulu DDR5 s ključem v reži DIMM.
- Pomnilniški modul trdno vstavite v režo, dokler se sponke ne zaskočijo.
- For dual-channel configuration, refer to your motherboard manual for recommended slot pairing.
4.3. Namestitev naprave za shranjevanje
The motherboard features M.2 slots and SATA3 ports for storage.
4.3.1. Namestitev pogona M.2 SSD
The board includes 1 Ultra M.2 (PCIe Gen3x4), 1 Hyper M.2 (PCIe Gen4x4), and 2 Blazing M.2 (PCIe Gen5x4) slots.
- Locate the desired M.2 slot and remove the M.2 heatsink if present.
- Vstavite pogon M.2 SSD v režo pod kotom 30 stopinj.
- Gently push down the SSD and secure it with the provided M.2 screw or standoff.
- Za optimalno toplotno delovanje ponovno namestite hladilnik M.2.
4.3.2 Namestitev naprave SATA
Connect SATA storage devices (HDDs/SSDs) to the 4 SATA3 ports using SATA data cables.
4.4. Namestitev kartice PCIe
The motherboard provides 2 PCIe 5.0 x16 (x8/x8) slots and 1 PCIe 3.0 x16 slot.
- Select an available PCIe slot.
- Odstranite ustrezni pokrov razširitvene reže z ohišja računalnika.
- Align your PCIe card with the slot and press down firmly until it is seated correctly.
- Kartico pritrdite z vijakom na ohišje računalnika.
4.5. Napajalne povezave
24-pinski napajalni priključek ATX in 8-pinski (ali 4+4-pinski) napajalni priključek CPU iz napajalnika (PSU) priključite na ustrezna vrata na matični plošči.
4.6. Priključki V/I na sprednji plošči in zadnji strani
Connect your PC case's front panel connectors (power button, reset button, USB ports, audio jacks) to the appropriate headers on the motherboard. Connect peripherals to the rear I/O panel.

Slika: Bližnji posnetek view of the rear I/O panel of the ASRock X870 Taichi Creator Motherboard, showing various ports including USB, HDMI, Ethernet, and audio jacks.
5. Navodila za uporabo
5.1. Začetni zagon in nastavitev BIOS-a/UEFI-ja
- Ko sestavite računalnik, priključite monitor, tipkovnico in miško.
- Power on your system. During startup, repeatedly press the Del or F2 tipko za vstop v orodje za nastavitev BIOS/UEFI.
- Configure boot order, enable XMP/EXPO for memory, and adjust other settings as needed.
- Shranite spremembe in zapustite BIOS/UEFI. Sistem se bo znova zagnal.
5.2. Namestitev gonilnika
After installing your operating system, install the necessary drivers for the motherboard components. These can typically be found on the ASRock support website or the included driver CD/USB drive.
- Gonilniki čipov
- LAN Drivers (10Gbps, 5Gbps)
- Wi-Fi 7 + Bluetooth Drivers
- Gonilniki za zvok (Realtek ALC4082)
- Gonilniki USB
6. Vzdrževanje
6.1. Čiščenje
Regularly clean your PC to prevent dust buildup, which can lead to overheating. Use compressed air to remove dust from fans, heatsinks, and other components. Ensure the system is powered off and unplugged before cleaning.
6.2. Posodobitve BIOS-a
Občasno preverite ASRock website for BIOS/UEFI updates. Updates can improve system stability, add support for new CPUs, or fix bugs. Follow the instructions provided by ASRock carefully when performing a BIOS update.
7. Odpravljanje težav
Če naletite na težave, si oglejte naslednje pogoste korake za odpravljanje težav:
- Brez napajanja: Ensure all power cables (24-pin ATX, 8-pin CPU) are securely connected. Check your PSU and wall outlet.
- Brez zaslona: Verify that your monitor is connected to the correct graphics output (dedicated GPU or integrated graphics). Reseat your graphics card and RAM modules.
- Nestabilnost sistema: Check CPU and GPU temperatures. Ensure RAM is properly seated and configured (XMP/EXPO settings). Update drivers and BIOS.
- Ponastavitev BIOS-a: The motherboard features a BIOS Flashback button on the rear I/O panel. This allows you to update the BIOS without a CPU or RAM installed. Refer to the ASRock webza podrobna navodila o uporabi te funkcije.
- Počisti CMOS: If your system fails to boot after changing BIOS settings, you can clear the CMOS to reset BIOS settings to default. Locate the 'CLR CMOS' button or jumper on the motherboard (often near the rear I/O).
8. Specifikacije
| Funkcija | Specifikacija |
|---|---|
| Znamka | ASRock |
| Ime modela | X870 |
| Številka modela artikla | 90-MXBTE0-A0UAYZ |
| CPU vtičnica | Vtičnica AM5 |
| Združljivi procesorji | AMD Ryzen 9000, AMD Ryzen 8000, AMD Ryzen 7000 Series |
| Vrsta čipseta | AMD X870 |
| Tehnologija pomnilnika RAM | DDR5 |
| Pomnilniške reže | 4 x DDR5 DIMM Slots (Dual Channel, up to 8000+(OC), 256GB max) |
| Grafični izhod | 2 x USB4 Type-C (up to 8K 30Hz), 1 x HDMI 2.1 (up to 4K 120Hz) |
| PCIe reže | 2 x PCIe 5.0 x16 (x8/x8), 1 x PCIe 3.0 x16 |
| Shranjevanje | 4 x SATA3, 1 x Ultra M.2 (PCIe Gen3x4), 1 x Hyper M.2 (PCIe Gen4x4), 2 x Blazing M.2 (PCIe Gen5x4) |
| LAN | 10Gbps LAN, 5Gbps LAN |
| Brezžični LAN | 802.11be Wi-Fi 7 + Bluetooth |
| Avdio | Zvočni kodek Realtek ALC4082 7.1-kanalni HD, Nahimic Audio |
| Vrata USB (zadaj) | 2 x USB 2.0, 6 x USB 3.2 Gen1, 2 x USB 3.2 Gen2, 2 x USB4 Type-C |
| Vrata USB (spredaj) | 6 x USB 2.0, 4 x USB 3.2 Gen1, 1 x USB 3.2 Gen2x2 Type-C |
| Faktor oblike | ATX |
| Power Phase Design | 18+2+1 Power Phase, 80A SPS |
9. Informacije o garanciji
ASRock motherboards typically come with a limited manufacturer's warranty. The duration and terms of the warranty may vary by region and retailer. Please retain your proof of purchase for warranty claims. For detailed warranty information, refer to the official ASRock webspletno mesto ali se obrnite na prodajno mesto.
10. Tehnična podpora
For technical assistance, driver downloads, BIOS updates, and further product information, please visit the official ASRock support webspletno mesto:
You may also contact ASRock customer service directly through their webspletno mesto za prilagojeno podporo.


