1. Uvod
This manual provides essential instructions for the safe and efficient operation of your RadioShack Home Projector. Please read this manual thoroughly before using the device and retain it for future reference.
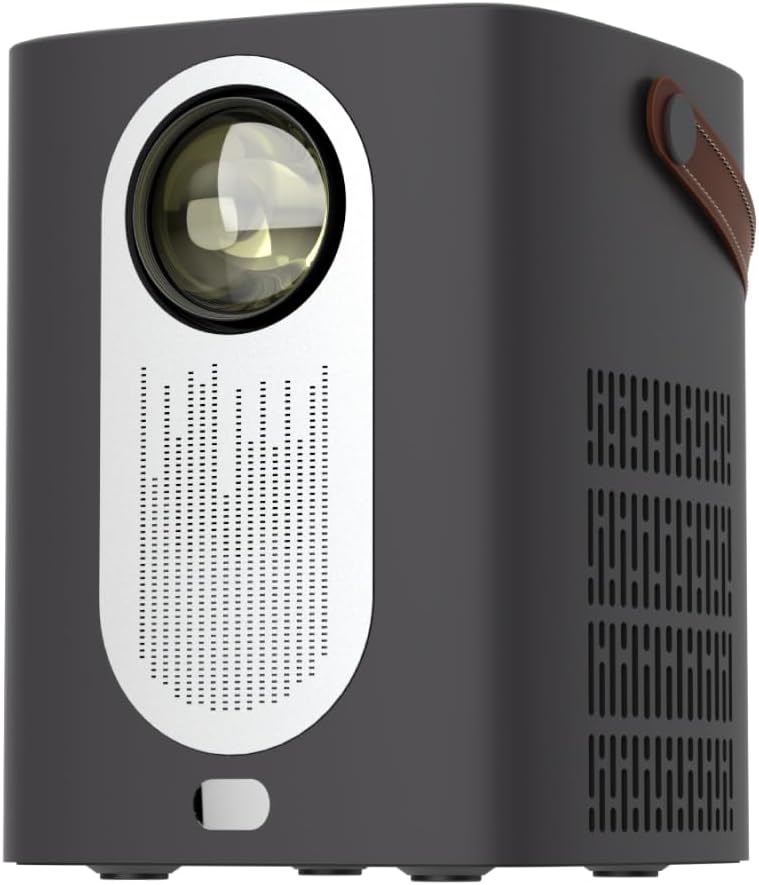
Slika 1.1: Spredaj view of the RadioShack Home Projector, showcasinnjegovo lečo in mrežico zvočnika.
2. Vsebina paketa
Preverite, ali so v paketu prisotni vsi elementi:
- 1 x RadioShack Home Projector
- 1 x daljinski upravljalnik
- 1 x napajalni kabel
- 1 x Uporabniški priročnik (ta dokument)

Image 2.1: Illustration of the package contents, including the projector, remote control, power cable, and user manual.
3. Izdelek je končanview
3.1. Ključne značilnosti
- Zaslon visoke ločljivosti: Supports full HD resolution for clear and detailed images.
- Bright and Long-Lasting: Features impressive brightness and a durable light source.
- Vsestranska povezljivost: Includes Bluetooth, WiFi, Android Miracast, and iOS Cast for streaming.
- Izboljšano Viewing: Digital focus and keystone correction for optimal image alignment.
- Kompakten in prenosen: Lightweight design with a handle for easy transport.
3.2. Vrata in krmilniki
Familiarize yourself with the projector's input/output ports and controls.

Slika 3.1: Zadaj view of the projector showing USB input for media playback, AV input for DVD players, and HDMI input for various devices like video game consoles, streaming sticks, cell phones, tablets, and laptops.

Slika 3.2: Stran view illustrating the compact dimensions (approximately 7 inches tall, 5.3 inches wide) and the integrated leather handle for portability.
4. Navodila za namestitev
4.1. Začetni vklop
- Priključite napajalni kabel na projektor in ustrezno električno vtičnico.
- Press the power button located on the top of the projector or on the remote control to turn on the device. The indicator light will illuminate.
- The RadioShack logo will appear on the projection surface, indicating successful power-on.
Video 4.1: A short demonstration showing the unboxing, connecting the power cable, powering on the projector, and the initial display of the RadioShack logo.
4.2. Umestitev in fokus
- Place the projector on a stable, flat surface, ensuring the lens is unobstructed.
- Adjust the distance from the projection surface (wall or screen) to achieve the desired image size.
- Use the digital focus adjustment (refer to the remote control or on-screen menu) to sharpen the image.
- Utilize keystone correction if the image appears trapezoidal, to achieve a rectangular projection.
5. Navodila za uporabo
5.1. Povezovanje naprav
Projektor podpira več vhodnih virov:
- HDMI: Connect devices such as laptops, gaming consoles, streaming boxes, or Blu-ray players using an HDMI cable. Select HDMI as the input source from the projector's menu.
- USB: Insert a USB drive to play compatible video or audio files. Select USB as the input source.
- OD: Connect older devices like DVD players using an AV cable. Select AV as the input source.
- Bluetooth: Pair with Bluetooth audio devices for wireless sound output.
- WiFi / Casting: Connect to a Wi-Fi network to enable Android Miracast or iOS Cast for screen mirroring from compatible smartphones and tablets.

Image 5.1: A couple enjoying content projected by the RadioShack Home Projector, demonstrating its use in a home cinema setting.
5.2. Funkcije daljinskega upravljalnika
Priloženi daljinski upravljalnik omogoča priročno upravljanje:
- moč: Vklopite/izklopite projektor.
- Vir: Izberite vhodne vire (HDMI, USB, AV itd.).
- Navigacija: Arrow keys to navigate menus, OK button to confirm.
- obseg: Prilagodite raven zvočnega izhoda.
- Fokus/trapezni pomik: Access digital focus and keystone correction settings.

Image 5.2: The RadioShack Home Projector placed on a table next to its remote control, ready for use.
6. Vzdrževanje
- Čiščenje leče: Za nežno brisanje leče projektorja uporabite mehko krpo, ki ne pušča vlaken in je posebej zasnovana za optične leče. Izogibajte se abrazivnim materialom ali močnim kemikalijam.
- Čiščenje zunanjosti: Zunanjost projektorja obrišite z mehko, suho krpo. Tekočih čistil ne uporabljajte neposredno na napravi.
- Prezračevanje: Prepričajte se, da so prezračevalne odprtine projektorja brez prahu in ovir, da preprečite pregrevanje.
- Shranjevanje: Ko projektorja dalj časa ne uporabljate, ga shranite na hladnem in suhem mestu, stran od neposredne sončne svetlobe in ekstremnih temperatur.
7. Odpravljanje težav
| Težava | Možen vzrok | rešitev |
|---|---|---|
| Nobena slika ni prikazana | Power cable disconnected; incorrect input source selected; lens cap on. | Check power connection; select correct input source (HDMI, USB, AV); remove lens cap. |
| Slika je zamegljena | Fokus ni nastavljen; projektor je preblizu/predaleč od platna. | Adjust digital focus; reposition projector for optimal distance. |
| Brez zvoka | Glasnost je prenizka; zunanja zvočna naprava ni priključena/seznanjena; izbran je napačen zvočni izhod. | Increase volume; ensure Bluetooth device is paired or wired audio is connected; check audio output settings. |
| Daljinski upravljalnik ne deluje | Batteries depleted; obstruction between remote and projector. | Replace remote control batteries; ensure clear line of sight to the projector's IR receiver. |
8. Specifikacije
- Znamka: RadioShack
- Model: Home Projector (ASIN: B0DP1GFG9L)
- Ločljivost zaslona: 1280 x 720 (Supports Full HD)
- Tehnologija povezljivosti: AV, HDMI, USB, Bluetooth, WiFi (Android Miracast, iOS Cast)
- Posebne lastnosti: Portable, Digital Focus, Keystone Correction
- Priporočena uporaba: Domači kino
- Dimenzije izdelka: 5.31 x 5.31 x 7.09 palcev
- Teža artikla: 3.91 funtov

Image 8.1: The projector displaying content, highlighting its support for full HD resolution and high-quality sound.
9. Garancija in podpora
For warranty information and technical support, please refer to the official RadioShack webspletno mesto ali se obrnite na njihovo službo za stranke. Shranite račun kot dokazilo o nakupu.
Spletna podpora: www.radioshack.com


