1. Uvod
Thank you for choosing the DYONDER Wired PC Controller. This manual provides essential information for the proper setup, operation, and maintenance of your new game controller. Please read this manual thoroughly before use to ensure optimal performance and longevity of the product.

Image 1.1: Users enjoying the DYONDER Wired PC Controller.
2. Izdelek je končanview in združljivost
The DYONDER Wired PC Controller is designed for a wide range of gaming platforms, offering a reliable and responsive gaming experience. Its plug-and-play functionality ensures quick setup across various systems.
2.1 Široka združljivost
This controller is compatible with Windows operating systems, Vista, PS3 consoles, Android TV boxes, and Tesla systems (Android 4.0 or above with OTG function required for Android devices). No additional drivers are typically needed for basic functionality.

Slika 2.1: Konecview of controller compatibility and key features.
2.2 Ključne lastnosti
- Dual Vibrators: Embedded motors provide distinct feedback, enhancing game immersion.
- Ergonomska oblika: Asymmetrical joystick layout for comfortable thumb positioning during extended play.
- Hall Trigger Buttons: Provides precise and durable trigger input.
- Turbo funkcija: Customize any button for rapid-fire input.
- Žična povezava: 2-meter (6.5 feet) USB cable for stable, lag-free gaming.
Video 2.1: A brief demonstration of the Pink PC Game Controller's design and features.
3. Navodila za nastavitev
3.1 Priključitev krmilnika
- Locate an available USB port on your PC, PS3, Android TV Box, or Tesla system.
- Plug the USB connector of the DYONDER Wired PC Controller into the USB port.
- The system should automatically detect and install the necessary drivers. This process may take a few moments.
- Once installation is complete, the controller is ready for use.
Opomba: For Android TV Boxes or Tesla systems, ensure the device supports OTG (On-The-Go) functionality for USB peripheral connection.
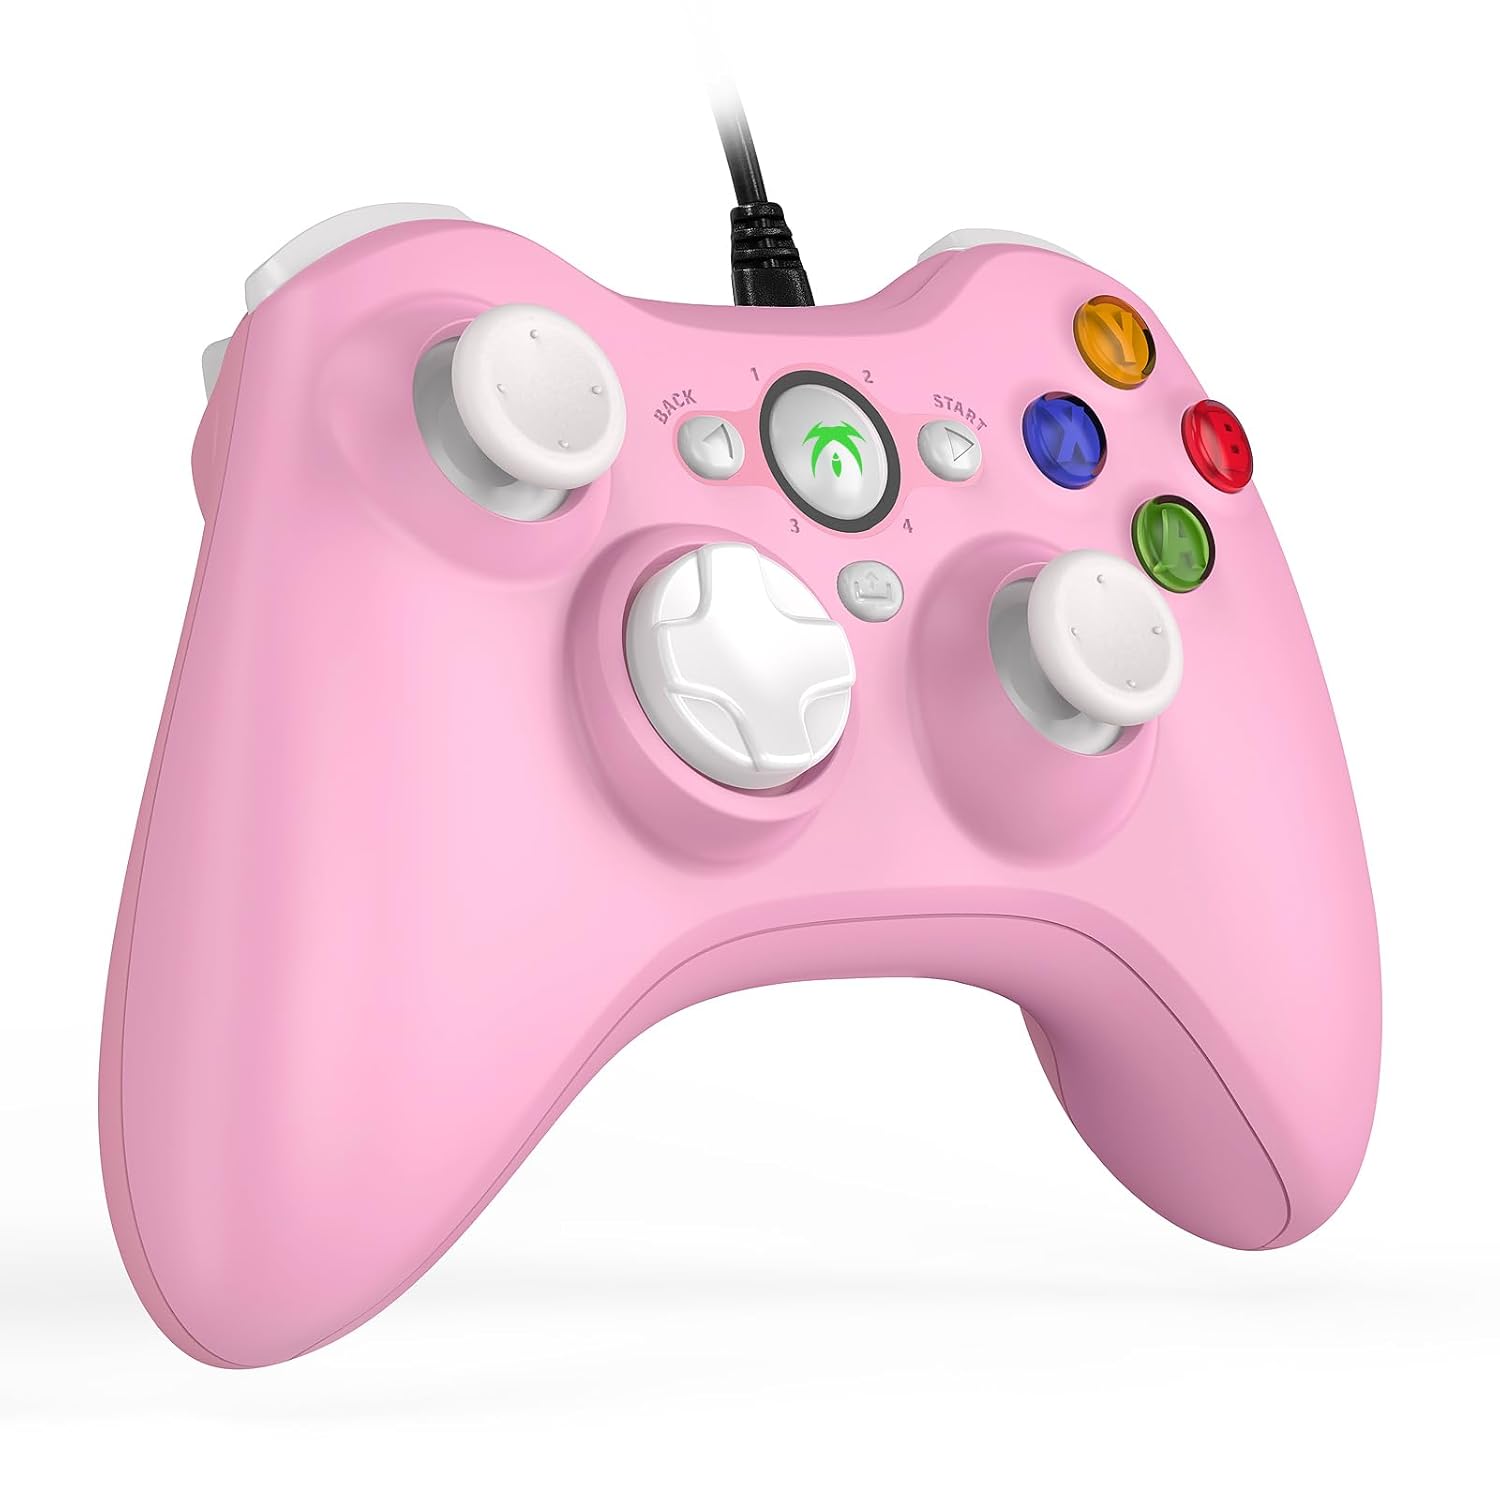
Image 3.1: The DYONDER Wired PC Controller with its USB cable.
4. Navodila za uporabo
4.1 Postavitev gumbov
The controller features a standard layout including two analog sticks, a D-pad, action buttons (A, B, X, Y), shoulder buttons (LB, RB), and triggers (LT, RT), along with Start, Back, and Guide buttons.

Slika 4.1: Spredaj view of the controller highlighting button placement.
4.2 Uporaba funkcije Turbo
The Turbo function allows for rapid, repeated input of a button press without continuous manual pressing. To activate:
- Pritisnite in držite Turbo gumb.
- While holding Turbo, press the desired action button (e.g., A, B, X, Y, LB, RB, LT, RT) you wish to set for rapid fire.
- Release both buttons. The selected action button will now activate its Turbo function.
To deactivate the Turbo function for a specific button, repeat the steps above.

Image 4.2: Location of the Turbo button.
4.3 Dvojna vibracijska povratna informacija
The controller features dual vibration motors that provide tactile feedback during gameplay. This enhances realism by simulating in-game events such as impacts, explosions, or engine rumble. Vibration intensity is typically controlled by the game itself.

Image 4.3: Illustration of the dual vibration mechanism.
4.4 Hall Trigger Buttons
The Hall Trigger buttons utilize magnetic sensors for input, offering greater precision and durability compared to traditional mechanical triggers. This results in smoother and more accurate control, especially in racing or shooting games.

Image 4.4: Detail of a Hall Trigger button.

Image 4.5: Hall Trigger vs. standard trigger comparison.
5. Vzdrževanje
5.1 Čiščenje
- Regularly wipe the controller with a soft, dry cloth to remove dust and grime.
- Za trdovratno umazanijo rahlo dampKrpo sperite z vodo ali blagim, neabrazivnim čistilom. Izogibajte se prekomerni vlagi.
- Ne uporabljajte agresivnih kemikalij, topil ali abrazivnih materialov, saj lahko poškodujejo premaz krmilnika.
5.2 Shranjevanje
- Krmilnik shranjujte na hladnem in suhem mestu, stran od neposredne sončne svetlobe in ekstremnih temperatur.
- Avoid wrapping the cable too tightly around the controller to prevent damage to the wire or connection points.
6. Odpravljanje težav
If you encounter issues with your DYONDER Wired PC Controller, please refer to the following common solutions:
6.1 Krmilnik ni prepoznan
- Preverite povezavo USB: Ensure the USB cable is securely plugged into both the controller and the device. Try a different USB port.
- Znova zaženite napravo: Sometimes, a simple restart of your PC, console, or TV box can resolve connection issues.
- Test na drugi napravi: Če je mogoče, preizkusite krmilnik na drugi združljivi napravi, da ugotovite, ali je težava v krmilniku ali v originalni napravi.
- Posodobite gonilnike: For PC, ensure your operating system's USB drivers are up to date. While typically plug-and-play, system updates can sometimes affect peripheral recognition.
6.2 Gumbi ali igralne palice se ne odzivajo
- Preverite nastavitve igre: Verify that the game you are playing supports controllers and that the input settings are correctly configured.
- Recalibrate (PC): On Windows, you can recalibrate game controllers through the 'Set up USB game controllers' option in the Control Panel.
- Preglejte fizične poškodbe: Check for any visible damage or debris obstructing the buttons or joysticks.
6.3 Vibracije ne delujejo
- Podpora za igre: Preverite, ali igra, ki jo igrate, podpira vibracijske povratne informacije.
- Nastavitve v igri: Check the game's options menu to ensure vibration is enabled.
- Sistemske nastavitve: On some platforms, vibration can be disabled in system-level controller settings.
7. Specifikacije
| Model | B0CNSXM48W |
| Znamka | DYONDER |
| Povezljivost | Žični USB |
| Dolžina kabla | 2 metra (6.5 čevljev) |
| Združljivost | Windows, Vista, PS3, Android TV Box (Android 4.0+ with OTG), Tesla |
| Lastnosti | Dual Vibration, Hall Trigger Buttons, Turbo Function, Ergonomic Design |
| Teža predmeta | 8.8 unč |
| Dimenzije paketa | 6.5 x 5.04 x 2.83 palcev |
8. Garancija in podpora
8.1 Informacije o garanciji
DYONDER products are manufactured with quality and care. For specific warranty details regarding your controller, please refer to the warranty card included with your purchase or visit the official DYONDER webspletnega mesta. Shranite dokazilo o nakupu za uveljavljanje garancije.
8.2 Podpora strankam
If you require further assistance, have questions, or encounter issues not covered in this manual, please contact DYONDER customer support. Contact information can typically be found on the product packaging, the official DYONDER webspletnem mestu ali prek vašega prodajalca.
We are committed to providing excellent service and support for our products.
