Uvod
This manual provides detailed instructions for the setup, operation, and maintenance of your Gioteck SC3 Wireless Pro Controller. Designed for use with Nintendo Switch, PC, and mobile devices, this controller features programmable back buttons, customizable RGB lighting, and changeable magnetic thumb sticks for an enhanced gaming experience.
1. Nastavitev
1.1 Vsebina paketa
- Gioteck SC3 Wireless Pro Controller
- USB polnilni kabel
- Additional Magnetic Thumb Sticks (if included)
- Uporabniški priročnik (ta dokument)
1.2 Polnjenje krmilnika
Before initial use, fully charge the controller. Connect the supplied USB charging cable to the controller's charging port and the other end to a USB power source (e.g., Nintendo Switch dock, PC USB port, or USB wall adapter).
- LED indikator bo pokazal stanje polnjenja.
- Polno polnjenje običajno traja približno 2-3 ure.
Slika: Spodaj view of the Gioteck SC3 controller, highlighting the USB-C charging port located between the two textured grips.
1.3 Združevanje z Nintendo Switch
- V meniju Nintendo Switch HOME izberite Krmilniki, potem Spremenite oprijem/vrstni red.
- On the SC3 controller, press and hold the Gumb za seznanjanje (usually a small button on the top or back) for a few seconds until the LED indicators begin to flash rapidly.
- Once the controller is recognized by the Switch, the player LED(s) on the controller will illuminate solid, indicating successful pairing.
- Pritisnite Gumb za potrditev.
Note: For subsequent uses, the controller should automatically reconnect to the last paired Switch console when powered on.
1.4 Connecting to PC/Mobile (Bluetooth)
- Ensure Bluetooth is enabled on your PC or mobile device.
- On the SC3 controller, press and hold the Gumb za seznanjanje for a few seconds until the LED indicators flash rapidly.
- On your PC/mobile device, navigate to Bluetooth settings and search for new devices.
- Select "Gioteck SC3" or similar from the list of available devices to pair.
- The controller's LED will become solid upon successful connection.
1.5 Installing Magnetic Thumb Sticks
The SC3 controller features changeable magnetic thumb sticks. To replace them:
- Gently pull the existing thumb stick straight up to remove it.
- Align the desired magnetic thumb stick with the base and gently push it down until it snaps into place.

Slika: spredaj view of the Gioteck SC3 controller, showcasing the magnetic thumb sticks and button layout.
2. Navodila za uporabo
2.1 Postavitev gumbov
The SC3 controller features a traditional button layout. Refer to the image below for button identification.

Slika: Nagnjena sprednja stran view of the Gioteck SC3 controller, displaying the full button layout including face buttons, D-pad, analog sticks, and shoulder buttons.
- Leva/desna analogna palica: Za gibanje in nadzor kamere.
- D-pad: Smerni vhod.
- Gumbi A/B/X/Y: Gumbi za dejanja.
- Gumbi L/R/ZL/ZR: Ramenski in sprožilni gumbi.
- Gumbi +/-: Start/Select equivalents.
- Domov gumb: Returns to the console's home menu.
- CaptureButton: Takes screenshots.
2.2 Programabilni gumbi za nazaj
The SC3 controller includes programmable back buttons (M1, M2, M3, M4) for custom assignments.

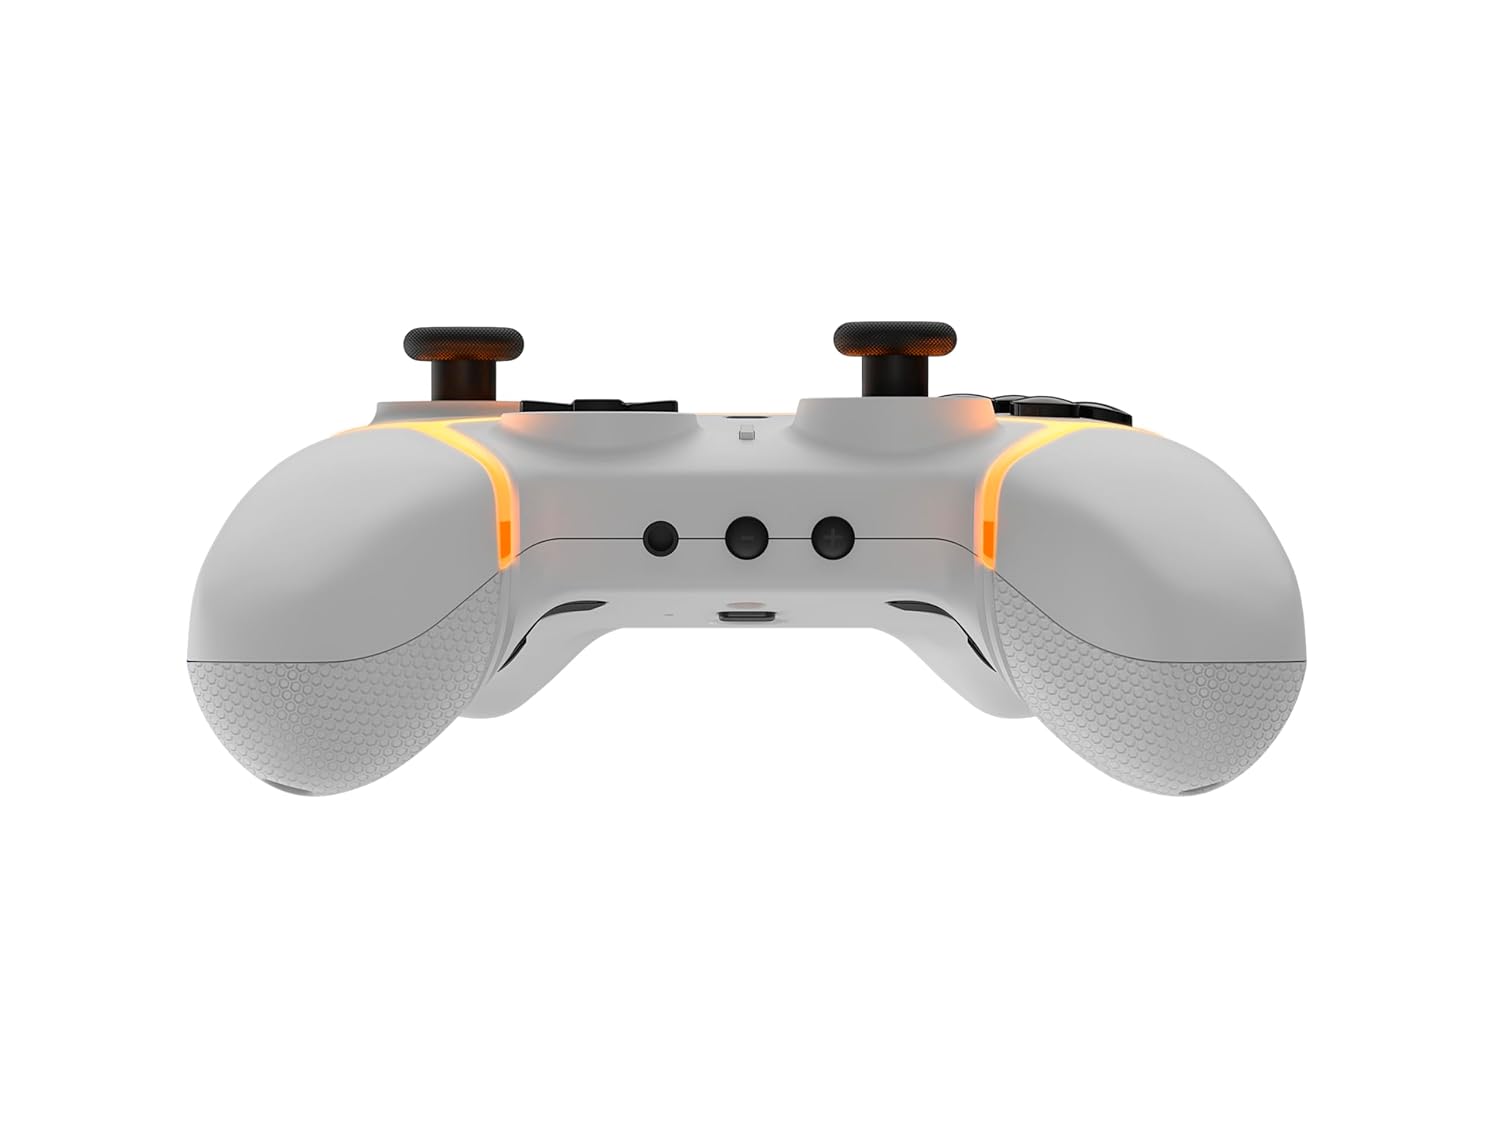
Slika: Zadaj view of the Gioteck SC3 controller, clearly showing the four programmable back buttons (M1, M2, M3, M4) and textured grips.
Koraki programiranja:
- Pritisnite in držite Programski gumb (refer to diagram if available, usually a small button on the back) until the LED indicator flashes.
- Pritisnite Gumb za nazaj (M1, M2, M3, or M4) you wish to program. The LED will flash slowly.
- Pritisnite Gumb za vnos (e.g., A, B, X, Y, L, R, ZL, ZR, D-pad direction) you want to assign to the back button.
- Pritisnite Programski gumb again to save the assignment. The LED will stop flashing.
- Repeat for other back buttons as desired.
To clear a programmed button, follow steps 1-2, then press the Program Button again without pressing an input button.
2.3 Prilagoditev osvetlitve RGB
The controller features customizable RGB lighting. Specific instructions for changing colors or effects are typically found in the product's quick start guide or by pressing a dedicated button combination (e.g., Function + R3).
Consult the quick start guide included with your controller for precise button combinations to adjust RGB lighting.
2.4 Krmilniki gibanja
The SC3 controller supports motion controls, allowing for immersive gameplay in compatible Nintendo Switch titles. No special setup is usually required; motion controls activate automatically when supported by the game.
2.5 Audio Headset Jack
A 3.5mm audio headset jack is located on the controller for connecting compatible headsets. It includes dedicated mute and volume control buttons.
- Povečanje/zmanjšanje glasnosti: Prilagodite zvočni izhod.
- Gumb za izklop zvoka: Mute/unmute microphone input.

Slika: Zgoraj view of the Gioteck SC3 controller, highlighting the 3.5mm audio jack, volume controls, and mute button.
3. Vzdrževanje
3.1 Čiščenje
Za čiščenje krmilnika uporabite mehko, suho krpo. Za trdovratno umazanijo rahlo obrišiteampkrpo sperite z vodo. Izogibajte se uporabi agresivnih kemikalij, abrazivnih čistil ali topil, saj lahko poškodujejo površino krmilnika in notranje komponente.
- Do not immerse the controller in water or any other liquid.
- Pred polnjenjem ali priklopom naprav se prepričajte, da so vsa priključka suha.
3.2 Shranjevanje
Krmilnik shranjujte na hladnem in suhem mestu, stran od neposredne sončne svetlobe in ekstremnih temperatur. Da preprečite poškodbe, na krmilnik ne postavljajte težkih predmetov.
3.3 Skrb za baterije
The controller contains a rechargeable battery. To prolong battery life:
- Izogibajte se pogostemu popolnemu praznjenju baterije.
- Charge the controller regularly, even if not in use for extended periods (e.g., once every 3-6 months).
- Do not expose the controller to temperatures above 60°C (140°F).
4. Odpravljanje težav
4.1 Krmilnik se ne povezuje/seznanja
- Preverite baterijo: Prepričajte se, da je krmilnik dovolj napolnjen.
- Ponovno seznani: Follow the pairing instructions in Section 1.3 or 1.4.
- Motnje: Move closer to the console/device and away from potential sources of wireless interference (e.g., Wi-Fi routers, other Bluetooth devices).
- Ponastavitev krmilnika: Locate a small reset button (often a pinhole) on the back of the controller. Use a paperclip to press and hold it for a few seconds. Then attempt to re-pair.
- Update Console/Device Software: Ensure your Nintendo Switch, PC, or mobile device's operating system is up to date.
4.2 Buttons/Sticks Not Responding
- Ponovna sinhronizacija: Odklopite in ponovno priklopite krmilnik.
- Čisto: Prepričajte se, da okoli gumbov ali palčk ni umazanije.
- Test in another game/menu: Determine if the issue is specific to a game or system-wide.
- Ponastavitev krmilnika: Perform a hard reset as described above.
4.3 Upravljanje gibanja ne deluje
- Združljivost igre: Verify that the game you are playing supports motion controls.
- Ponovno umeri: On Nintendo Switch, you can recalibrate motion controls in the system settings.
- Ponastavitev krmilnika: Izvedite strojno ponastavitev.
5. Specifikacije
| Model: | Gioteck SC3 Wireless Pro Controller |
| Združljivost: | Nintendo Switch (Original, Lite, OLED), PC, Mobile Devices |
| Povezljivost: | Brezžični Bluetooth |
| Dimenzije (pribl.): | 2.87 x 5.35 x 6.34 palcev (7.29 x 13.59 x 16.1 cm) |
| Teža (pribl.): | 10.6 unče (300 gramov) |
| Zvočni priključek: | 3.5mm with mute and volume controls |
| Posebne lastnosti: | Programmable back buttons, Magnetic thumb sticks, RGB lighting, Motion controls |
6. Informacije o garanciji
The Gioteck SC3 Wireless Pro Controller comes with a manufacturer's warranty. For specific details regarding warranty coverage, duration, and claims process, please refer to the warranty card included with your product or visit the official Gioteck webmesto.
Prosimo, shranite dokazilo o nakupu za namene garancije.
7. Podpora strankam
If you encounter any issues or have questions not covered in this manual, please contact Gioteck customer support. Contact information can typically be found on the product packaging or the official Gioteck webmesto.
Gioteck Official Webspletno mesto: www.gioteck.com


