1. Uvod
This manual provides essential information for the proper installation, configuration, and operation of your Hikvision Turbo HD DVR 8-Channel, model DS-7108HGHI-K1(S). Please read this manual thoroughly before using the device to ensure safe and efficient operation. Keep this manual for future reference.
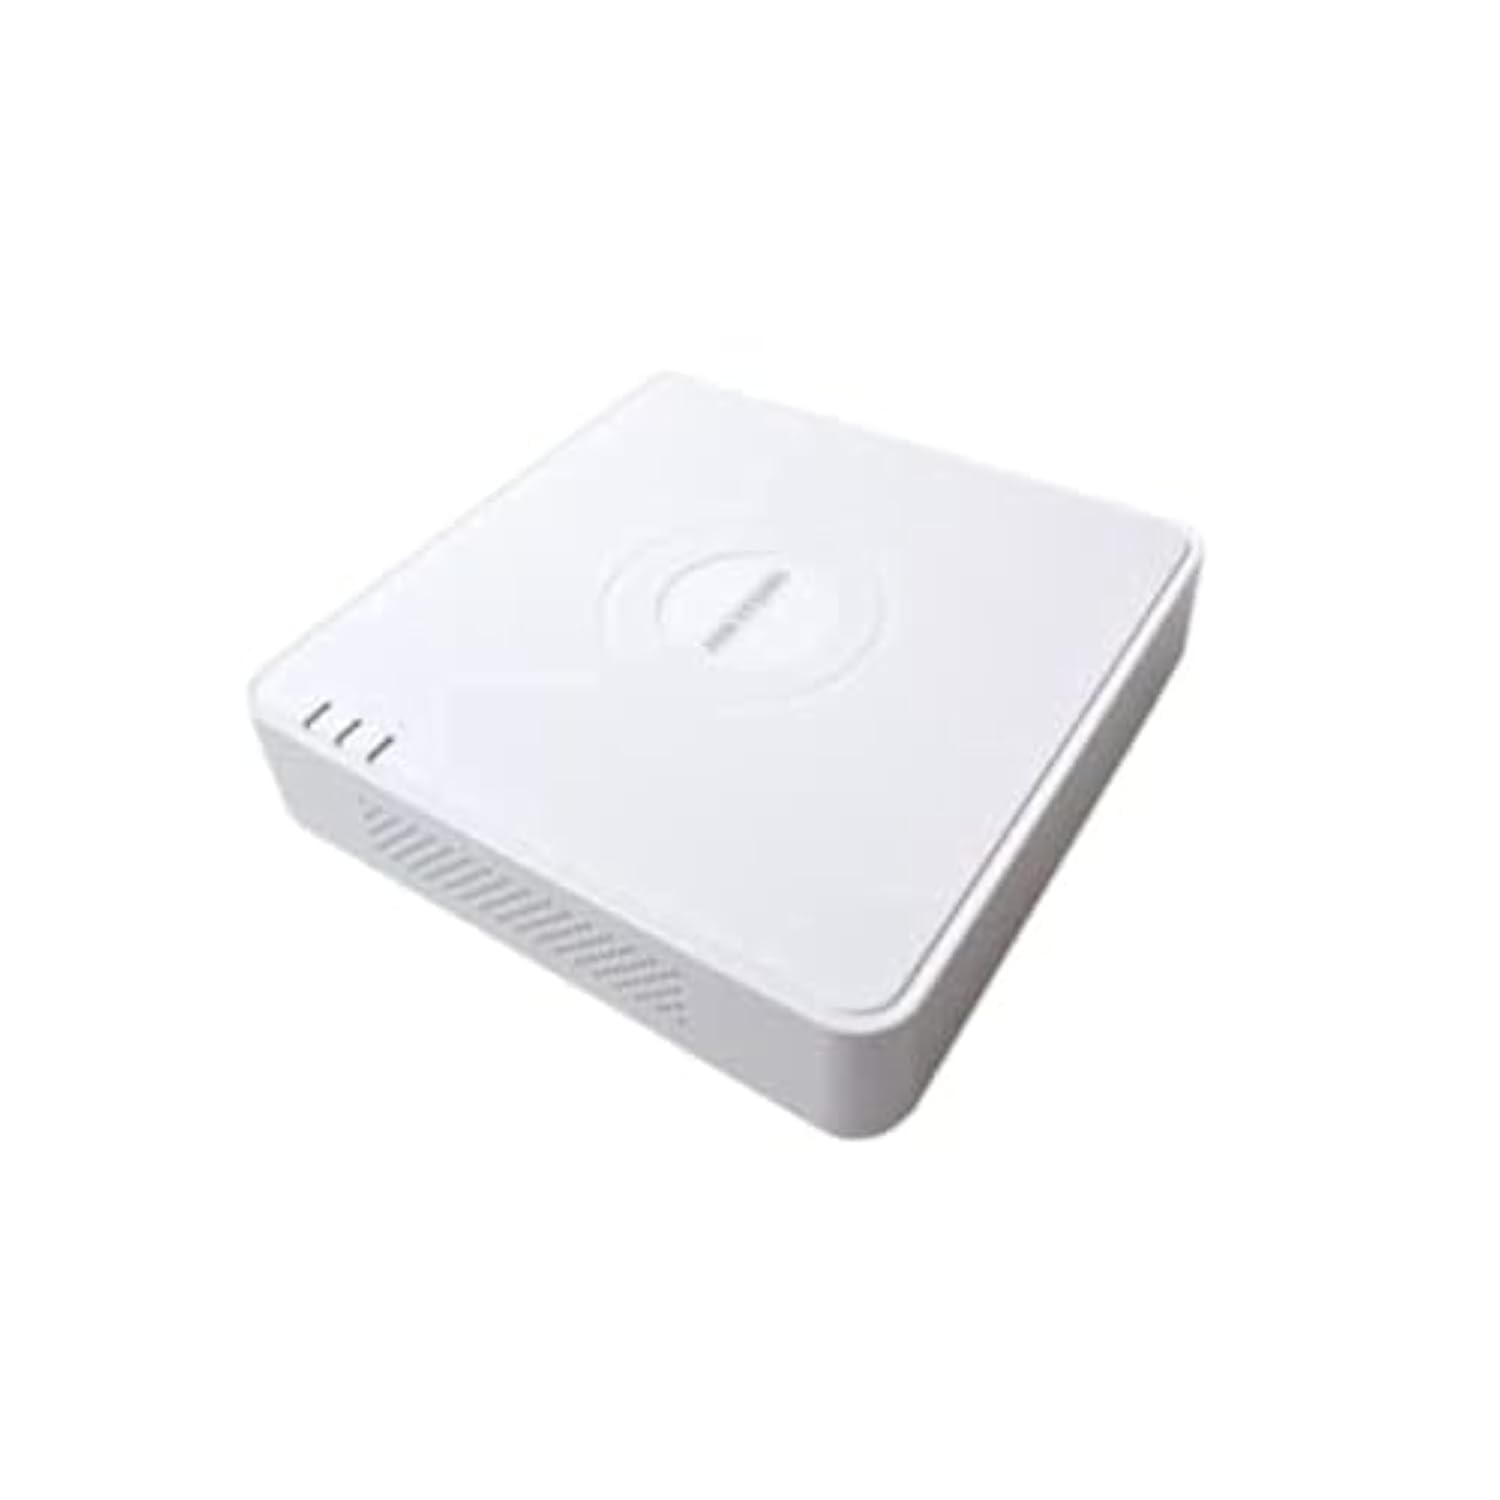
This image shows the Hikvision Turbo HD DVR unit from a front-side perspective, highlighting its compact design, ventilation grilles, and status indicator lights.
2. Značilnosti izdelka
- High-definition 8-channel Turbo HD DVR
- Supports audio transmission over coaxial cable
- Equipped with one SATA interface for storage
- Trpežna plastika casing for protection
- Video encoding capabilities up to 1080p Lite at 15 frames per second
- Advanced video compression: H.265 Pro+/H.265 Pro/H.265
3. Navodila za namestitev
3.1 Razpakiranje in pregled
Previdno razpakirajte DVR in vso dodatno opremo. Preverite, ali so vse komponente prisotne in nepoškodovane. Če kateri koli del manjka ali je poškodovan, se nemudoma obrnite na dobavitelja.
3.2 Priključitev DVR-ja
- Priključite trdi disk (če ni vnaprej nameščen): Odprite DVR casing, connect the SATA data and power cables to the hard drive, and secure the drive.
- Povežite kamere: Connect your Turbo HD cameras to the BNC video input ports on the rear panel.
- Povežite monitor: Use an HDMI or VGA cable to connect a monitor to the corresponding output port on the DVR.
- Povežite miško: Priključite miško USB v vrata USB na DVR-ju.
- Poveži omrežje: Connect an Ethernet cable from your router/switch to the LAN port on the DVR for network access and remote viewing.
- Priključite napajanje: Priključite napajalnik na vhod za napajanje DVR-ja in nato na električno vtičnico. DVR se bo samodejno vklopil.
3.3 Začetna konfiguracija
Upon first power-on, the DVR will guide you through an initial setup wizard. This includes setting up a strong password, configuring network settings, and initializing the hard drive. Follow the on-screen prompts to complete the setup.
4. Navodila za uporabo
4.1 V živo View
Po začetni nastavitvi bo DVR prikazal sliko v živo view z vseh priključenih kamer na monitorju. Preklapljate lahko med eno kamero view in mreža z več kamerami view z uporabo zaslonskih kontrol ali miške.
4.2 Snemanje
The DVR is typically configured for continuous recording by default. You can access the recording schedule settings via the main menu to customize recording modes (e.g., motion detection, scheduled recording) for each channel.
4.3 Predvajanje
Za ponovnoview posnet footage, navigate to the Playback menu. Select the desired camera(s) and time range. You can use the timeline and playback controls to fast forward, rewind, or pause the video.
4.4 Oddaljeni dostop
Za daljinsko viewing on a mobile device or computer, ensure the DVR is connected to the internet. Download the official Hik-Connect app (or client software) and follow the instructions to add your DVR using its serial number or QR code. This allows you to view live feeds and playback recordings from anywhere with an internet connection.
5. Vzdrževanje
5.1 Redno čiščenje
Keep the DVR clean by wiping its exterior with a soft, dry cloth. Ensure ventilation openings are free from dust and obstructions to prevent overheating.
5.2 Posodobitve vdelane programske opreme
Občasno preverite uradne strani Hikvisiona. website for firmware updates. Keeping your DVR's firmware up-to-date ensures optimal performance, security, and access to new features. Follow the provided instructions carefully when performing updates.
5.3 Varnostno kopiranje podatkov
Redno varnostno kopirajte pomembne videoposnetketage to an external USB drive or network storage. This helps prevent data loss in case of hard drive failure or other unforeseen issues.
6. Odpravljanje težav
6.1 Brez video izhoda
- Check all video cable connections (BNC, HDMI, VGA) to ensure they are secure.
- Preverite, ali je monitor vklopljen in nastavljen na pravilen vhodni vir.
- Ensure cameras are powered and functioning correctly.
6.2 Težave z omrežno povezavo
- Confirm the Ethernet cable is properly connected to both the DVR and the router/switch.
- Check network settings in the DVR menu (IP address, gateway, DNS). Ensure they are correct for your network.
- Znova zaženite usmerjevalnik/stikalo in DVR.
6.3 Težave s snemanjem
- Verify that a hard drive is installed and properly initialized.
- Check the recording schedule and settings for the affected channels.
- Ensure there is sufficient free space on the hard drive.
7. Specifikacije
| Funkcija | Podrobnost |
|---|---|
| Proizvajalec | Hikvision |
| Številka modela | DS-7108HGHI-K1(S) |
| Dimenzije izdelka (Š x D x V) | 10 x 10 x 3 cm (approximate, based on video) |
| Teža predmeta | 1000 gramov (1 kg) |
| Tehnologija povezljivosti | Ethernet |
| Združljive naprave | Kamera |
| Zmogljivost pomnilnika | 4 Terabytes (HDD not included) |
| Velikost trdega diska | 4 Terabytes (Maximum supported) |
| Poraba energije | 17 vatov |
| Število kanalov | 8 |
| Format digitalnega videa | MP4 |
8. Garancija in podpora
For specific warranty terms and conditions, please refer to the documentation provided with your purchase or contact Hikvision directly. Technical support may be available through the Hikvision official webspletno mesto ali vašega pooblaščenega prodajalca.