1. Uvod
This manual provides essential information for the safe and efficient operation of your Reloop RP-7000 MK2 Direct Drive High Torque Turntable. Please read these instructions thoroughly before using the product to ensure proper setup, optimal performance, and longevity of your equipment. Keep this manual for future reference.
2. Varnostna navodila
- Napajanje: Napravo priključite samo na izmenično vtičnico z navedeno glasnostjotage. Prepričajte se, da napajalni kabel ni poškodovan ali stisnjen.
- Vlaga: Do not expose the unit to rain, moisture, or excessive humidity. Avoid placing liquid-filled objects on the turntable.
- Prezračevanje: Zagotovite zadostno prezračevanje okoli enote. Ne blokirajte prezračevalnih odprtin.
- Umestitev: Place the turntable on a stable, level surface away from direct sunlight, heat sources, and strong magnetic fields.
- Čiščenje: Pred čiščenjem izključite napajanje. Uporabite mehko, suho krpo. Izogibajte se tekočim čistilom ali topilom.
- Servisiranje: Ne poskušajte sami servisirati enote. Vsa servisna dela prepustite usposobljenemu osebju.
3. Vsebina paketa
Preverite, ali so v paketu vsi spodaj navedeni predmeti. Če kateri koli predmet manjka ali je poškodovan, se nemudoma obrnite na prodajalca.
- Reloop RP-7000 MK2 Direct Drive High Torque Turntable (x2)
- Zaščitni pokrov (x2)
- Digital Turntable Stylus Scale
- Record Care Solution
- Napajalni kabel
- RCA Cable
- Ozemljitvena žica
- Slipmat
- Protiutež
- Headshell with Cartridge (pre-mounted or separate, depending on region/bundle)

Slika 1: konecview of the Reloop RP-7000 MK2 turntable bundle components.
4. Nastavitev
4.1 Razpakiranje in namestitev
- Previdno vzemite vse komponente iz embalaže. Embalažo shranite za kasnejši transport.
- Place the turntable on a flat, stable, and vibration-free surface. Ensure there is enough space for the dust cover to open fully.
- Attach the dust cover by aligning its hinges with the slots on the turntable's rear.

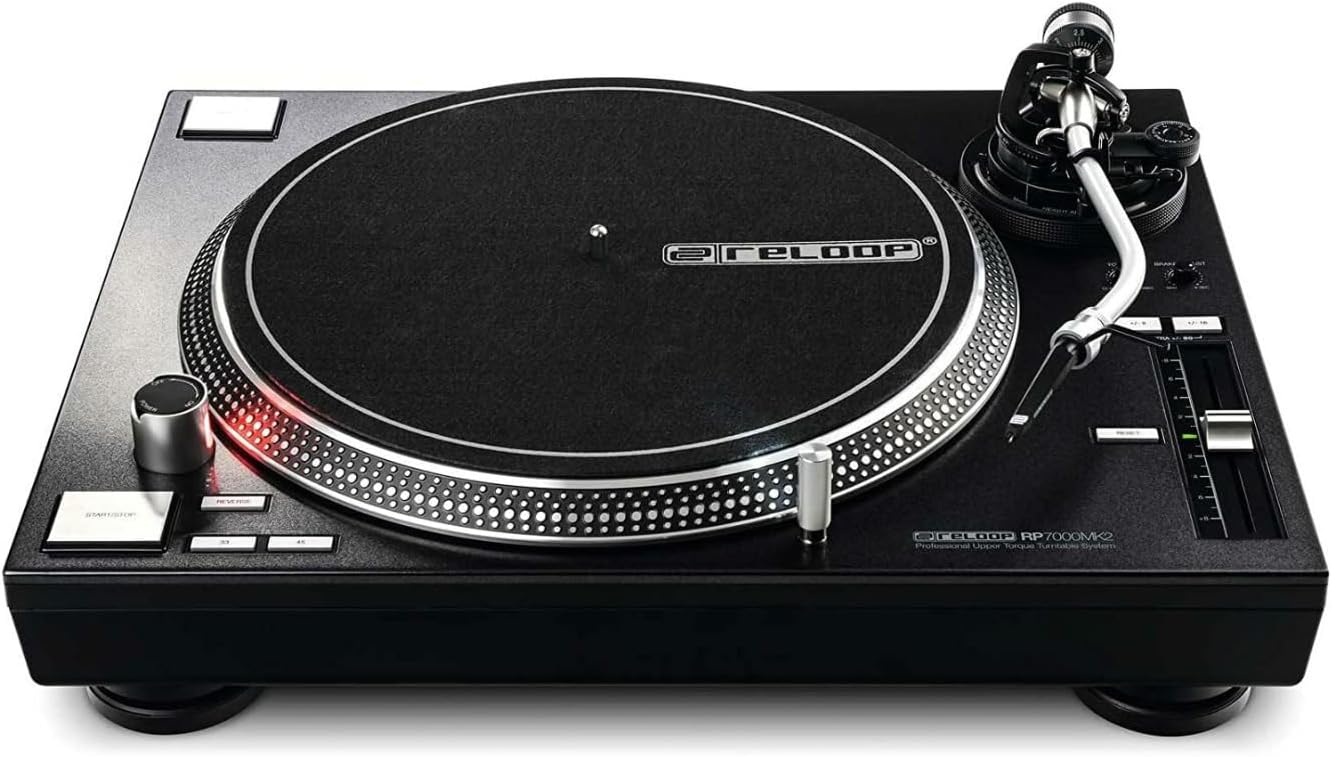
Slika 2: Turntable with the dust cover in place.
4.2 Platter and Slipmat Installation
- Carefully place the platter onto the center spindle. Ensure it sits flush.
- Na pladenj postavite podlogo za hranjenje.
4.3 Nastavitev ročice in kartuše
- If not pre-mounted, attach the headshell with the cartridge to the tonearm. Secure it by turning the locking ring.
- Screw the counterweight onto the rear of the tonearm.
- Uravnotežite ročico tona: Sprostite ročico clamp. Adjust the counterweight until the tonearm is perfectly balanced and floats horizontally.
- Nastavi silo sledenja: Return the tonearm to its rest and clamp it. Rotate the numbered ring on the counterweight to '0' without moving the counterweight itself. Then, rotate the entire counterweight to the recommended tracking force for your cartridge (typically 2-4 grams for DJ cartridges).
- Nastavite protidrsno zaščito: Adjust the anti-skate dial to match the tracking force setting.
4.4 Using the Digital Stylus Scale
The included digital stylus scale allows for precise measurement of your cartridge's tracking force, ensuring optimal sound quality and minimizing record wear.
- Place the stylus scale on the platter.
- Vklopite tehtnico s tipko za vklop.
- Carefully lower the stylus onto the designated measuring point on the scale.
- Read the tracking force displayed. Adjust the tonearm's counterweight as needed until the desired force is achieved.

Slika 3: Digital Stylus Scale for precise tracking force measurement.
4.5 Povezave
- Avdio izhod: Connect the RCA cables from the turntable's audio output to the PHONO input of your mixer or amplifier. If your mixer/amplifier does not have a PHONO input, you will need an external phono preamplifier.
- Ozemljitvena žica: Connect the ground wire from the turntable to the ground terminal on your mixer or amplifier to reduce hum.
- moč: Connect the power cable to the turntable and then to a suitable AC power outlet.
5. Navodila za uporabo
5.1 Osnovno predvajanje
- Postavite ploščo na podlogo.
- Select the appropriate speed (33, 45, or 78 RPM) using the speed selector buttons.
- Pritisnite START/STOP gumb za začetek vrtenja plošče.
- Carefully lift the tonearm using the cueing lever and position the stylus over the desired groove on the record.
- Spustite ročico za nastavitev smeri predvajanja, da nežno namestite pisalo na ploščo.
- Za ustavitev predvajanja dvignite ročico za gramofon s pomočjo ročice za nastavitev smeri predvajanja, jo vrnite na naslon ročice in pritisnite START/STOP gumb.
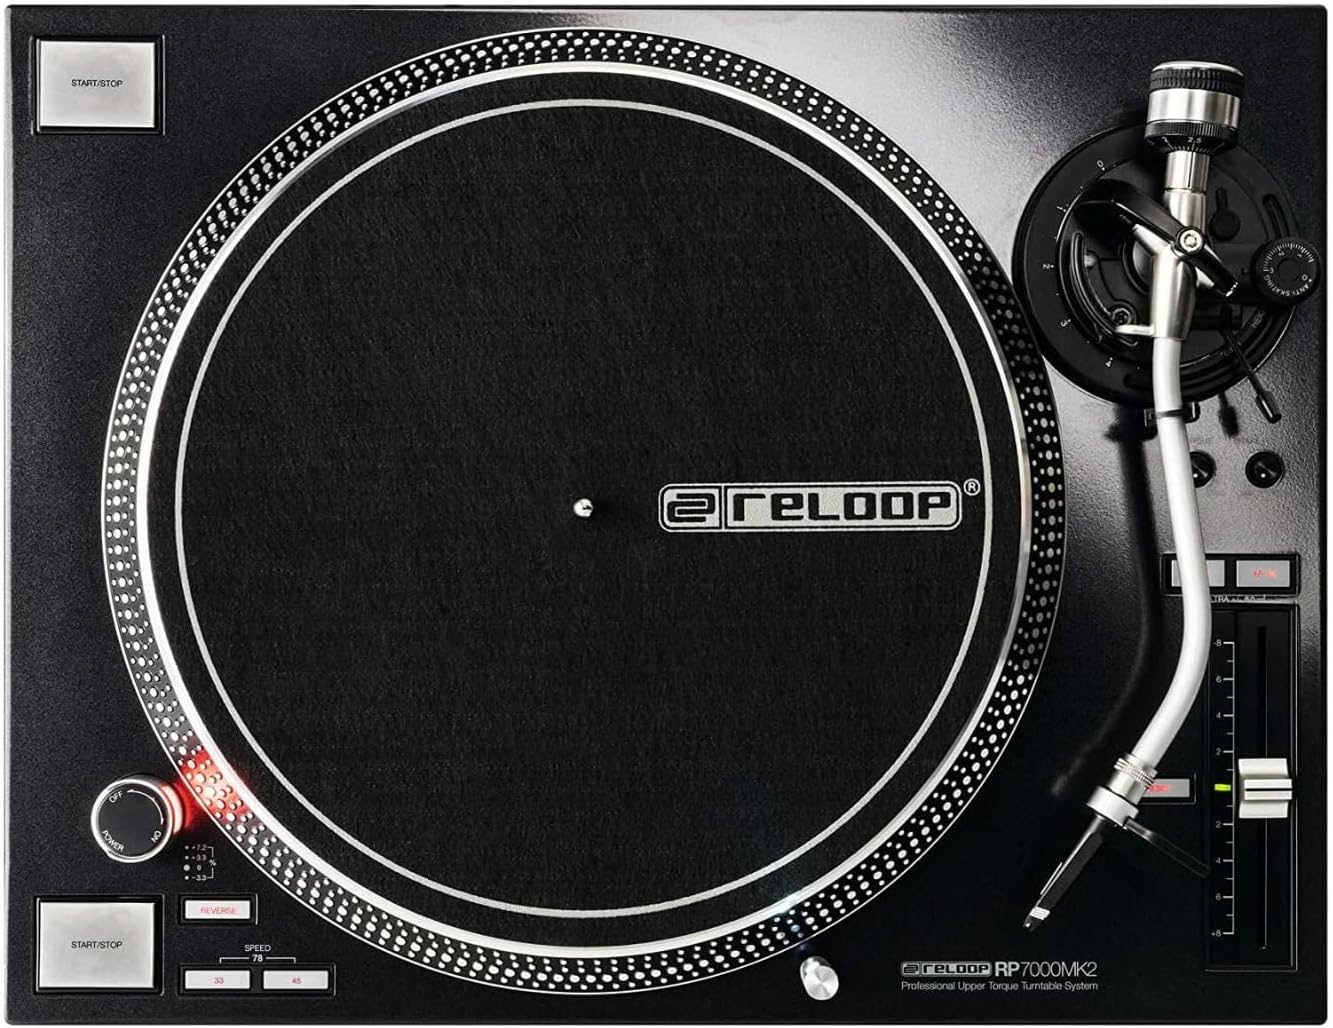
Slika 4: Turntable platter and control layout.
5.2 Pitch Control
The pitch fader allows you to adjust the playback speed (BPM) of the record. Move the fader up or down to increase or decrease the pitch. The pitch range can be selected using the range buttons (e.g., +/- 8%, 16%, 50%).
5.3 Funkcija vzvratne vrtenja
The RP-7000 MK2 features a reverse playback function. Press the REVERZ button to change the direction of platter rotation. Press it again to return to normal playback.
6. Vzdrževanje
6.1 Čiščenje gramofona
- Pred čiščenjem vedno odklopite napajanje.
- Use a soft, dry, lint-free cloth to wipe the surface of the turntable and dust cover.
- Izogibajte se uporabi abrazivnih čistil, topil ali kemičnih razpršil, saj lahko poškodujejo premaz.
6.2 Nega pisala
- Gently brush the stylus from back to front using a soft stylus brush to remove dust and debris.
- Izogibajte se dotikanju pisala s prsti.
6.3 Skrb za zapise
The included record care solution helps maintain the quality of your vinyl records and prolong their lifespan.
- Apply a small amount of record care solution to a clean, soft, lint-free cloth or a dedicated record cleaning brush.
- Gently wipe the record surface in a circular motion, following the grooves.
- Allow the record to dry completely before playing.
Slika 5: Record Care Solution for maintaining vinyl quality.
7. Odpravljanje težav
| Težava | Možen vzrok | rešitev |
|---|---|---|
| Brez moči | Napajalni kabel ni priključen; vtičnica ni aktivna | Check power cable connection; test outlet with another device |
| Brez zvoka ali nizke glasnosti | RCA cables incorrect; no PHONO input; amplifier/mixer settings | Ensure RCA cables are connected to PHONO input; check amplifier/mixer input selection and volume |
| Brenčanje | Ozemljitvena žica ni priključena; motnja | Connect ground wire; move turntable away from other electronic devices |
| Preskakovanje ali popačen zvok | Incorrect tracking force; dirty stylus/record; damaged stylus | Adjust tracking force using stylus scale; clean stylus and record; replace stylus if damaged |
| Pladenj se ne vrti | START/STOP button not pressed; motor issue | Press START/STOP; if problem persists, contact support |
8. Specifikacije
| Funkcija | Podrobnost |
|---|---|
| Ime modela | RP-7000 MK2 |
| Znamka | Reloop |
| Vrsta motorja | Direct Drive DC Motor |
| Posebna funkcija | Visok navor |
| Dimenzije izdelka | 27.9 x 20 x 18.6 palcev |
| Material | Kovina |
| barva | Črna |
| Združljive naprave | Speaker, Headphone, Personal Computer, MP3 Player, Laptop |
| Format signala | Digitalno |
9. Garancija in podpora
Reloop products are designed for reliability and performance. For warranty information, please refer to the warranty card included with your product or visit the official Reloop website. For technical support or service inquiries, please contact your authorized Reloop dealer or distributor.
Proizvajalec: Reloop
Prvič na voljo: 8. julij 2022


