1. Uvod
This manual provides comprehensive instructions for the setup, operation, maintenance, and troubleshooting of your Thomson WHP3001BK UHF Wireless Headphones. Please read this manual thoroughly before using the product to ensure proper function and longevity.
2. Varnostna navodila
- Do not expose the headphones or transmitter to rain, moisture, or extreme temperatures.
- Izogibajte se padcem ali izpostavljanju naprave močnim udarcem.
- Ne poskušajte razstavljati ali spreminjati enote. Vsa servisna dela prepustite usposobljenemu osebju.
- Keep the product away from medical devices that may be affected by radio waves.
- Baterije odvrzite odgovorno v skladu z lokalnimi predpisi.
- Dolgotrajno poslušanje pri visoki glasnosti lahko povzroči poškodbe sluha.
3. Vsebina paketa
Preverite, ali so v paketu prisotni vsi elementi:
- Thomson WHP3001BK Wireless Headphones (1 unit)
- UHF Transmitter/Charging Base (1 unit)
- Audio Connection Cable (3.5mm jack to RCA)
- Napajalni adapter
- Rechargeable AAA NiMH Batteries (2 units, pre-installed or separate)
- Uporabniški priročnik (ta dokument)
4. Izdelek je končanview
Familiarize yourself with the components of your wireless headphone system.
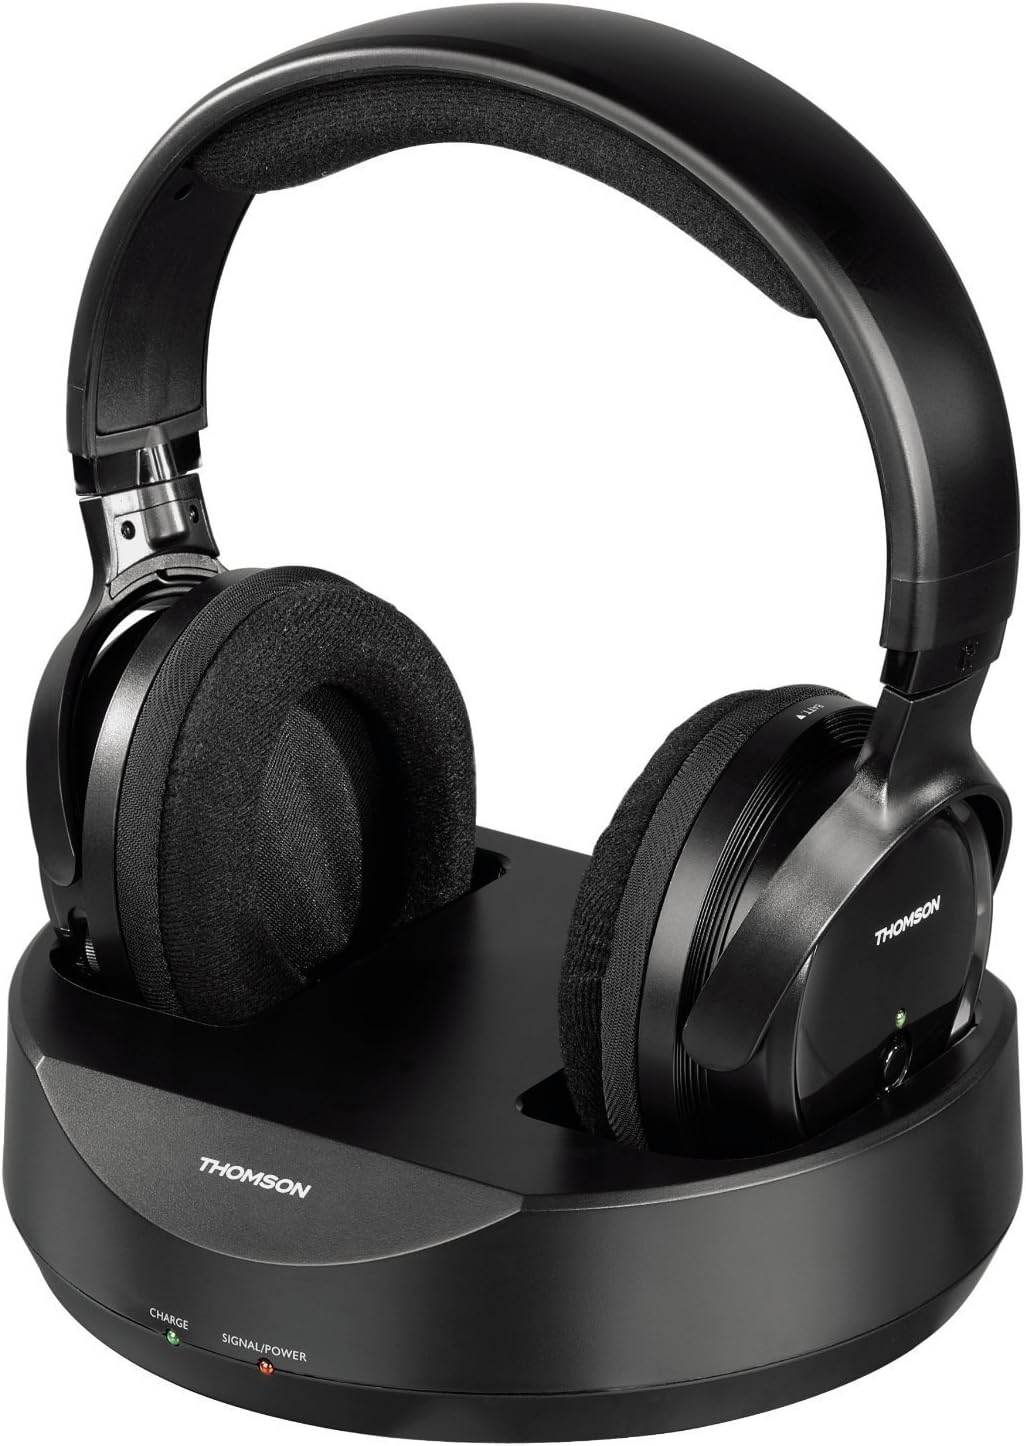
Slika 1: Thomson WHP3001BK Wireless Headphones resting on their charging base. The headphones feature large, padded earcups and an adjustable headband. The base unit includes indicator lights for charge and power status.

Slika 2: Stran view of the Thomson WHP3001BK Wireless Headphones, highlighting the over-ear design and the power button with LED indicator on the right earcup.

Slika 3: Rear panel of the charging base, showing the DC IN port, Audio IN (RCA L/R) ports, and a channel selection switch.

Slika 4: Included audio connection cable, featuring a 3.5mm stereo jack on one end and red/white RCA plugs on the other, for connecting the transmitter to an audio source.
5. Nastavitev
5.1. Polnjenje slušalk
- Connect the power adapter to the DC IN port on the rear of the charging base (Figure 3).
- Plug the power adapter into a wall outlet. The "SIGNAL/POWER" LED on the base should illuminate.
- Place the headphones onto the charging base, ensuring the charging contacts align. The "CHARGE" LED on the base should illuminate, indicating that the headphones are charging.
- Allow approximately 8-10 hours for the initial full charge. Subsequent charges may take less time.
Opomba: The headphones use 2 AAA NiMH rechargeable batteries. Ensure these are correctly inserted if not pre-installed.
5.2. Priključitev oddajnika na avdio vir
The transmitter connects to your audio source (e.g., TV, stereo system, computer) via a 3.5mm jack.
- Identify the audio output port on your source device. This is typically a 3.5mm headphone jack or RCA audio output ports (red and white).
- Using the supplied audio cable (Figure 4), connect the 3.5mm jack end to your source device's headphone output.
- Connect the red and white RCA plugs to the "AUDIO IN" ports on the rear of the charging base (Figure 3).
- If your source device only has RCA outputs, use the RCA ends of the cable for both connections. If your source device has a 3.5mm output, use the 3.5mm end for the source and the RCA ends for the base.
- Ensure the audio source is powered on and playing audio. The "SIGNAL/POWER" LED on the base should turn green when an audio signal is detected.
Pomembno: When connecting to a TV's headphone jack, the TV's internal speakers may be muted. To allow others to hear the TV, consider using an alternative audio output (e.g., RCA audio out, optical out with a converter) if available.
5.3. Initial Pairing and Tuning
- Ensure the transmitter is powered on and receiving an audio signal (green "SIGNAL/POWER" LED).
- Turn on the headphones by pressing the power button on the right earcup. The LED on the headphones will illuminate.
- The headphones feature auto-tuning. They will automatically search for and connect to the strongest signal from the transmitter.
- If you experience interference, you may need to adjust the channel switch on the rear of the transmitter (Figure 3) and allow the headphones to re-tune.
6. Delovanje
6.1. Vklop/izklop
- To power on the headphones, press and hold the power button on the right earcup until the LED illuminates.
- To power off the headphones, press and hold the power button until the LED turns off.
- The transmitter powers on automatically when connected to power and an audio signal is detected. It will enter standby if no signal is present for a period.
6.2. Nadzor glasnosti
- Adjust the volume using the volume control dial located on the headphones.
- For optimal sound quality and to minimize static or hiss, it is recommended to set the volume of your audio source (TV, stereo) to a high level and then adjust the headphone volume to your desired listening level.
6.3. Razpon
The Thomson WHP3001BK headphones offer a wireless range of up to 100 meters in open areas and approximately 20-30 meters indoors, depending on environmental factors and obstacles.
7. Vzdrževanje
7.1. Čiščenje
- Slušalke in oddajnik obrišite z mehko, suho krpo.
- Ne uporabljajte tekočih čistil ali abrazivnih materialov.
7.2. Skrb za baterijo
- Use only the specified NiMH rechargeable AAA batteries.
- Če slušalk ne boste uporabljali dlje časa, odstranite baterije, da preprečite njihovo puščanje.
- Baterije zamenjajte, ko se njihova zmogljivost znatno poslabša.
8. Odpravljanje težav
| Težava | Možen vzrok | rešitev |
|---|---|---|
| Iz slušalk ni zvoka. |
|
|
| Statična motnja ali motnje. |
|
|
| Slušalke se ne polnijo. |
|
|
9. Specifikacije
| Funkcija | Podrobnost |
|---|---|
| Model | WHP3001BK |
| Tehnologija povezljivosti | Wireless (Radio-frequency) |
| Vrsta slušalk | Over-Ear (Circum-Auriculaire) |
| Brezžično Domet | Up to 100m (open area), 20-30m (indoors) |
| Audio Input (Transmitter) | 3.5mm Jack / RCA |
| Posebne lastnosti | Volume control, Auto-tuning |
| Baterije | 2 x AAA NiMH polnilna baterija (priložena) |
| Material | Plastika |
| barva | Črna |
| Teža predmeta | 960 Grams (including packaging/accessories) |
| Proizvajalec | Hama |
10. Garancija in podpora
For warranty information, please refer to the documentation provided at the time of purchase or contact your retailer. For technical support, please visit the official Thomson webali se obrnite na njihov oddelek za pomoč uporabnikom.
Prosimo, shranite dokazilo o nakupu za morebitne garancijske zahtevke.


