
1. Izdelek je končanview
The VEVOR 4.5KW Professional Stud Welder Dent Repair Kit is designed for efficient and reliable automotive body dent removal. This workstation features two welding guns, six operational modes, and a mobile cart design for ease of use in various repair environments. It delivers high instantaneous peak output for strong weld joints, suitable for both minor dings and larger dents.

Image 1.1: The VEVOR 4.5KW Professional Stud Welder Dent Repair Kit, showcasing its compact design and integrated workstation features.
2. Varnostna navodila
Vedno upoštevajte naslednja varnostna navodila, da preprečite poškodbe ali škodo na opremi:
- Wear appropriate personal protective equipment (PPE), including welding gloves, eye protection, and protective clothing.
- Zagotovite, da je delovno območje dobro prezračeno in brez vnetljivih materialov.
- Varilnega aparata ne uporabljajte vamp ali mokrih razmerah.
- Always disconnect the power supply before performing any maintenance or changing accessories.
- Otroke in nepooblaščene osebe držite stran od delovnega območja.
- Preverite napajalno voltage matches the welder's requirements.
- Avoid touching hot parts of the equipment immediately after use.
3. Sestavni deli izdelka
Paket vključuje naslednje elemente:
- 1 x Spot Welder Dent Puller Cart
- 1 x Set of Dent Repair Kit (including various welding and pulling tools)
- 1 x uporabniški priročnik

Slika 3.1: Konecview of the welding and pulling tools included in the dent repair kit.
4. Nastavitev
4.1 Razpakiranje in pregled
- Previdno odstranite vse komponente iz embalaže.
- Preverite vse dele glede morebitnih znakov poškodb med prevozom. Če odkrijete kakršno koli poškodbo, se nemudoma obrnite na podporo strankam.
- Prepričajte se, da so prisotne vse navedene komponente.
4.2 Assembling the Workstation
- Attach the extended push handle to the main unit.
- Secure the padded seat onto the workstation.
- Install the accessory trays on the sides of the unit.
- Ensure the smooth-rolling casters are securely attached and functional for mobility.

Image 4.1: The mobile workstation with its push-pull handle, side tool boxes, and smooth-rolling casters for easy transport and organization.
4.3 Connecting Power and Welding Guns
- Connect the power cord to a suitable electrical outlet (100-120V~ 60Hz for US models).
- Attach the two welding guns to their respective ports on the main unit. Ensure connections are secure.
5. Navodila za uporabo
The VEVOR Stud Welder offers six welding modes and adjustable power levels for versatile dent repair.
5.1 Selecting Welding Mode and Power Level
- Vklopite glavno stikalo.
- Rotate the mode selector knob to choose one of the six functional welding modes (e.g., OT Long Washers, Round Washer, Wavy Wire, Triangle Tab, Hot Pressing, Carbon Rod Heating).
- Use the High/Low power switch to select the appropriate power level for the repair task. 'H' for High (3900A) and 'L' for Low (3500A). This helps reduce burn-through risk or weak welds.

Image 5.1: The control panel showing the mode selector knob and the High/Low power switch for precise operation.

Image 5.2: Visual representation of the six functional welding modes: OT Long Washers, Round Washer, Wavy Wire, Triangle Tab, Hot Pressing, and Carbon Rod Heating.
5.2 Performing Dent Repair
- Clean the dented area thoroughly to ensure good electrical contact.
- Attach the appropriate welding accessory (e.g., stud, washer) to the welding gun.
- Place the tip of the welding accessory firmly against the dented surface.
- Press the trigger on the welding gun to initiate the weld. Hold for a brief moment until a secure weld is formed.
- Use the pulling tools (e.g., slide hammer, pull hooks) to gently pull the dent out.
- Repeat the process as needed, moving across the dented area.
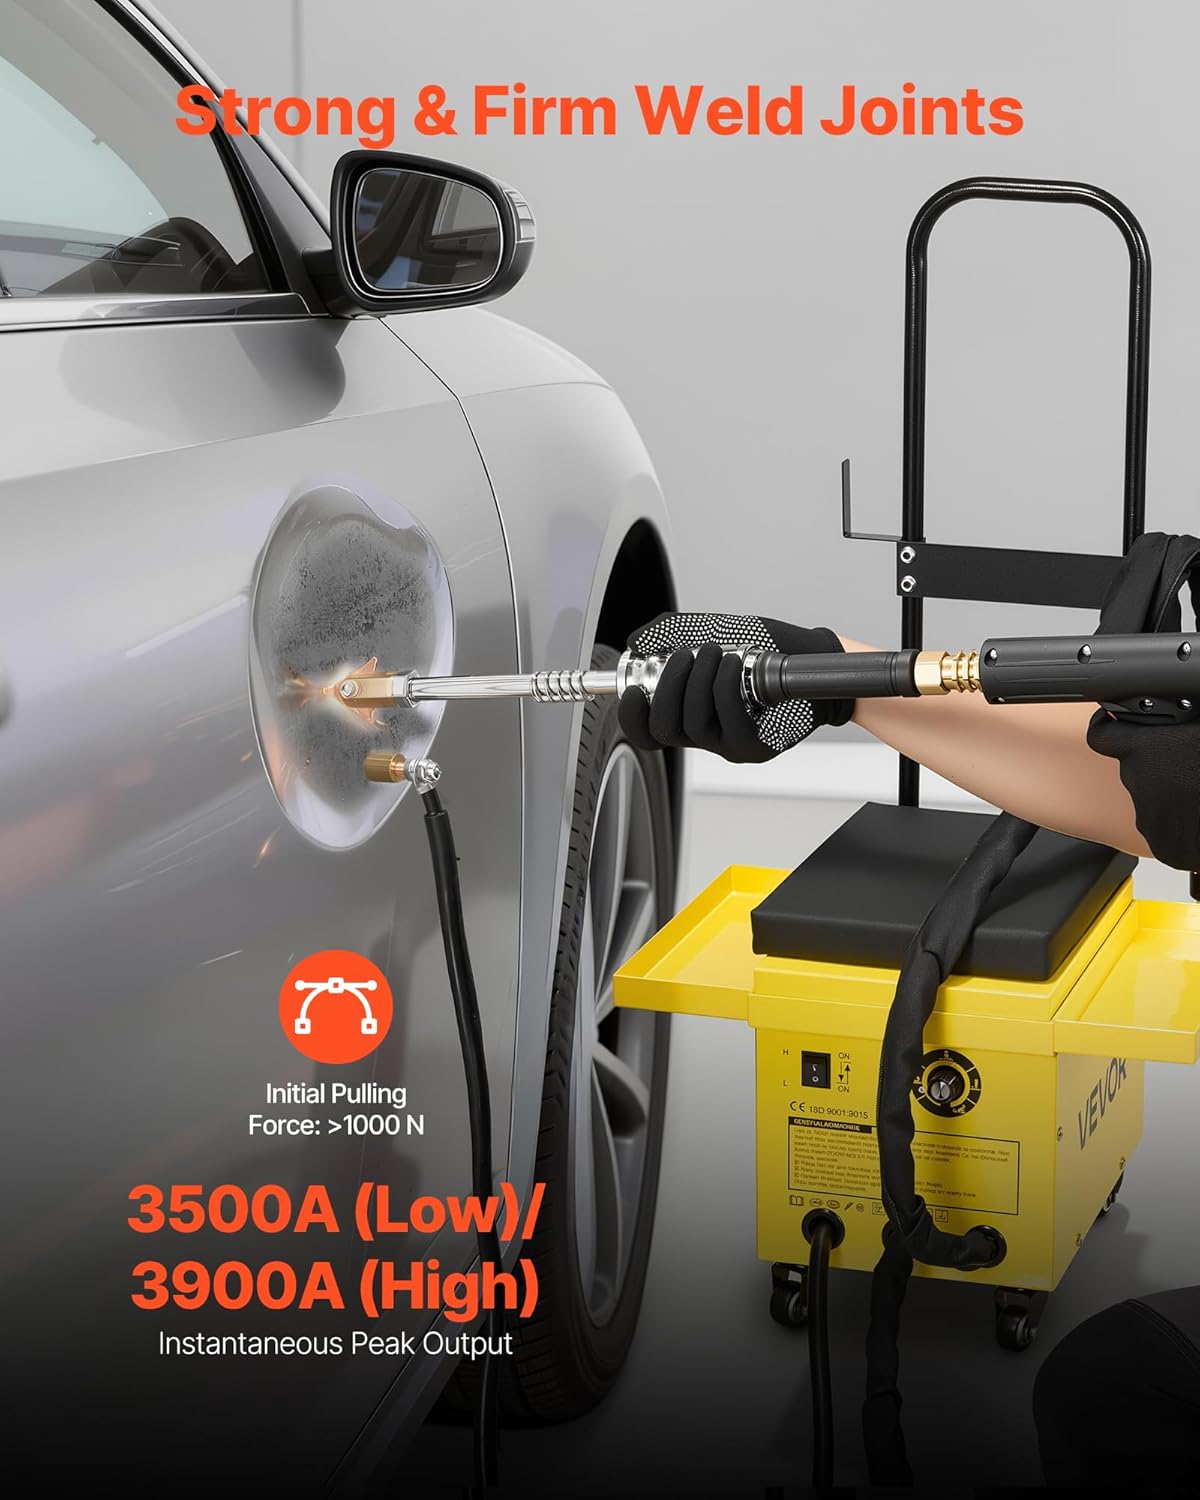
Image 5.3: Demonstrating the stud welding process on a vehicle panel, highlighting the strong and firm weld joints achieved with the unit's peak output.

Image 5.4: The dual welding gun setup allows for fast switching between tools, improving workflow and productivity during various repair steps.
5.3 Uradni videoposnetek izdelka
Video 5.1: An official product video demonstrating the VEVOR Professional Stud Welder Dent Repair Kit in action, showcasing its features and ease of use for various dent repair tasks.
6. Vzdrževanje
Regular maintenance ensures the longevity and optimal performance of your stud welder.
- Čiščenje: Periodically clean the exterior of the unit and the welding guns to remove dust and debris. Use a dry, soft cloth.
- Pregled kabla: Regularly inspect all cables and connections for wear, cuts, or damage. Replace damaged cables immediately.
- Prezračevanje: Ensure the ventilation holes are clear of obstructions to allow for proper heat dissipation. The unit features multiple ventilated holes and automatic shutdown for overheat protection.
- Shranjevanje: Store the unit in a dry, clean environment when not in use. Utilize the side tool boxes for organizing small accessories.

Image 6.1: The unit's ventilated cooling system, designed to ensure stable operation and prevent overheating during heavy loads.
7. Odpravljanje težav
Za pogoste težave in njihove rešitve glejte naslednjo tabelo:
| Težava | Možen vzrok | rešitev |
|---|---|---|
| Varilni aparat se ne vklopi. | Ni napajanja; napajalni kabel poškodovan; pregorela notranja varovalka. | Check power connection and outlet; inspect power cord; consult qualified technician for fuse replacement. |
| Šibki ali neenakomerni zvari. | Incorrect power setting; poor contact with workpiece; dirty workpiece surface; worn welding tip. | Adjust power to 'H' (High); ensure firm contact; clean workpiece; replace welding tip. |
| Enota se pregreje in izklopi. | Blocked ventilation; prolonged continuous use beyond duty cycle. | Clear ventilation openings; allow unit to cool down before resuming operation. |
| Welding gun not firing. | Loose connection; faulty trigger; ground clamp not properly attached. | Check all connections; ensure ground clamp is secure; contact support if trigger is faulty. |
8. Specifikacije
| Funkcija | Specifikacija |
|---|---|
| Številka modela artikla | 7500 |
| voltage (ZDA) | 100-120V~ 60Hz |
| Moč | 4500 W |
| Instantaneous Peak Output | 3500A (Low) / 3900A (High) |
| Varljive kovine | Ogljikovo jeklo, nerjaveče jeklo |
| Neto teža | 62.4 funtov / 28.3 kg |
| Dimenzije izdelka | 37.4 x 19.7 x 16.1 palcev / 950 x 500 x 410 mm |

Image 8.1: Diagram illustrating the key dimensions of the VEVOR Stud Welder Dent Repair Kit.
9. Garancija in podpora
9.1 Informacije o garanciji
This product typically comes with a manufacturer's warranty. Please refer to the warranty card included in your package or visit the official VEVOR website for detailed warranty terms and conditions. Optional protection plans may also be available for extended coverage.
- 2-letni načrt zaščite: Available for one-time purchase.
- Popolna zaščita: Monthly subscription plan covering eligible purchases.
9.2 Podpora strankam
For technical assistance, troubleshooting, or warranty claims, please contact VEVOR customer support through their official webspletno mesto ali kontaktne podatke, navedene v dokumentaciji izdelka. Obiščete lahko tudi Trgovina VEVOR na Amazonu za več informacij.