Uvod
This manual provides detailed instructions for the safe and proper installation, operation, and maintenance of your Perlegear Ultra Slim Full Motion TV Wall Mount, Model PGTVM65B-LF-US. Please read all instructions carefully before beginning installation and keep this manual for future reference.
Varnostne informacije
OPOZORILO: Failure to read and follow all instructions can result in personal injury, property damage, or voiding your warranty. Do not install on drywall alone. Ensure the mounting surface can safely support the combined weight of the mount and your TV.
- Preverite, ali vzorec VESA in teža vašega televizorja ustrezata specifikacijam nosilca.
- Use a stud finder to locate wood studs accurately.
- For concrete or brick walls, use the provided anchors.
- Vedno uporabljajte ustrezno varnostno opremo, vključno z zaščito za oči.
- Za namestitev sta priporočljivi dve osebi.
Vsebina paketa
Please check that all components are present and undamaged before installation. If any parts are missing or defective, contact Perlegear customer support.

Slika 1: Vključene komponente
- Sestavljanje stenske plošče
- TV nosilci (2)
- Hardware Kit (various screws, washers, spacers, anchors)
- Nivo mehurčkov
- Kabelske vezice
- Priročnik za namestitev
Specifikacije
| Funkcija | Specifikacija |
|---|---|
| Številka modela | PGTVM65B-LF-US |
| Združljivost velikosti zaslona | 42 - 90 palcev |
| Največja nosilnost | 132 lbs (60 kg) |
| Združljivost VESA | 200x200 mm do 600x400 mm |
| Vrsta namestitve | Stenski nosilec |
| Vrsta gibanja | Polno gibanje (vrtenje, nagibanje, raztezanje) |
| Kot nagiba | +5° / -15° |
| Zasučni kot | ±45° |
| Prilagoditev ravni | ±3° |
| Podaljšek od stene | Do 15 palcev |
| Profile (Retracted) | 1.1 palcev |
| Material | Legirano jeklo |
Pomembno: Always confirm your TV's VESA pattern and weight before installation.

Figure 2: Universal Compatibility and VESA Patterns

Figure 3: VESA Mounting Reference Position
Nastavitev in namestitev
Pregledi pred namestitvijo
- Preverite vrsto stene: This mount is suitable for wood studs (16" to 24" spacing), solid concrete, and brick walls. NE nameščajte samo na suhomontažne plošče.
- Check TV Weight and VESA: Ensure your TV weighs no more than 132 lbs and has a VESA pattern between 200x200mm and 600x400mm.
- Check Cable Access: Verify that the mount will not block any ports or cable connections on the back of your TV.

Figure 4: Compatible Wall Types and Stud Spacing
Koraki namestitve
Follow these steps carefully for a secure installation. Refer to the included drilling template for precise hole placement.
- Pritrditev nosilcev za TV: Secure the TV brackets to the back of your TV using the appropriate screws, washers, and spacers from the hardware kit. Ensure the brackets are centered and level.
- Označite lokacije vrtanja: Position the wall plate assembly on the wall at your desired height. Use the integrated bubble level to ensure it is perfectly horizontal. Mark the drilling points through the holes on the wall plate.
- Vrtanje pilotnih lukenj:
- Za Leseni čepi: Drill pilot holes using a 7/32" (5.5mm) drill bit.
- Za Solid Concrete/Brick Walls: Drill pilot holes using a 3/8" (10mm) masonry drill bit. Insert wall anchors into these holes.
- Stenska plošča za montažo: Attach the wall plate assembly to the wall using the lag bolts and washers. Tighten all bolts securely.
- Obesite TV: Carefully lift your TV with the attached brackets and hook it onto the wall plate. Ensure the TV is securely seated on the mount.
- Pritrdite televizor za montažo: Use the safety screws or locking mechanisms on the TV brackets to prevent the TV from accidentally lifting off the wall plate.
Video vodnik za namestitev
Video 1: General Installation Guide for Perlegear TV Mounts. This video demonstrates the steps for mounting the TV bracket to the TV and securing the wall plate to various wall types, followed by hanging the TV.
Operating Instructions (Adjustments)
This full-motion TV mount allows for various adjustments to achieve optimal viewing kotov.
- Razširitev: Gently pull the TV away from the wall to extend the arms up to 15 inches.
- Vrtljiva: Pivot the TV left or right up to ±45° to adjust the horizontal viewvhodni kot.
- Nagib: Loosen the tilt knobs on the TV brackets, adjust the screen to your desired vertical angle (+5° up / -15° down), and then re-tighten the knobs to secure the position. This helps reduce glare.
- Prilagoditev ravni: After installation, you can fine-tune the TV's level by rotating it up to ±3°.

Slika 5: Nastavljivo Viewing kotov
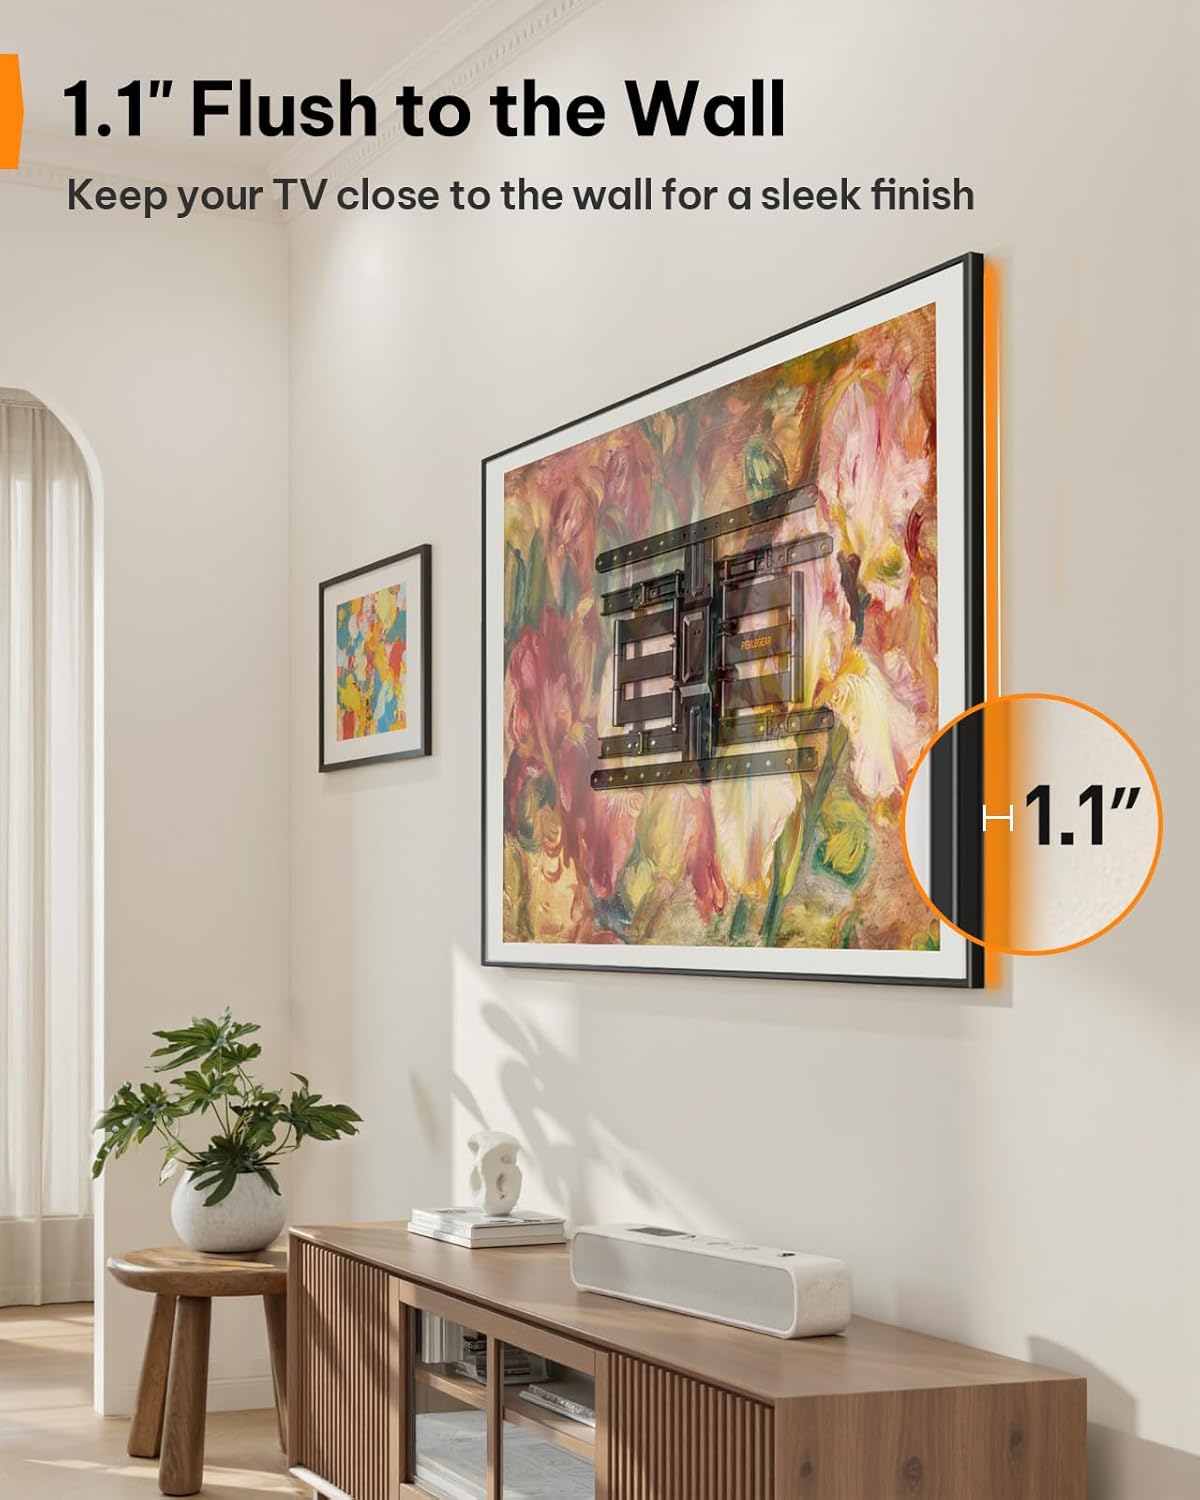
Figure 6: Ultra-Slim Profile
Videoposnetek o značilnostih izdelka
Video 2: Perlegear Ultra Slim TV Mount Features. This video showcases the mount's slim profile, cable management, swivel, and tilt capabilities in a modern living room setting.
Vzdrževanje
Redno vzdrževanje zagotavlja dolgo življenjsko dobo in varno delovanje vašega nosilca za televizor.
- Preverite povezave: Občasno preverite vse vijake in matico, da se prepričate, da so trdno priviti. Po potrebi jih ponovno privijte.
- Čisto: Nosilec obrišite z mehko, suho krpo, da odstranite prah. Izogibajte se abrazivnim čistilom ali topilom.
- Mazanje: The articulating arms are designed for smooth movement. If movement becomes stiff over time, a small amount of silicone-based lubricant can be applied to the pivot points.
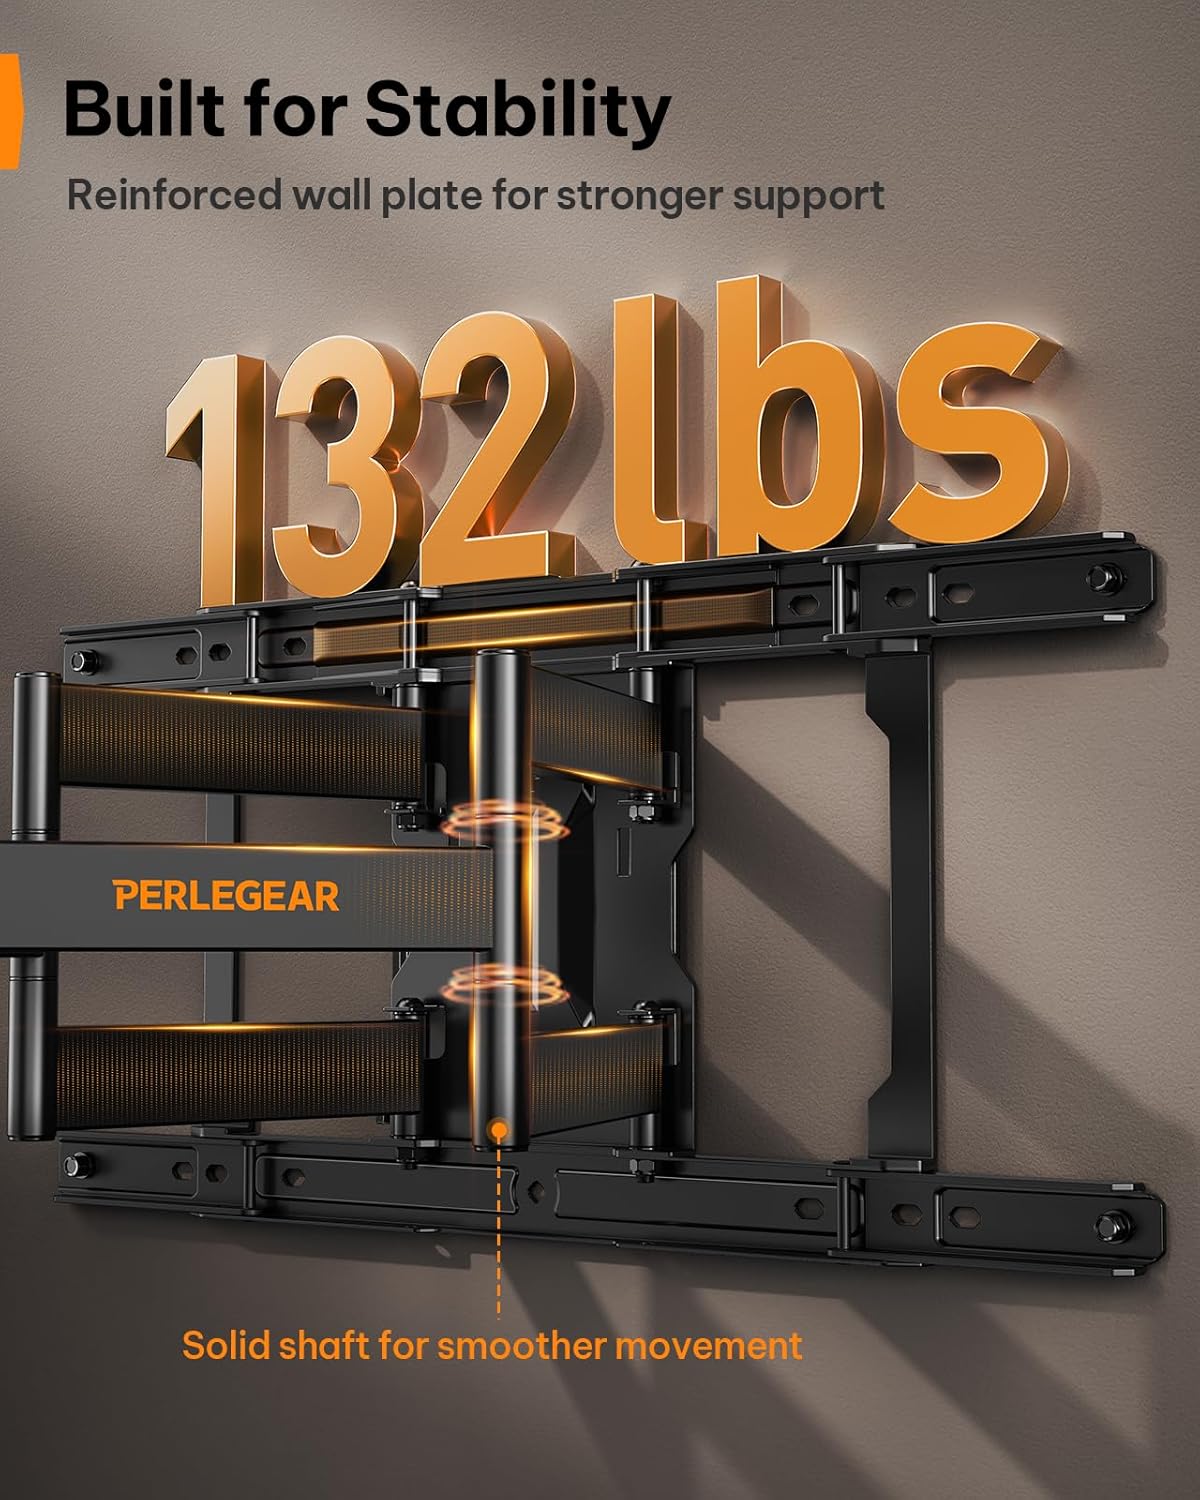
Figure 7: Built for Stability
Odpravljanje težav
| Težava | Možen vzrok | rešitev |
|---|---|---|
| Televizor po namestitvi ni poravnan. | Manjša neusklajenost med namestitvijo. | Use the ±3° level adjustment feature to fine-tune the TV's position. |
| Nosilec je na steni ohlapen. | Lag bolts not fully tightened or incorrect wall anchors used. | Ensure all lag bolts are securely tightened. Verify correct anchors were used for your wall type. If on wood studs, ensure bolts are in the center of the stud. |
| Nosilec za TV ni primeren. | Napačen vzorec VESA ali velikost/teža televizorja. | Double-check your TV's VESA pattern and weight against the mount's specifications (200x200mm to 600x400mm, max 132 lbs). |
| Mount arms are stiff to move. | Pomanjkanje mazanja ali kopičenje prahu. | Apply a small amount of silicone-based lubricant to the pivot points of the articulating arms. Clean any dust or debris. |
Garancija in podpora
This Perlegear TV wall mount comes with a 5-year warranty. For warranty claims, technical assistance, or any questions regarding installation or operation, please contact Perlegear customer support.
You can find contact information on the official Perlegear webspletnega mesta ali prek vaše nakupovalne platforme.