
Uvod
This manual provides instructions for the GROOVYPETS Automatic Pet Feeder PTM20A3. This 4-liter digital smart food dispenser is designed to provide scheduled meals for cats and small to medium dogs. It features an LCD display, programmable timer, and a durable stainless steel food bowl. The anti-tip 4-leg design with non-slip pads ensures stability and safety. The feeder supports up to 6 meals per day with 12 customizable portion sizes per feeding, and its large capacity tank can hold dry kibble up to 0.6 inches (15mm).
The feeder's intuitive touch screen allows for easy setup of meal plans and clock settings. All settings are retained even if power is lost or batteries run out, thanks to its memory function. A child lock switch is included for added safety. The main body is constructed from scratch-resistant ABS material, and the food-grade stainless steel bowl is rust-free and hygienic. The entire system is designed for easy disassembly for cleaning.
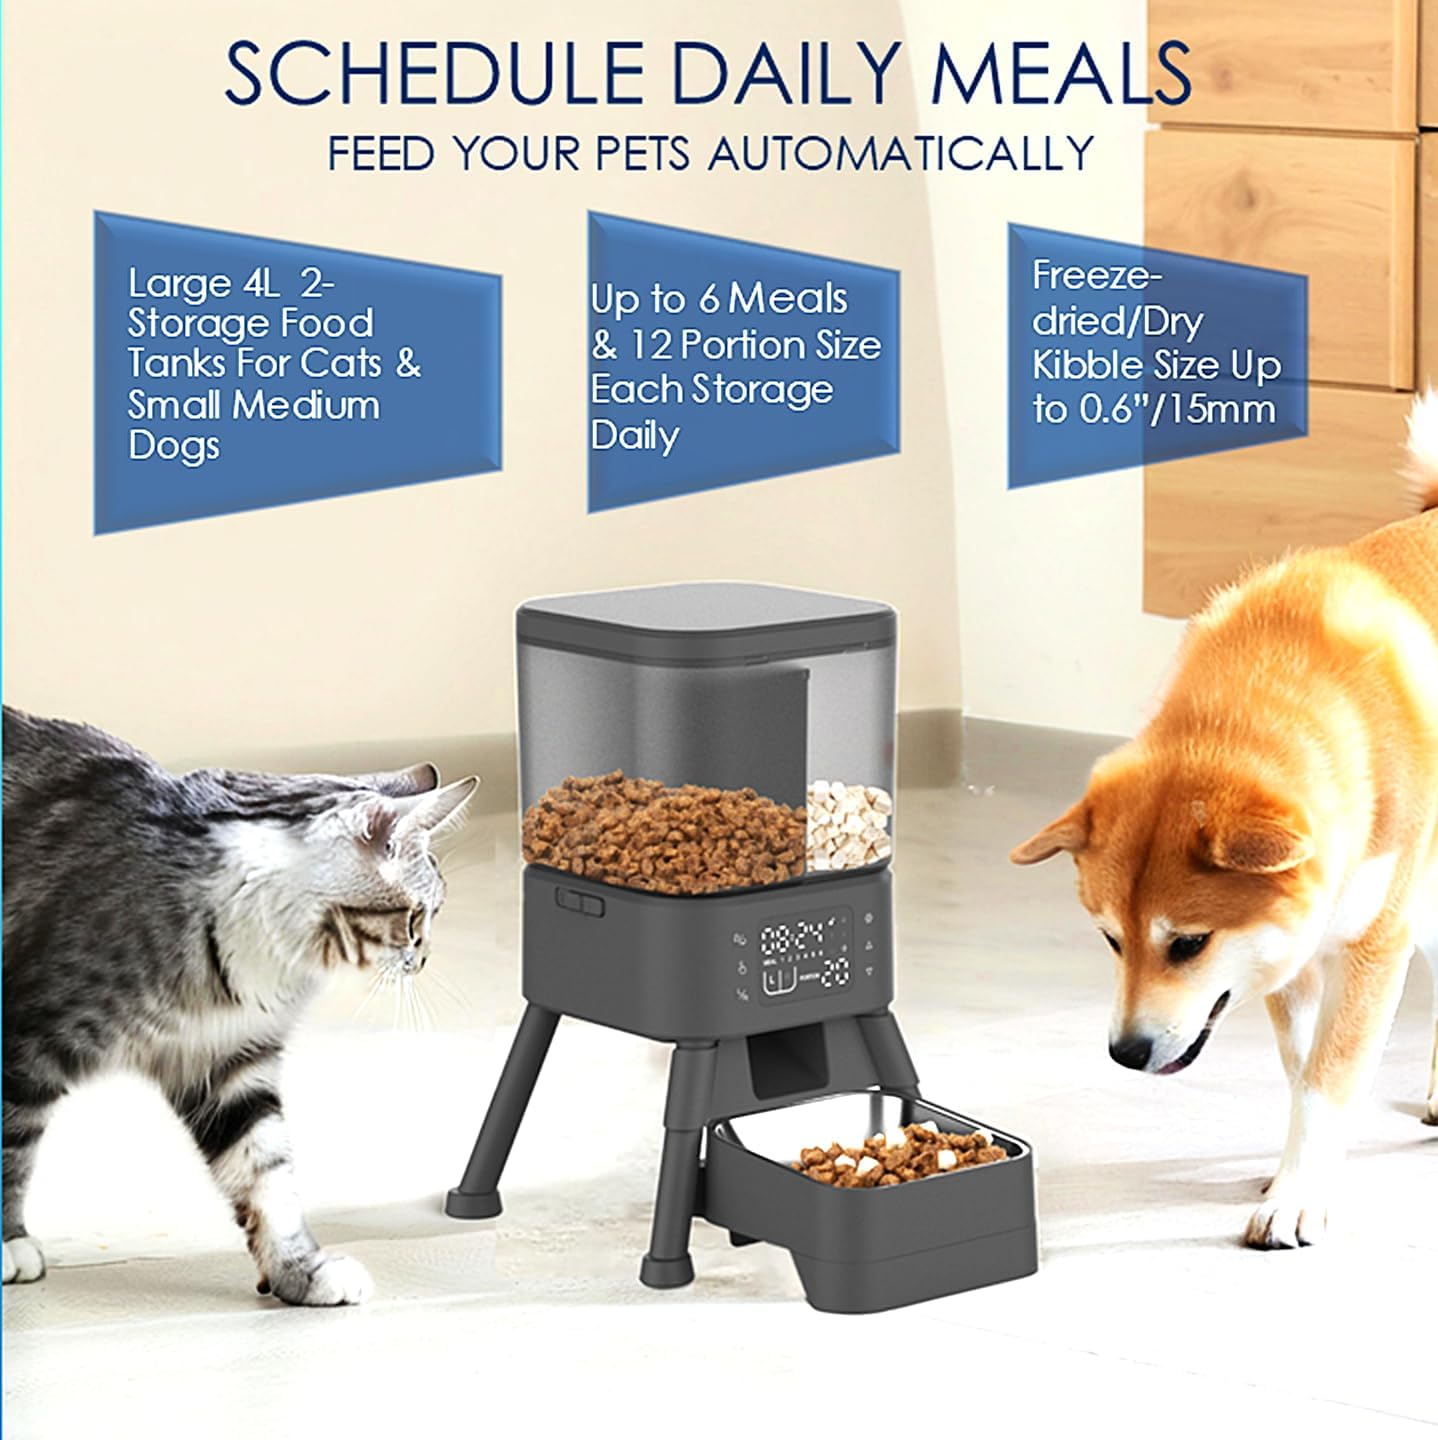
Image: The GROOVYPETS Automatic Pet Feeder in use, showing its dual food tanks and feeding two pets. It highlights its 4L capacity, up to 6 meals daily, and compatibility with kibble up to 0.6 inches/15mm.
Nastavitev
- Razpakirajte podajalnik: Carefully remove all components from the packaging. Ensure all parts, including the main unit, food tanks, stainless steel bowl, and power adapter, are present.
- Sestavite enoto: Place the main feeder unit on a stable, flat surface. Attach the 4-leg stand if it is not pre-assembled, ensuring the non-slip pads are securely in place.
- Install Food Tanks: The feeder features two separate storage tanks. Open the lids and place them securely on the main unit.
- Napolnite s hrano: Fill the food tanks with dry kibble. The feeder is compatible with kibble up to 0.6 inches (15mm). You can use different types of dry food in each compartment.
- Place the Bowl: Insert the stainless steel food bowl into its designated slot at the base of the feeder.
- Priključite napajanje: The feeder supports dual power options. Connect the Type-C power cable to an AC outlet for continuous power. For backup power, insert 4 AA batteries into the battery compartment located at the bottom of the unit. This ensures uninterrupted operation during power outages.
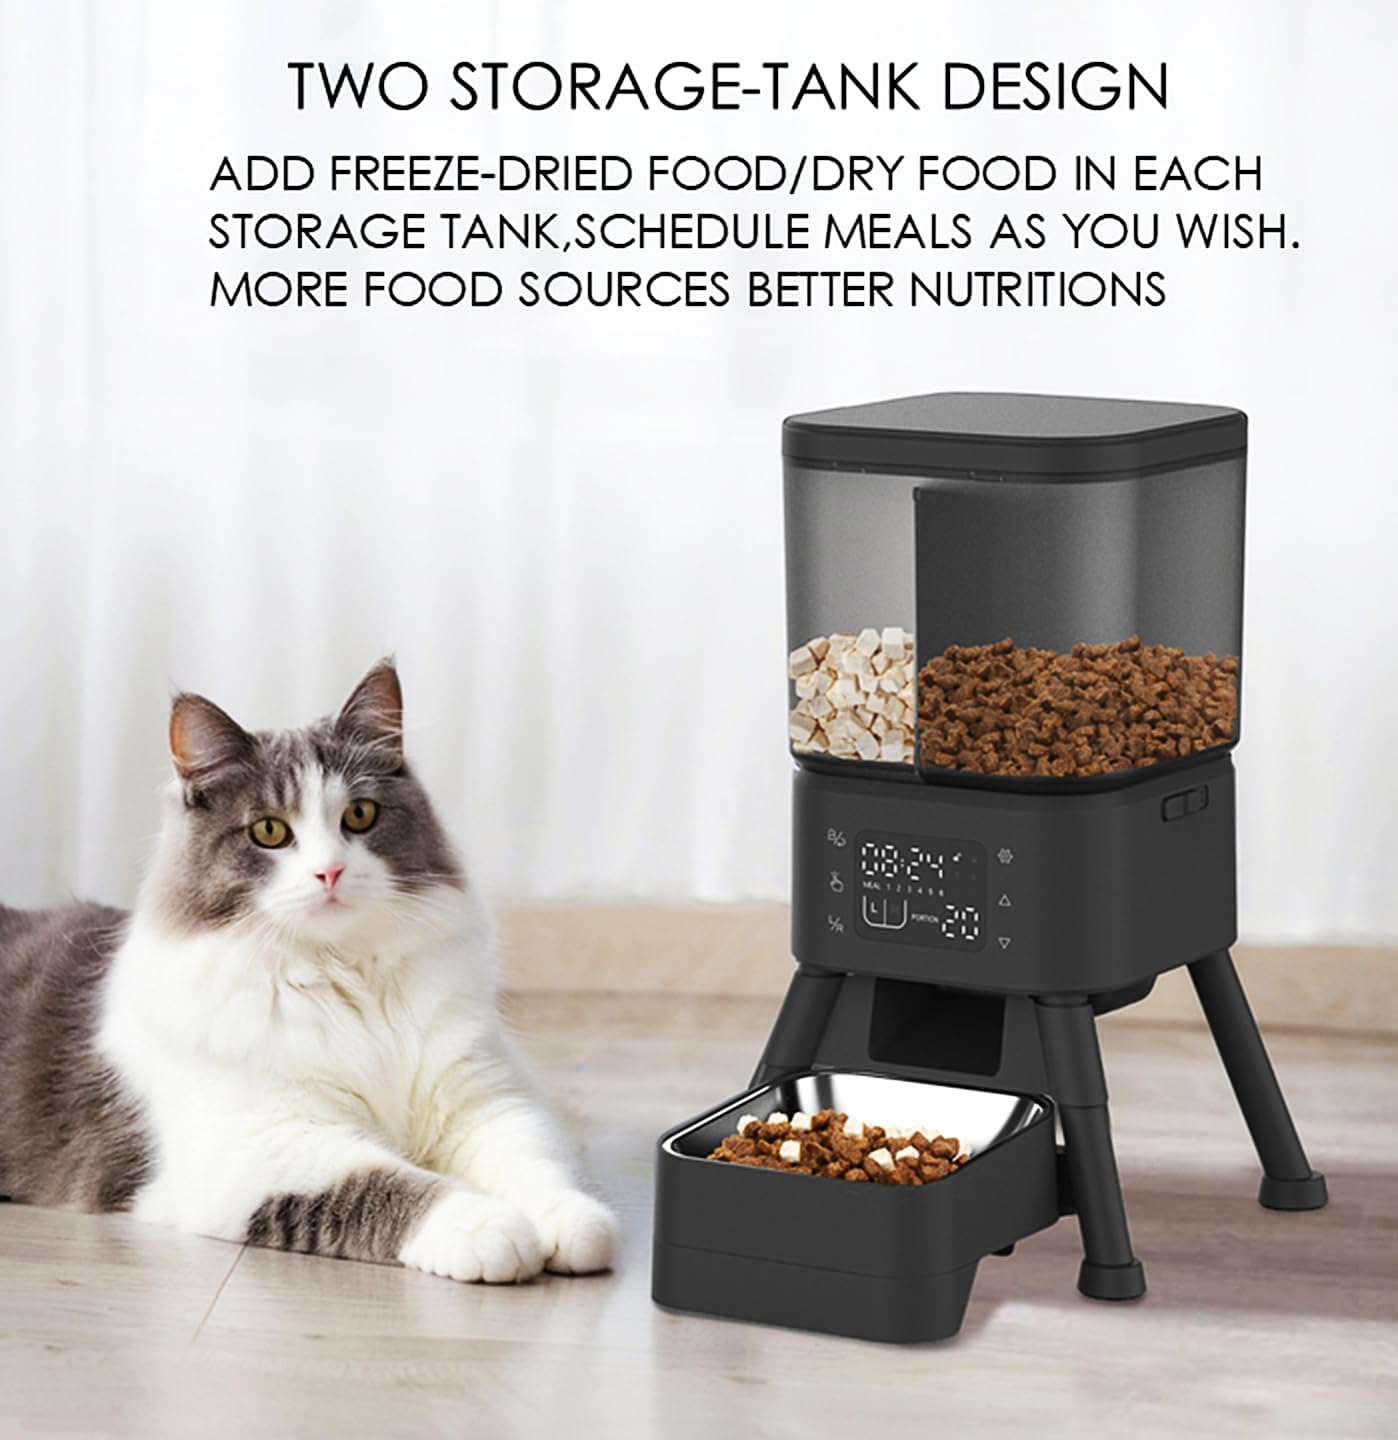
Image: The pet feeder showcasing its two separate storage tanks, allowing for different types of food.
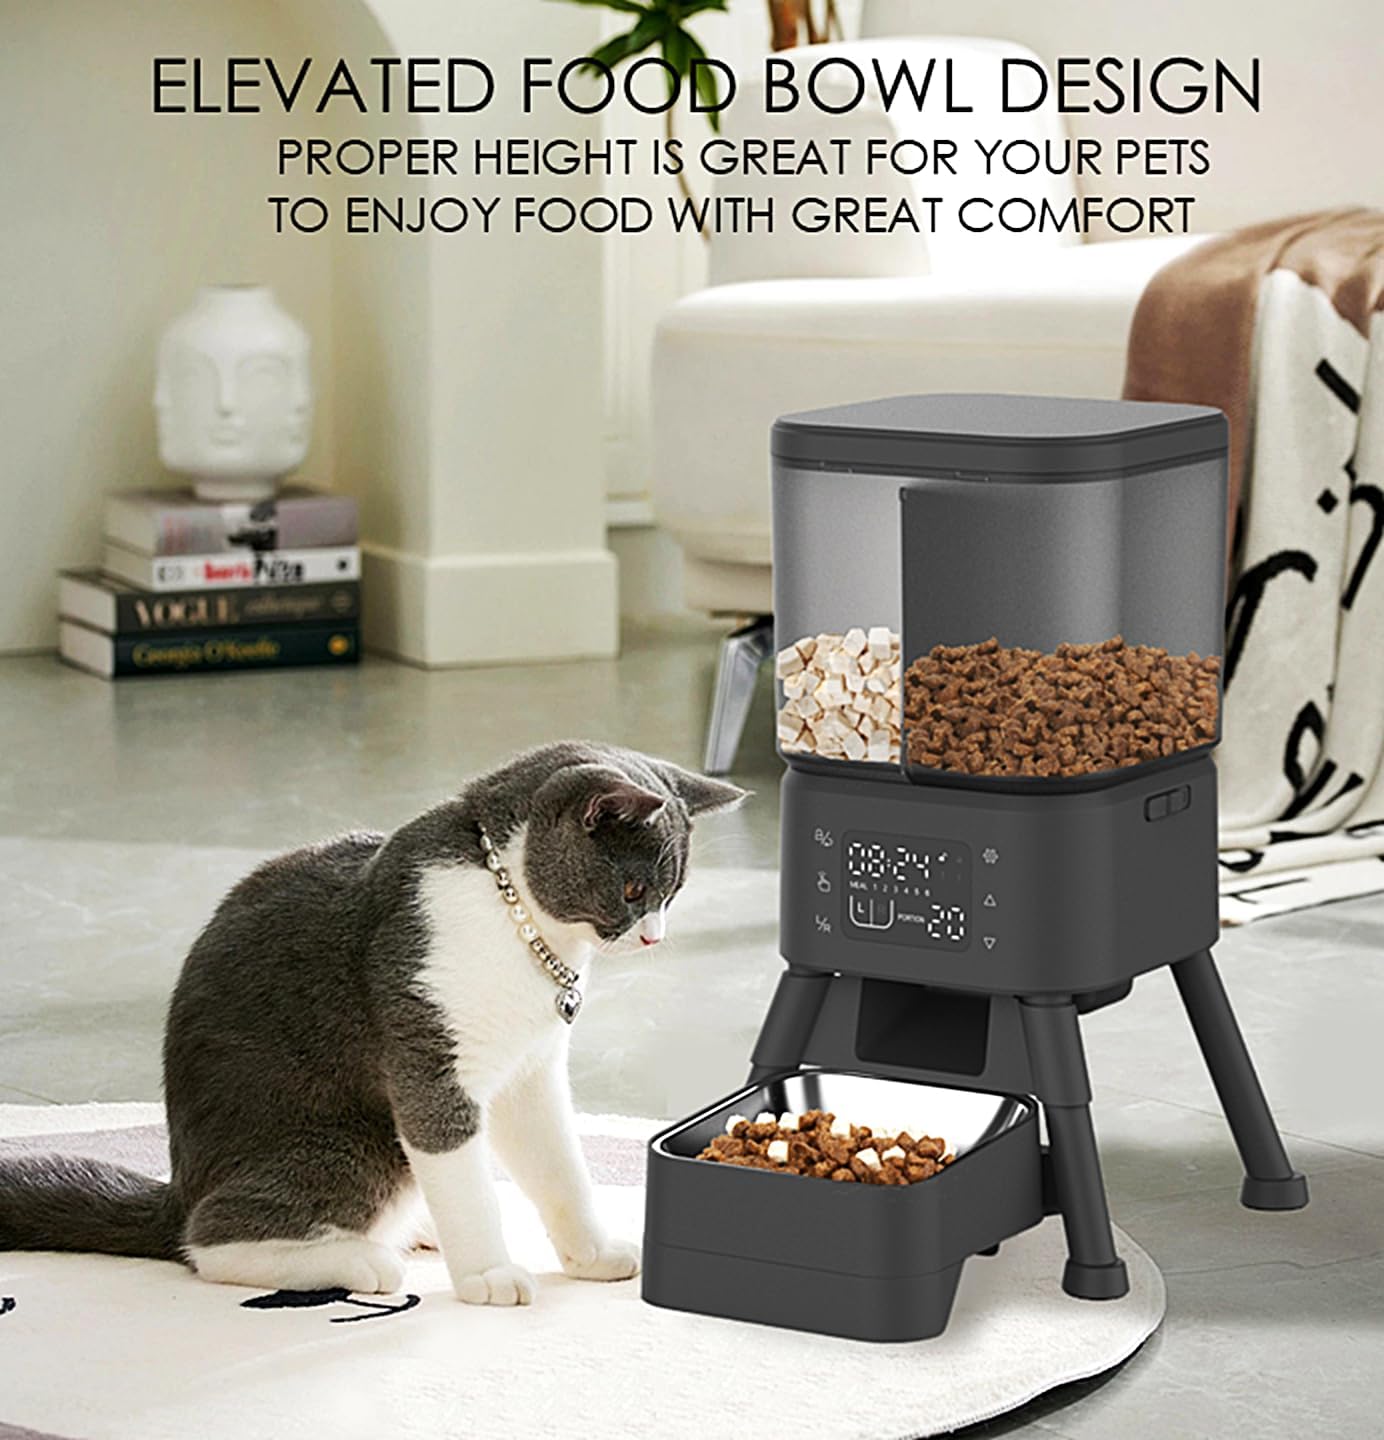
Image: A cat eating from the elevated food bowl, demonstrating the comfortable feeding height.

Image: A close-up of the feeder's base, highlighting the dual power options: battery compartment for 4 AA batteries and the Type-C power input.
Navodila za uporabo
The GROOVYPETS Automatic Pet Feeder features an intuitive touch-button control panel for easy programming.

Slika: Podrobna view of the feeder's LCD display and control buttons, indicating functions like child lock, manual feeding, L/R switch, settings, upward/downward adjustments, and reset.
- Nastavi trenutni čas:
- Pritisnite nastavitve button (gear icon).
- Uporabite Navzgor in Navzdol buttons (triangle icons) to adjust the hour and minute.
- Pritisnite nastavitve ponovno za potrditev.
- Časi obrokov v programu:
- Ko nastavite čas, pritisnite nastavitve to enter meal programming mode. The 'MEAL' indicator will show '1'.
- Uporabite Navzgor in Navzdol buttons to set the desired feeding time for Meal 1.
- Pritisnite nastavitve to move to portion size adjustment for Meal 1.
- Uporabite Navzgor in Navzdol buttons to select the portion size (1-12).
- Pritisnite nastavitve to save Meal 1 and proceed to Meal 2. Repeat for up to 6 meals.
- To switch between left (L) and right (R) food bins for a meal, use the L/R switch button.
- Ročno hranjenje:
- Pritisnite Manual Feeding button (hand icon) to dispense a single portion immediately.
- Otroška ključavnica:
- Za vklop ali izklop otroške ključavnice pritisnite in držite Child Lock/Return button (lock icon) for a few seconds. A lock indicator will appear on the display when active.
- Ponastavi nastavitve:
- To reset all settings, press and hold the Gumb za ponastavitev (Upward + Settings icons) simultaneously for a few seconds.
Vzdrževanje
Redno čiščenje zagotavlja dolgo življenjsko dobo in higiensko delovanje vaše krmilnice za hišne ljubljenčke.
- Posoda iz nerjavečega jekla: The stainless steel bowl is removable and can be hand-washed with mild soap and water. Rinse thoroughly and dry completely before placing it back into the feeder.
- Glavna enota: Zunanjost podajalnika obrišite zamp cloth. Do not submerge the main unit in water or use abrasive cleaners.
- Food Tanks: The food tanks can be removed and wiped clean with a damp cloth. Ensure they are completely dry before refilling with kibble to prevent mold or spoilage.
- Elektronika: Always keep the electronic components, including the control panel and power connections, dry. Avoid direct contact with water.
- Razstavljanje za čiščenje: The entire system is designed for easy disassembly, making thorough cleaning of all food-contacting parts straightforward. Refer to the assembly steps in reverse for disassembly.
Odpravljanje težav
- Podajalnik ne dozira hrane:
- Check if the food tanks are empty.
- Ensure the feeder is powered on and connected to an AC outlet, or that the backup batteries are charged and correctly installed.
- Verify that the meal schedule is correctly programmed and the current time is set accurately.
- Check for food jamming. The feeder has a jam-proof dispenser system, but large or irregularly shaped kibble might occasionally cause issues. Clear any obstructions.
- Food Jamming Alert Indicator: If the food jamming alert indicator appears on the LCD, inspect the dispenser mechanism for any blockages and clear them.
- Nastavitve se ne shranjujejo: Ensure the power source is stable. If using batteries, check their charge level. The feeder is designed to remember settings even after power loss.
- Zaslon ne deluje: Check the power connection and battery status. If the issue persists, contact customer support.
- Feeder Tipping Over: The feeder is designed with an anti-tip 4-leg stand and non-slip pads. Ensure it is placed on a flat, stable surface and that the legs are fully extended and secure.

Slika: Notranji view of the feeder's jam-proof dispenser system, designed to handle various kibble sizes smoothly.
Specifikacije
| Znamka | GROOVYPETS |
| Številka modela | PTM20A3 |
| Zmogljivost | 4 litra |
| Material | Plastika, nerjaveče jeklo |
| Ciljne vrste | Cats and Dogs (Small to Medium) |
| Vir napajanja | AC Power Adapter, 4x AA Batteries (backup) |
| Posebne lastnosti | Stainless Steel Bowl, Programmable Timer, LCD Display, Non-slip Pads, Anti-tip Design |
| Mere predmeta (D x Š x V) | 23.2 cm x 23.2 cm x 36.5 cm |
| Teža predmeta | 4 funta (približno 1.8 kg) |
| Združljivost velikosti kibble | Do 0.6 palca (15 mm) |
| Vključene komponente | Pet Feeder, Stainless Steel Bowl, Food Storage Container |
| UPC | 646648805784 |
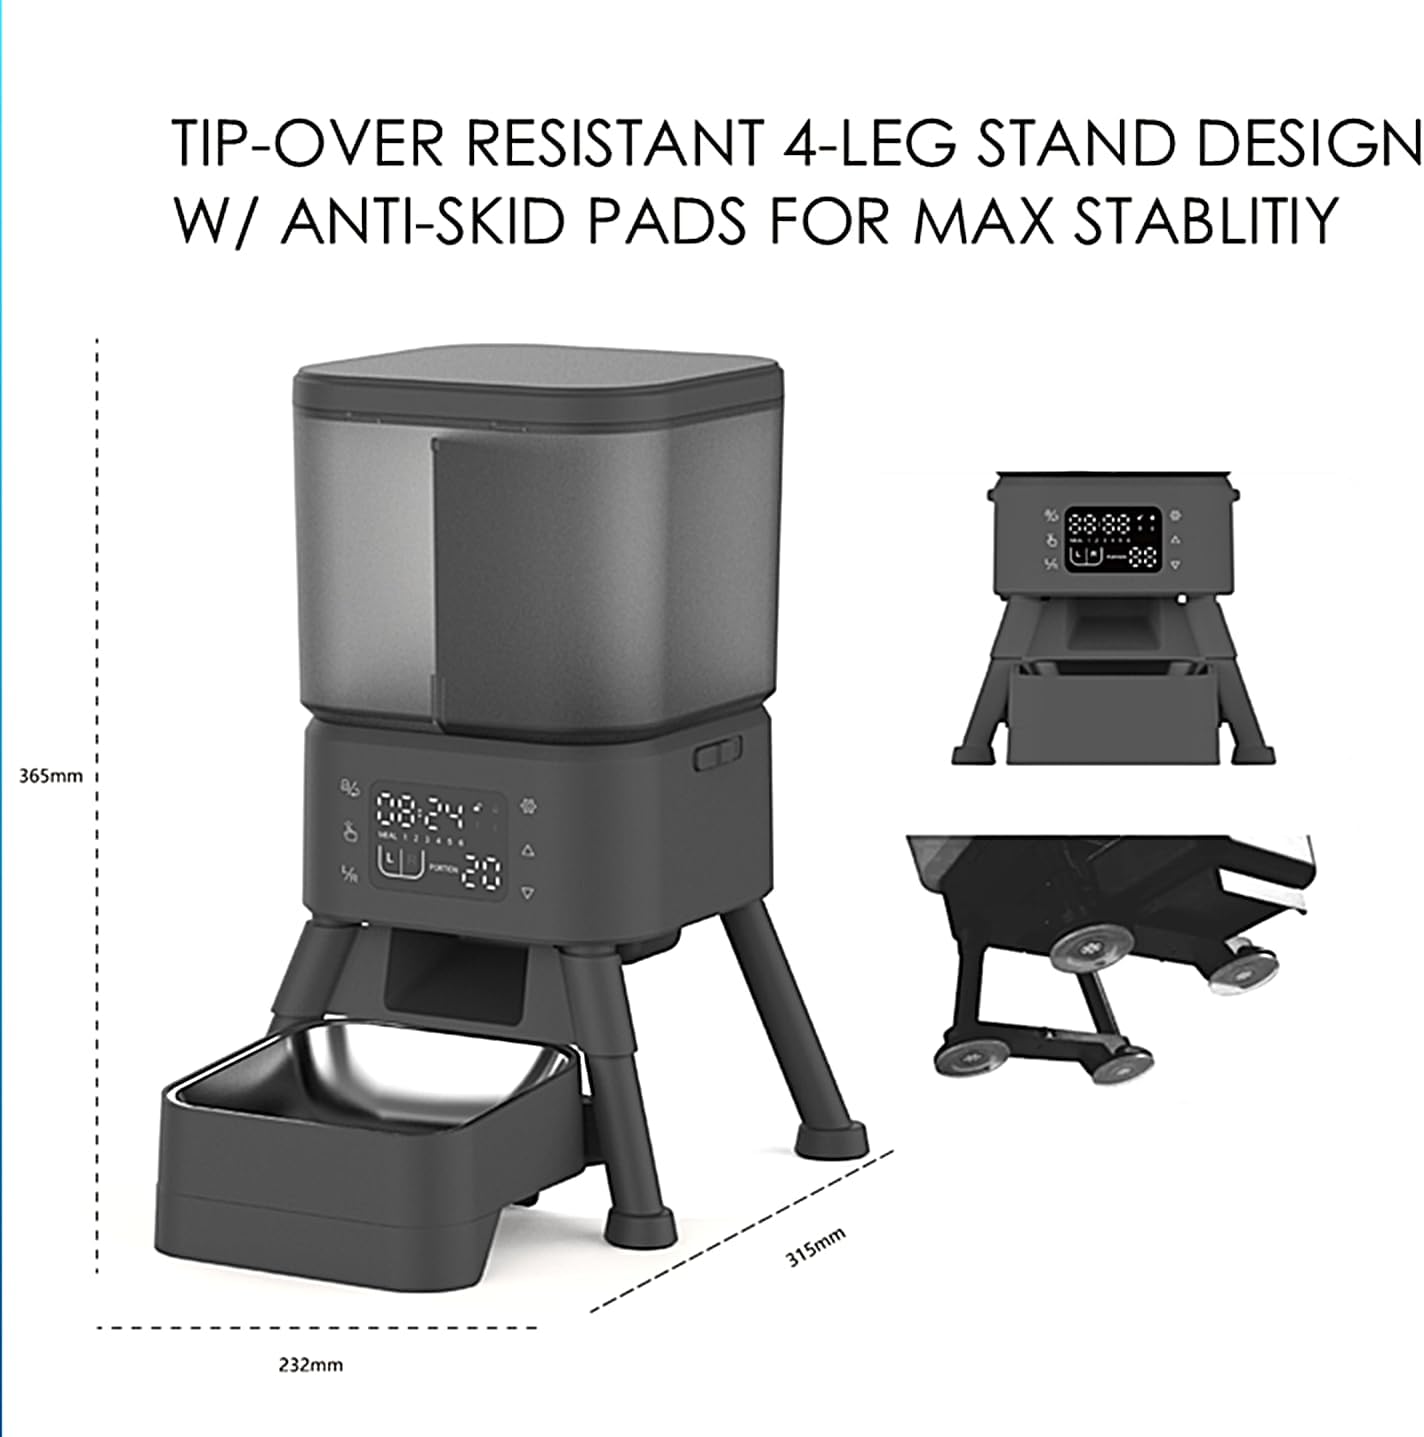
Image: Technical drawing illustrating the dimensions of the pet feeder: 232mm (width), 315mm (depth), and 365mm (height).
Garancija in podpora
For warranty information or technical support, please refer to the documentation included with your purchase or contact the manufacturer directly. Keep your purchase receipt as proof of purchase for any warranty claims.
Manufacturer: SHENZHEN IPETMON CREATIVE TECHNOLOGY CO,LTD