
Uvod
Hvala za nakupasing the HOMVILLA G60 Digital Alarm Clock. This manual provides detailed instructions for setting up, operating, and maintaining your new alarm clock. Please read this manual thoroughly before use to ensure proper function and to maximize your product experience.
Vsebina paketa
- HOMVILLA G60 Digital Alarm Clock
- Power Adapter (Mains Powered)
- Uporabniški priročnik
Note: AAA backup batteries are not included and must be purchased separately.
Konec izdelkaview
Familiarize yourself with the various components and controls of your HOMVILLA G60 Digital Alarm Clock.
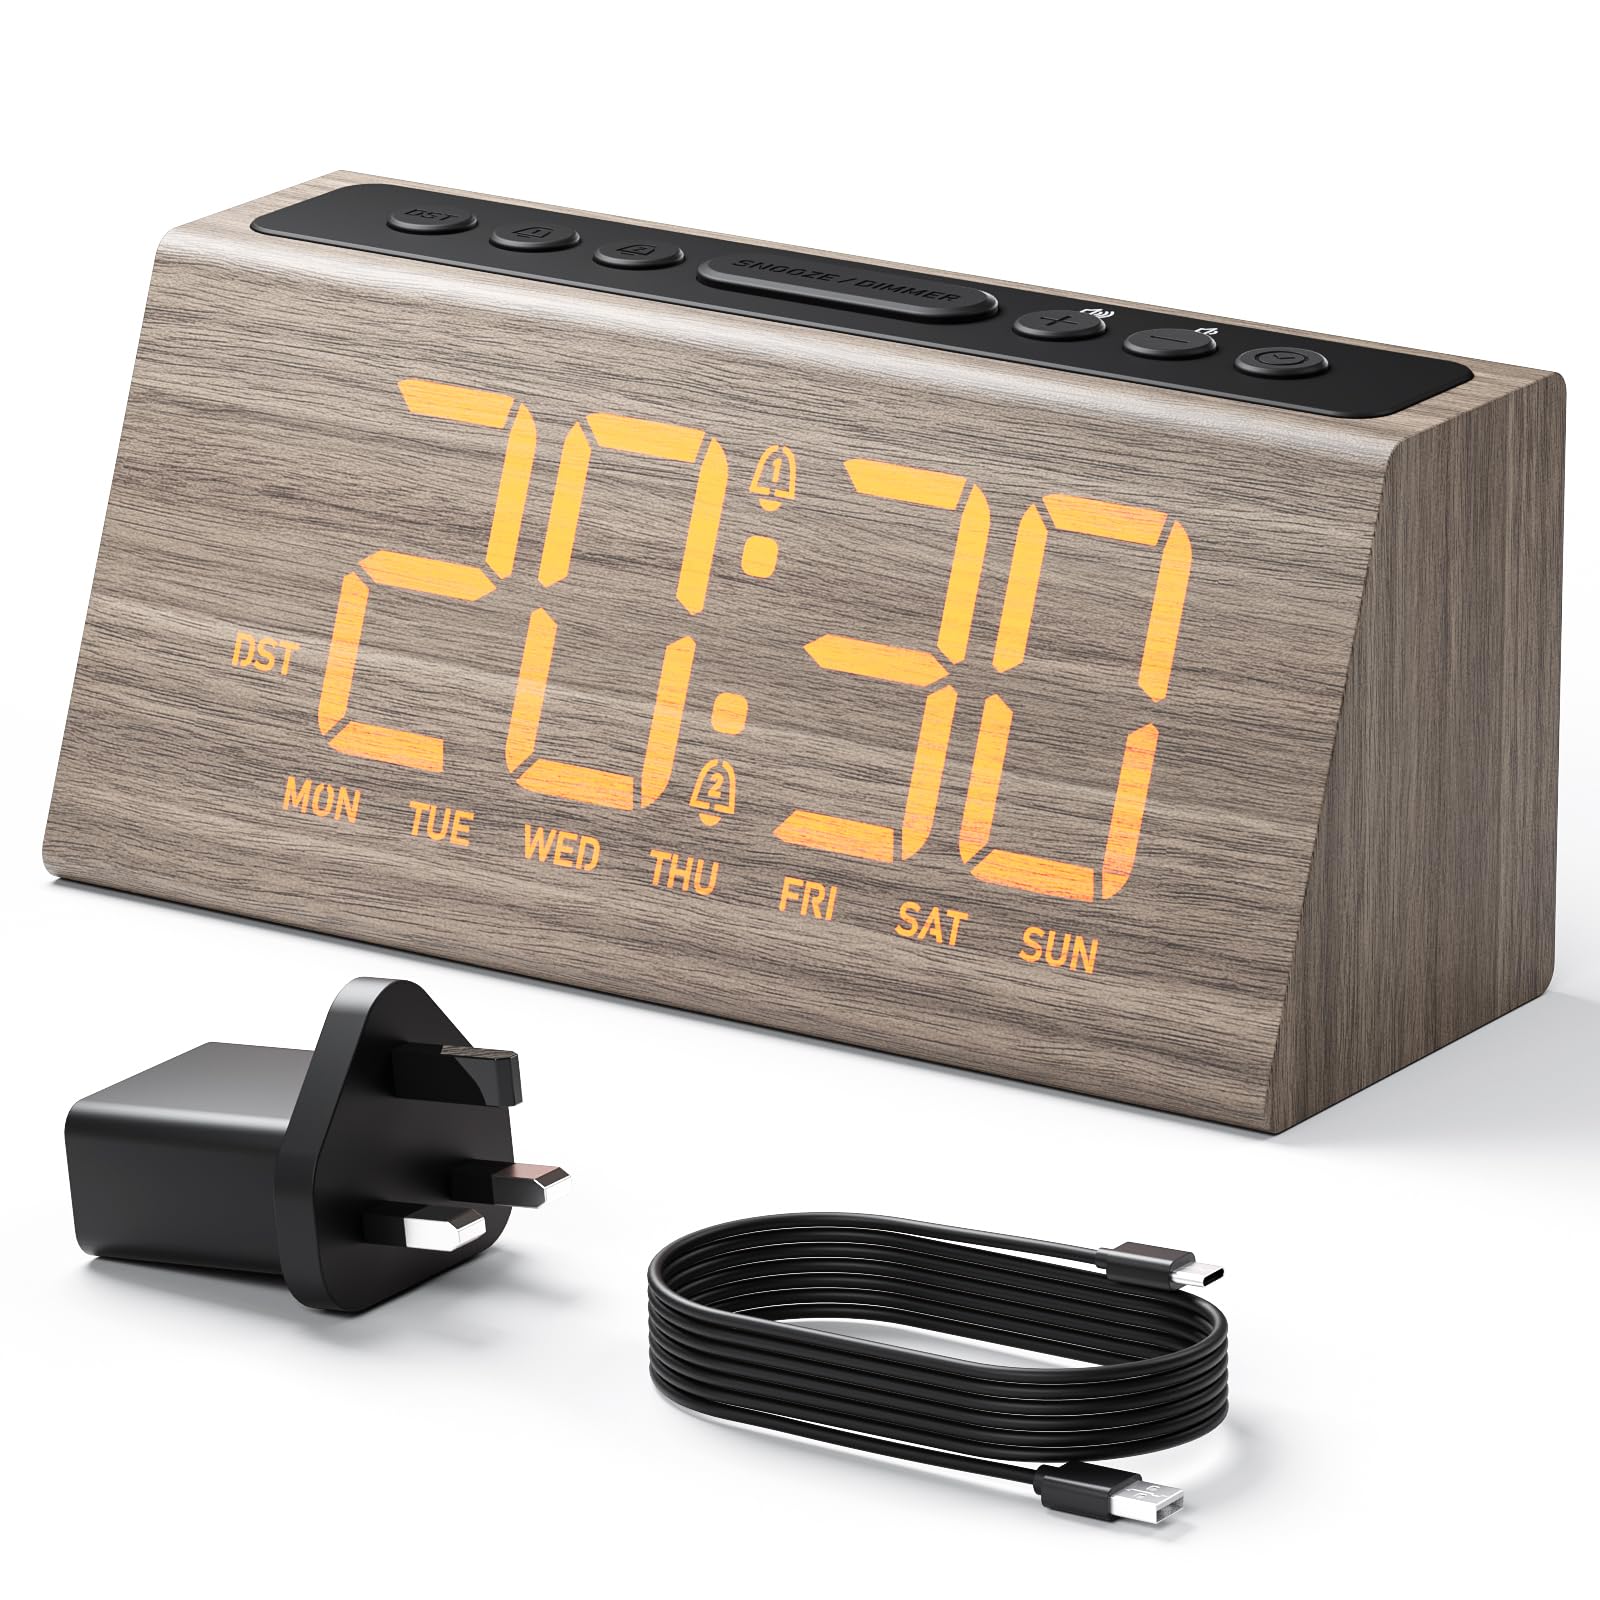
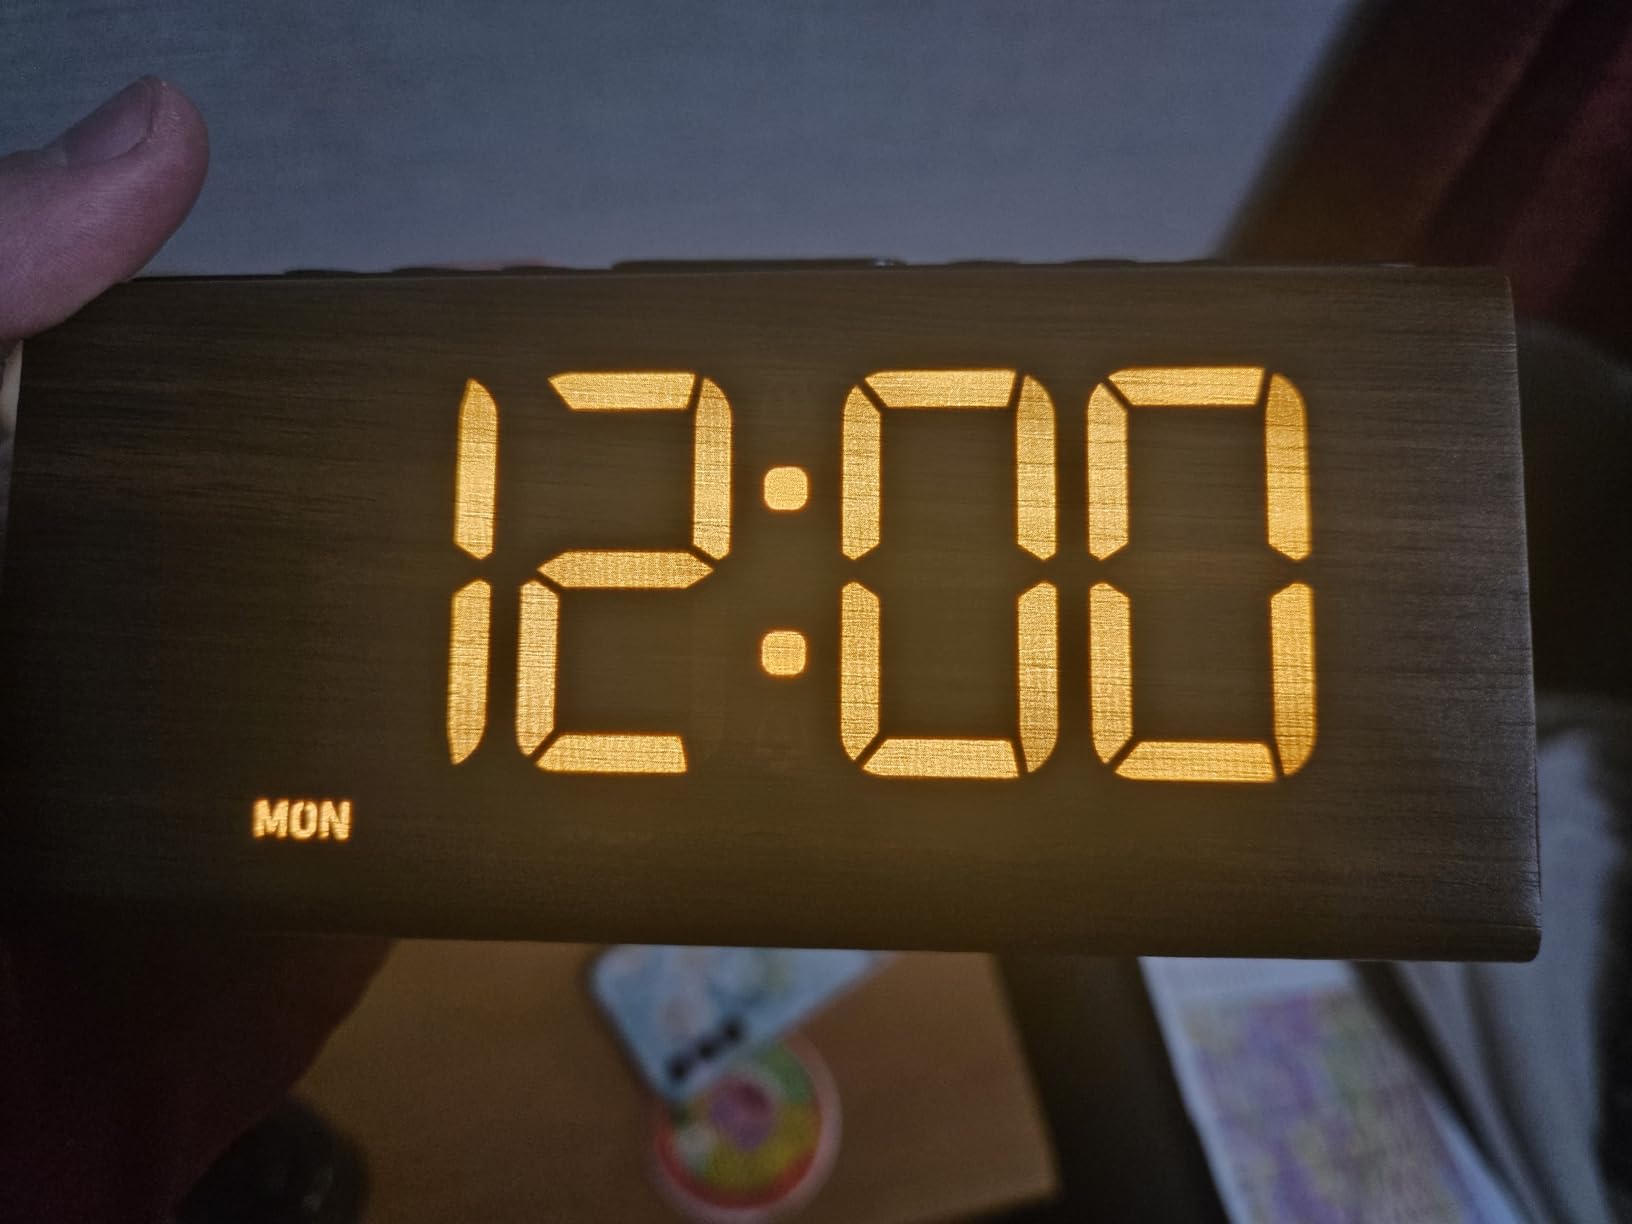
Slika 1: Spredaj view of the HOMVILLA G60 Digital Alarm Clock, showing the large LED display and control buttons.
Kontrolni gumbi in vrata:
- ČAS NASTAVLJEN: Press to enter time setting mode.
- ALARM 1/2: Pritisnite za nastavitev alarma 1 ali alarma 2.
- DREMEŽ/ZATEMNILO: Press to activate snooze or adjust display brightness.
- , Adjust time, alarm, volume, or brightness values.
- DST: Press to activate/deactivate Daylight Saving Time.
- Vrata za polnjenje USB: Za polnjenje zunanjih naprav.
- DC IN: Vhod za napajanje.
- Predal za baterije: For backup batteries (2x AAA, not included).
Nastavitev
1. Napajalni priključek
- Connect the provided power adapter to the "DC IN" port on the back of the alarm clock.
- Priključite napajalnik v standardno stensko vtičnico. Zaslon se bo prižgal.
Note: This alarm clock operates solely on AC power. The backup batteries are only for retaining settings during a power outage.
2. Namestitev rezervnih baterij (izbirno)
- Odprite pokrov predalčka za baterije na spodnji strani ure.
- Insert two (2) AAA batteries (not included), ensuring correct polarity (+/-).
- Zaprite pokrov prostora za baterije.
These batteries will preserve your time and alarm settings in case of a power interruption.
Navodila za uporabo
1. Nastavitev časa
- Pritisnite in držite ČAS NAST gumb, dokler ne utripajo številke za uro.
- Uporabite +/- gumbi za nastavitev ure.
- Pritisnite ČAS NAST ponovno za potrditev ure in premik na nastavitev minut.
- Uporabite +/- gumbe za nastavitev minut.
- Pritisnite ČAS NAST ponovno za potrditev in izhod iz načina nastavitve časa.
2. Nastavitev alarmov (Alarm 1 in Alarm 2)
The clock features two independent alarms (Alarm 1 and Alarm 2).
- Pritisnite in držite ALARM 1/2 button. The alarm icon and hour digits for Alarm 1 will flash.
- Uporabite +/- gumbe za nastavitev ure budilke.
- Pritisnite ALARM 1/2 ponovno za potrditev ure in premik na nastavitev minut.
- Uporabite +/- gumbe za nastavitev minut alarma.
- Pritisnite ALARM 1/2 again to select the alarm mode:
- Weekdays (Mon-Fri): Alarm sounds only on weekdays.
- Weekends (Sat-Sun): Alarm sounds only on weekends.
- Daily (Mon-Sun): Alarm se oglaša vsak dan.
- Pritisnite ALARM 1/2 again to confirm the alarm mode and exit setting.
- To set Alarm 2, repeat the process by pressing ALARM 1/2 until Alarm 2 icon flashes.
Za vklop/izklop alarma na kratko pritisnite ALARM 1/2 button. The corresponding alarm icon will appear/disappear on the display.
3. Funkcija dremeža
Ko se oglasi alarm, pritisnite tipko DREMŽAJ/ZATEMNILO button to activate the snooze function. The alarm will pause for 9 minutes and then sound again. To turn off the alarm completely, press any other button.
4. Prilagoditev svetlosti zaslona
The clock offers 3 brightness levels and an OFF mode.
- Kratek pritisk na DREMŽAJ/ZATEMNILO button (when alarm is not sounding) to cycle through brightness levels: High → Medium → Low → OFF.
- Select the desired brightness level for comfortable viewing.
5. Nadzor glasnosti
The alarm volume can be adjusted to 4 levels.
- During alarm setting, after selecting the alarm mode, press ALARM 1/2 again. The volume level will flash.
- Uporabite +/- buttons to adjust the volume from L1 (lowest) to L4 (highest).
- Pritisnite ALARM 1/2 za potrditev in izhod.
6. Daylight Saving Time (DST) Function
To adjust the time for Daylight Saving Time:
- Kratek pritisk na poletni čas button. The time will advance or recede by one hour, and a DST indicator will appear/disappear on the display.
7. Vrata za polnjenje USB
The integrated USB port allows you to charge compatible electronic devices (e.g., smartphones, smartwatches) directly from the alarm clock. Simply connect your device's USB charging cable to the USB port on the back of the clock.
Slika 2: Zadaj view of the HOMVILLA G60 Digital Alarm Clock, highlighting the USB charging port.
Vzdrževanje
- Uro očistite z mehko, suho krpo. Ne uporabljajte abrazivnih čistil ali topil.
- Uro hranite stran od neposredne sončne svetlobe, ekstremnih temperatur in visoke vlažnosti.
- Zagotovite ustrezno prezračevanje okoli enote.
- If not using the clock for an extended period, remove the backup batteries to prevent leakage.
Odpravljanje težav
| Težava | Možen vzrok | rešitev |
|---|---|---|
| Zaslon je prazen. | Ni priključka za napajanje. | Prepričajte se, da je napajalnik varno priključen na uro in delujočo stensko vtičnico. |
| Alarm se ne oglasi. | Alarm ni aktiviran ali pa je glasnost prenizka. | Check if the alarm icon is displayed. If not, activate the alarm. Increase the alarm volume. |
| Ponastavitev časa/nastavitev po izpadu napajanjatage. | Rezervne baterije niso nameščene ali so izpraznjene. | Namestite nove rezervne baterije AAA. |
| Polnjenje prek USB-ja ne deluje. | Naprava ni združljiva ali pa je kabel pokvarjen. | Ensure your device is compatible with USB charging. Try a different USB cable. |
Specifikacije
- Model: G60
- Znamka: HOMVILLA
- Vhodna moč: AC Powered (Adapter included)
- Rezervna baterija: 2 x AAA (niso vključeni)
- Zaslon: LED with 3 brightness levels + OFF mode
- Alarmi: Dual Alarms with 3 schedule modes (Weekdays, Weekends, Daily)
- Trajanje dremeža: 9 minut
- Stopnje glasnosti: 4 ravni
- Dodatne funkcije: USB Charging Port, DST Function
Garancija in podpora
For warranty information or technical support, please refer to the documentation provided at the time of purchase or contact HOMVILLA customer service through their official webspletno mesto ali prodajalec, kjer je bil izdelek kupljen.
Za uveljavljanje garancije shranite račun.