
1. Uvod
This manual provides essential information for the installation, operation, and maintenance of your Hikvision IDS-7208HQHI-M1/XT 8-Channel 5MP Turbo HD DVR. Please read this manual thoroughly before using the product to ensure correct and safe operation. Keep this manual for future reference.
The Hikvision IDS-7208HQHI-M1/XT is an advanced 8-channel Digital Video Recorder designed for high-definition surveillance systems. It supports various video input formats, including Turbo HD, AHD, CVI, CVBS, and IP cameras, offering versatile compatibility. Key features include 5MP recording capability, H.265+ video compression for efficient storage, AcuSense technology for intelligent motion detection, and remote access via the Hik-Connect app.
2. Vsebina paketa
Ob razpakiranju preverite, ali so vsi predmeti prisotni in v dobrem stanju. Če kateri koli predmet manjka ali je poškodovan, se nemudoma obrnite na dobavitelja.
- DVR main unit
- Napajalni adapter
- Miška USB
3. Značilnosti izdelka
The Hikvision IDS-7208HQHI-M1/XT DVR offers a range of features designed for effective surveillance:
- 8-Channel DVR with 5MP HD Support: Supports multiple analog HD camera formats and up to 8 channels of real-time video monitoring and recording.
- Two-Way Audio Support: Enables audio communication through compatible cameras.
- Built-In AcuSense Technology: Smart analysis minimizes false alarms by focusing on human and vehicle-based motion detection.
- Remote Access via Hik-Connect App: View live video, playback recordings, and receive alerts anytime on your smartphone.
- Efficient Storage with H.265+ Compression: Saves bandwidth and hard disk space while maintaining clear video quality.
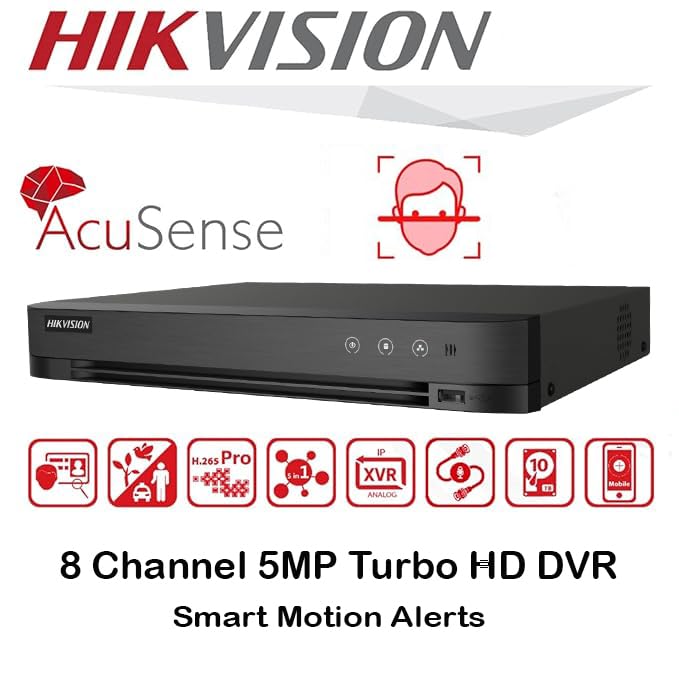
Slika: Konecview of key features including AcuSense, H.265+ compression, and 5MP resolution support.
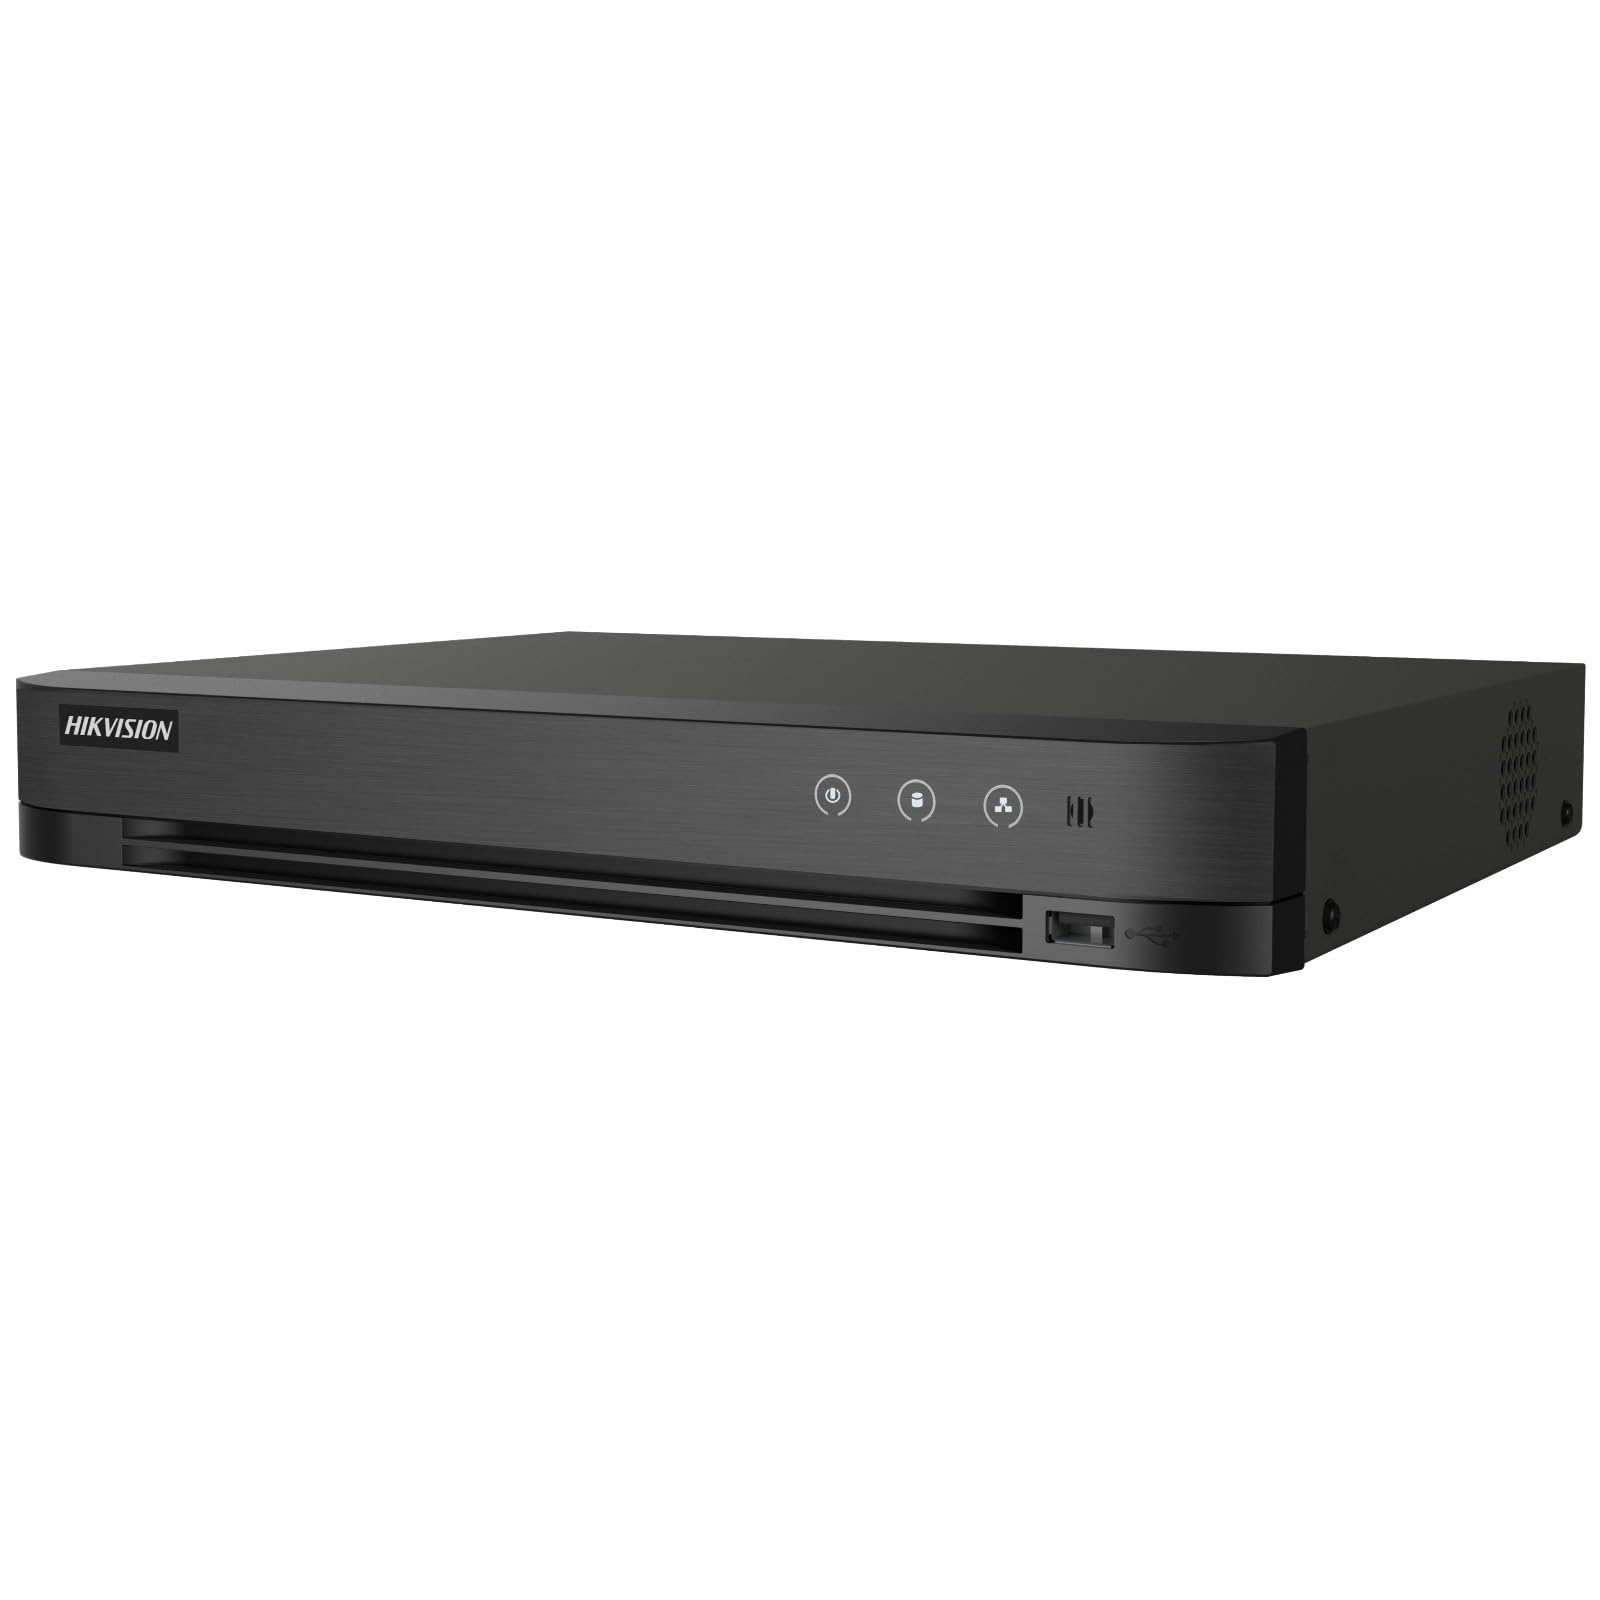
Image: The Hikvision Turbo HD DVR highlighting its support for two-way audio cameras, enabling interactive communication.
4. Fizični vmesnik
Familiarize yourself with the ports and indicators on the DVR unit. The following diagram illustrates the rear panel of the Hikvision IDS-7208HQHI-M1/XT DVR:

Image: Rear panel connections of the DVR, showing video inputs, audio ports, network, and power.
- Video vhod (BNC): Connect analog HD cameras (Turbo HD, AHD, CVI, CVBS).
- Video Out (BNC): Connect to a monitor for local display.
- Zvočni vhod (RCA): Connect external audio input devices.
- HDMI izhod: Connect to an HDMI-compatible monitor or TV for high-definition video output.
- VGA izhod: Connect to a VGA-compatible monitor.
- Avdio izhod (RCA): Connect to external audio output devices.
- Vrata USB: Connect a USB mouse, USB flash drive for backup, or external storage.
- LAN vrata (RJ45): Connect to your network for remote access and IP camera integration.
- RS-485: For PTZ camera control (if supported).
- Vhodna moč 12 V DC: Priključite priloženi napajalnik.
- Zemeljski terminal: For grounding the device.
5. Nastavitev
Follow these steps for initial setup of your DVR system:
5.1 Hard Drive Installation (if not pre-installed)
- Odvijte in odstranite zgornji pokrov DVR-ja.
- Priključite podatkovni kabel SATA in napajalni kabel na trdi disk.
- Trdi disk pritrdite na ohišje DVR-ja s priloženimi vijaki.
- Namestite zgornji pokrov in ga pritrdite z vijaki.
5.2 Priključitev zunanjih naprav
- Connect your cameras to the Video v (BNC) ports.
- Priključite monitor na HDMI or VGA izhodna vrata.
- Connect the USB mouse to a vrata USB.
- Connect the DVR to your network router using an Ethernet cable plugged into the Vrata LAN.
- Napajalnik priključite na Vhod 12V DC and then plug it into a power outlet.
5.3 Začetna konfiguracija
- Upon first boot, the DVR will guide you through a setup wizard.
- Set a strong password for the administrator account.
- Konfigurirajte omrežne nastavitve (DHCP je običajno zadosten za večino domačih omrežij).
- Initialize the hard drive if prompted. This will format the drive for recording.
- Adjust date, time, and other system preferences as needed.
6. Delovanje
Once the DVR is set up, you can begin monitoring and recording.
6.1 V živo View
Po prijavi bo DVR prikazal sliko v živo view from connected cameras on the monitor. You can switch between single-camera view in mreža z več kamerami view z uporabo zaslonskih kontrol ali miške.
6.2 Snemanje
The DVR is typically configured to record continuously or based on motion detection. You can adjust recording schedules and settings through the DVR's menu system (Konfiguracija > Snemanje > Urnik).
6.3 Predvajanje
Za ponovnoview posnet footage, pojdite do Predvajanje menu. Select the date, time, and camera channel to view recordings. Use the playback controls (play, pause, fast forward, rewind) to navigate through the footage.
6.4 Remote Access (Hik-Connect App)
The Hik-Connect app allows you to access your DVR remotely from a smartphone or tablet.
- Download the Hik-Connect app from your device's app store.
- Create a Hik-Connect account and log in.
- Add your DVR by scanning the QR code on the DVR's label or by manually entering its serial number.
- Follow the in-app instructions to complete the device addition.
- Ko ga dodate, lahko view v živo, predvajanje posnetkov in prejemanje potisnih obvestil o dogodkih.

Image: Illustration of the Hik-Connect mobile application interface, demonstrating remote access to live video and recordings.
7. Vzdrževanje
Redno vzdrževanje zagotavlja optimalno delovanje in dolgo življenjsko dobo vašega DVR sistema.
- Clean the DVR: Periodically clean the exterior of the DVR with a soft, dry cloth. Ensure ventilation openings are free from dust to prevent overheating.
- Posodobitve vdelane programske opreme: Preverite uradni Hikvision website for firmware updates. Updating firmware can improve performance, add features, and fix bugs. Follow update instructions carefully.
- Zdravje trdega diska: Monitor the health of your hard drive through the DVR's system menu (Upravljanje trdega diska). Replace the hard drive if it shows signs of failure.
- Varnostno kopiranje pomembnih elementovtage: Redno varnostno kopirajte pomembne videoposnetketagna zunanji pogon USB ali omrežno shrambo.
- Varnost gesla: Change your DVR and Hik-Connect passwords periodically to maintain security.
8. Odpravljanje težav
Ta razdelek obravnava pogoste težave, na katere lahko naletite.
8.1 Ni video izhoda na monitorju
- Check if the monitor is powered on and correctly connected to the DVR's HDMI or VGA port.
- Prepričajte se, da je na monitorju izbran pravilen vhodni vir.
- Try connecting to a different monitor or using a different cable.
8.2 Kamere ne prikazujejo slike
- Verify that cameras are powered on and properly connected to the DVR's BNC inputs.
- Check camera power supplies.
- Ensure the camera type (TVI, AHD, CVI, CVBS) is compatible with the DVR and configured correctly in the DVR settings.
8.3 Oddaljeni dostop ne deluje
- Ensure the DVR is connected to the internet via the LAN port.
- Preverite omrežne nastavitve na DVR-ju (Configuration > Network).
- Verify that the Hik-Connect service is enabled on the DVR.
- Prepričajte se, da ima vaš pametni telefon aktivno internetno povezavo.
- Re-add the device to the Hik-Connect app if necessary.
8.4 Brez snemanja
- Check if a hard drive is installed and properly initialized (Configuration > HDD).
- Verify recording schedules are set correctly (Konfiguracija > Snemanje > Urnik).
- Ensure there is sufficient free space on the hard drive.
9. Specifikacije
Detailed technical specifications for the Hikvision IDS-7208HQHI-M1/XT DVR:
| Funkcija | Specifikacija |
|---|---|
| Številka modela | IDS-7208HQHI-M1/XT |
| Video vhod | 8-Channel (Turbo HD/AHD/CVI/CVBS/IP) |
| Stiskanje videa | H.265 + / H.265 / H.264 + / H.264 |
| Ločljivost snemanja | Do 5MP |
| Video izhod | HDMI, VGA, BNC |
| Avdio vhod/izhod | 2-Way Audio Support |
| Omrežni vmesnik | 1 RJ45 10M/100M Ethernet Interface |
| USB vmesnik | 2 x USB 2.0 |
| Podpora za trde diske | 1 SATA interface (up to 10 TB capacity per HDD) |
| Napajalnik | 12V DC |
| Dimenzije (D x Š x V) | 19.7 x 19.2 x 4.1 cm |
| Teža | 1.5 kg |
| Proizvajalec | HIKVISION, Prama Hikvision India Pvt. Ltd. |
10. Garancija in podpora
For warranty information and technical support, please refer to the warranty card included with your product or visit the official Hikvision webspletnega mesta. Račun shranite kot dokazilo o nakupu za uveljavljanje garancije.
For further assistance, contact Hikvision customer support or your authorized dealer.