
1. Varnostne informacije
Please read all instructions carefully before installation. If you have any questions, consult a qualified installer.
- Zmogljivost teže: This TV wall mount is designed for TVs weighing up to 200 lbs (91 kg). Do not exceed this weight limit.
- Velikost televizorja: Združljivo s televizorji od 37 do 90 palcev.
- Vrsta stene: This mount is intended for installation on wood stud walls (16"/18"/24" spacing), solid brick walls, or concrete walls. DO NOT MOUNT ON DRYWALL ALONE.
- Osebna poškodba: Always use appropriate safety gear during installation. Two people are recommended for safe installation.
- Poškodbe: Improper installation can lead to property damage or serious injury. Ensure all fasteners are securely tightened.
2. Vsebina paketa
Before beginning installation, verify that all parts are present and undamaged. Refer to the diagram below and the installation video for visual confirmation.

Image: All components of the monTEK TV wall mount, including the wall plate, TV brackets, and various hardware.
- Stenska plošča (x1)
- TV nosilci (x2)
- Lag Bolts (W-A) (x6)
- Concrete Anchors (W-B) (x6)
- Washers (W-C) (x6)
- TV Screws (M-A, M-B, M-C, M-D, M-E, M-F) (x4 each type)
- TV Washers (M-G, M-H) (x4 each type)
- Small Spacers (M-I) (x8)
- Large Spacers (M-J) (x8)
- Imbus ključ (x1)
- ključ (x1)
- Cable Ties (K) (x2)
- Mehurčkasta tehtnica (x1)
3 Potrebno orodje (ni vključeno)
- Phillips izvijač
- Električni vrtalnik
- Kladivo
- Svinčnik
- Stud Finder (for wood stud walls)
4. Namestitev končanaview
Watch the official installation video for a comprehensive visual guide to the mounting process.
Video: monTEK Heavy Duty Tilting TV Wall Mount Installation Guide. This video demonstrates the complete installation process from unboxing to final adjustments.

Image: Three-step overview of the installation process: securing the wall plate, attaching TV brackets, and mounting the TV.
5. Wall Type Compatibility
This mount is compatible with the following wall types:
- Lesene stene: Suitable for 16-inch, 18-inch, or 24-inch wood stud spacing.
- Solid Brick Walls: Requires appropriate concrete anchors.
- Betonske stene: Requires appropriate concrete anchors.
WARNING: DO NOT MOUNT ON DRYWALL ALONE. Always ensure the mount is secured into studs or concrete.

Image: Visual guide for checking TV compatibility (VESA, size, weight) and suitable wall types.
6. Pritrditev nosilcev televizorja na televizor
- Select TV Screw Length: Choose the correct screw length (M4, M6, or M8) that fits your TV's VESA mounting holes without being too long or too short. Use washers (M-G, M-H) and spacers (M-I, M-J) if needed to ensure a snug fit and prevent damage to the TV.
- Pritrdite oklepaje: Secure the two TV brackets to the back of your TV using the selected screws. Ensure the brackets are centered over the VESA hole pattern and are level. The arrows on the front of the TV brackets should point upward.
- Check for Port Obstruction: Verify that the installed TV brackets do not block any input ports or cables on your TV. Adjust if necessary.
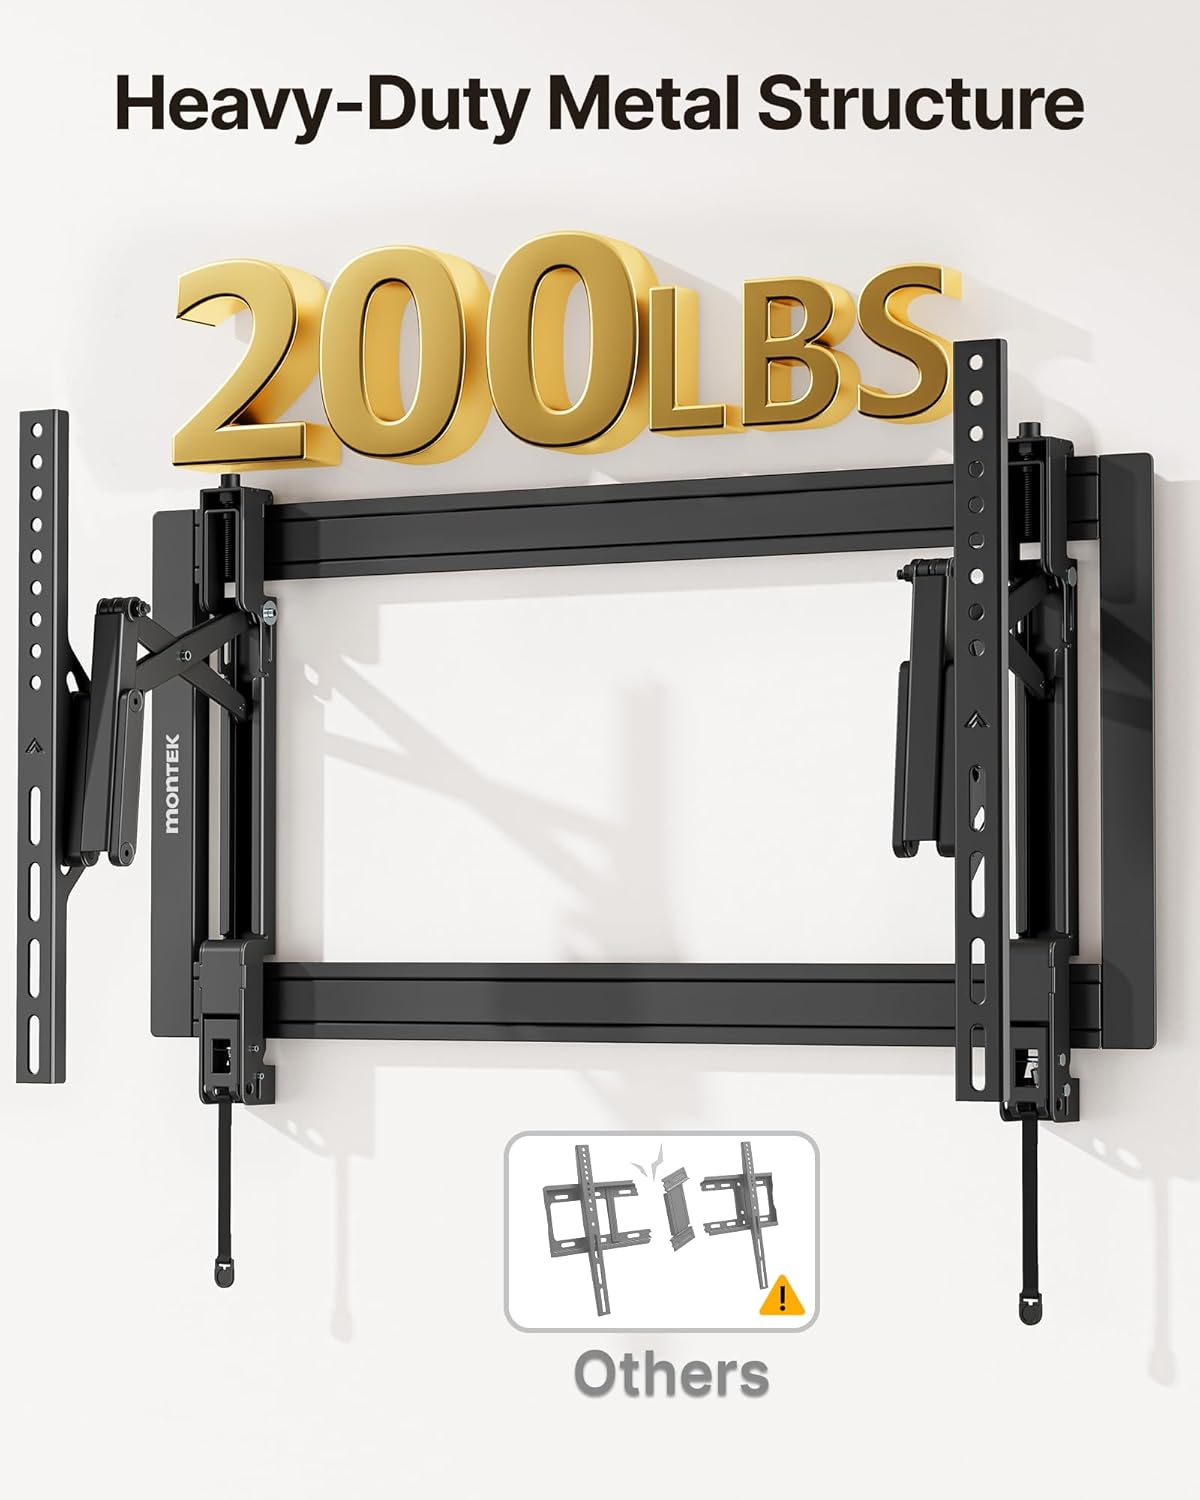
Image: The TV brackets securely attached to the back of a television, highlighting the robust metal structure.
7. Namestitev stenske plošče
7.1. For Wood Stud Wall
- Poiščite čepke: Use a stud finder to locate the edges and center of two adjacent wood studs. Mark the center points where you intend to mount the wall plate.
- Predloga položaja: Tape the drilling template to the wall, aligning it with your marked stud centers and using the bubble level to ensure it is perfectly horizontal.
- Vrtanje pilotnih lukenj: Using an electric drill, drill pilot holes at the marked locations. For wood studs, the drill bit diameter should be 4.5mm (3/16") and the depth 55mm (2.2").
- Varna stenska plošča: Align the wall plate with the drilled holes. Insert lag bolts (W-A) with washers (W-C) through the wall plate and into the pilot holes. Tighten securely with the provided wrench.
7.2. For Concrete Wall
- Označite vrtalne točke: Position the wall plate on the concrete wall at your desired height and use the bubble level to ensure it is horizontal. Mark the six drilling points through the wall plate holes.
- Vrtanje pilotnih lukenj: Using an electric drill, drill pilot holes at the marked locations. For concrete, the drill bit diameter should be 10mm (3/8") and the depth 60mm (2.4").
- Vstavi sidra: Insert the concrete anchors (W-B) into the drilled holes. Use a hammer to gently tap them flush with the wall surface.
- Varna stenska plošča: Align the wall plate with the inserted anchors. Insert lag bolts (W-A) with washers (W-C) through the wall plate and into the anchors. Tighten securely with the provided wrench.

Image: The sliding feature of the wall plate allows for horizontal adjustment of the TV after installation, ideal for centering with off-centered studs.
8. Montaža televizorja
- Hook Brackets: Carefully lift the TV (with brackets attached) and hook the top of the TV brackets onto the top rail of the wall plate.
- Engage Locks: Gently push the bottom of the TV towards the wall until the quick-release spring locks engage with the bottom rail of the wall plate. You should hear a click.
- Preveri varnost: Lightly pull on the bottom of the TV to ensure both quick-release locks are fully engaged and the TV is securely mounted.

Image: Detail of the quick-release spring locks for easy installation and removal, and anti-theft padlock holes for added security (padlock not included).
9. Prilagoditve
9.1. Nastavitev nagiba
This mount allows for a tilt range of -10° to +15°.
- Odvijte vijake: Use the provided wrench to slightly loosen the tilt adjustment screws located on the TV brackets.
- Prilagodi kot: Manually adjust the TV to your desired tilt angle.
- Privijte vijake: Once the desired angle is achieved, securely tighten the tilt adjustment screws on both brackets to fix the position.

Image: The TV mount allows for easy tilt adjustment to reduce glare and optimize viewing kotov.
9.2. Nastavitev vrtenja
The mount offers a swivel range of ±10°.
- Raztegni/zloži: Gently pull the TV away from the wall to extend the arm, then swivel the TV left or right to your preferred viewvhodni kot.
- Položaj: Push the TV back towards the wall to retract the arm when not swiveling.

Image: The TV mount provides swivel capability for comfortable viewing from various positions in a room.
9.3. Easy Leveling After Install
If your TV is not perfectly level after mounting, you can make micro-adjustments:
- Odvijte vijake: Use the provided allen key to slightly loosen the screws on the top of the TV brackets where they connect to the wall plate.
- Prilagodi raven: Gently adjust the TV to achieve a perfectly level position.
- Privijte vijake: Re-tighten the screws securely to lock the TV in its new level position.
10. Upravljanje kablov
The open wall plate design and extendable arm facilitate easy cable management.
- Smer kablov: After connecting all necessary cables to your TV, route them through the open spaces in the wall plate and along the mount's arm.
- Varni kabli: Use the provided cable ties (K) to neatly bundle and secure the cables, preventing them from dangling or getting pinched.
- Dostop: The pull-out design allows for easy access to cables and ports for future connections or maintenance.

Image: The open wall plate provides ample space for routing and concealing cables, contributing to a tidy setup.
11. Removing the TV
To remove the TV from the wall mount:
- Odklopite kable: Ensure all cables connected to the TV are safely disconnected.
- Release Locks: Locate the quick-release cords hanging below the TV. Pull both cords downward simultaneously to disengage the locks from the wall plate.
- Remove TV: With the locks disengaged, gently pull the bottom of the TV away from the wall plate, then lift the TV upward and off the wall plate. Two people are recommended for this step.
12. Specifikacije
| Funkcija | Specifikacija |
|---|---|
| Številka modela | TM1008W-MT |
| Združljivost velikosti zaslona | 37 - 90 palcev |
| Največja nosilnost | 200 lbs (91 kg) |
| Združljivost VESA | Min: 200x200mm, Max: 600x400mm |
| Razpon nagiba | -10° do +15° |
| Vrtljiv domet | ±10° |
| Profile (from wall) | 2.1" (zloženo) do 6.8" (izvlečeno) |
| Material | Kovina |
13. Odpravljanje težav
| Težava | Možna rešitev |
|---|---|
| Televizor po montaži ni poravnan. | Use the micro-adjustment screws on the TV brackets with the provided allen key to fine-tune the level. Loosen slightly, adjust, then re-tighten. |
| Težave pri nastavljanju nagiba. | Ensure the tilt adjustment screws on both TV brackets are sufficiently loosened before attempting to change the angle. Re-tighten after adjustment. |
| Cables are blocked or difficult to access. | Utilize the open wall plate design for routing cables. The pull-out feature allows for greater access to the back of the TV for connections. |
| Mount feels unstable on the wall. | Immediately remove the TV. Recheck all lag bolts and TV bracket screws for tightness. Ensure the mount is installed on a compatible wall type (wood studs, solid brick, or concrete) and that anchors/bolts are correctly installed. Consult a professional if unsure. |
14. Garancija in podpora
For warranty information, technical assistance, or to report missing/damaged parts, please refer to the contact details provided with your original purchase or visit the official monTEK webmesto. Shranite račun za garancijske zahtevke.