Uvod
This manual provides comprehensive instructions for the setup, operation, and maintenance of your V7 Dual Bay Docking Station USB 3.0. This device is designed to provide convenient access to 2.5-inch and 3.5-inch SATA hard disk drives (HDDs) and solid-state drives (SSDs), offering high-speed data transfer and a standalone cloning function.
Pred uporabo izdelka natančno preberite ta priročnik, da zagotovite pravilno delovanje in preprečite poškodbe.
Vsebina paketa

Image: The side of the V7 Dual Bay Docking Station packaging, detailing the included items.
Preverite, ali so v vašem paketu prisotni vsi spodaj navedeni elementi:
- 1x V7 Dual Bay Docking Station
- 1x USB 3.0 A to B Cable
- 1x DC 12V/3A Power Adapter
- 1x Uporabniški priročnik (ta dokument)
Konec izdelkaview
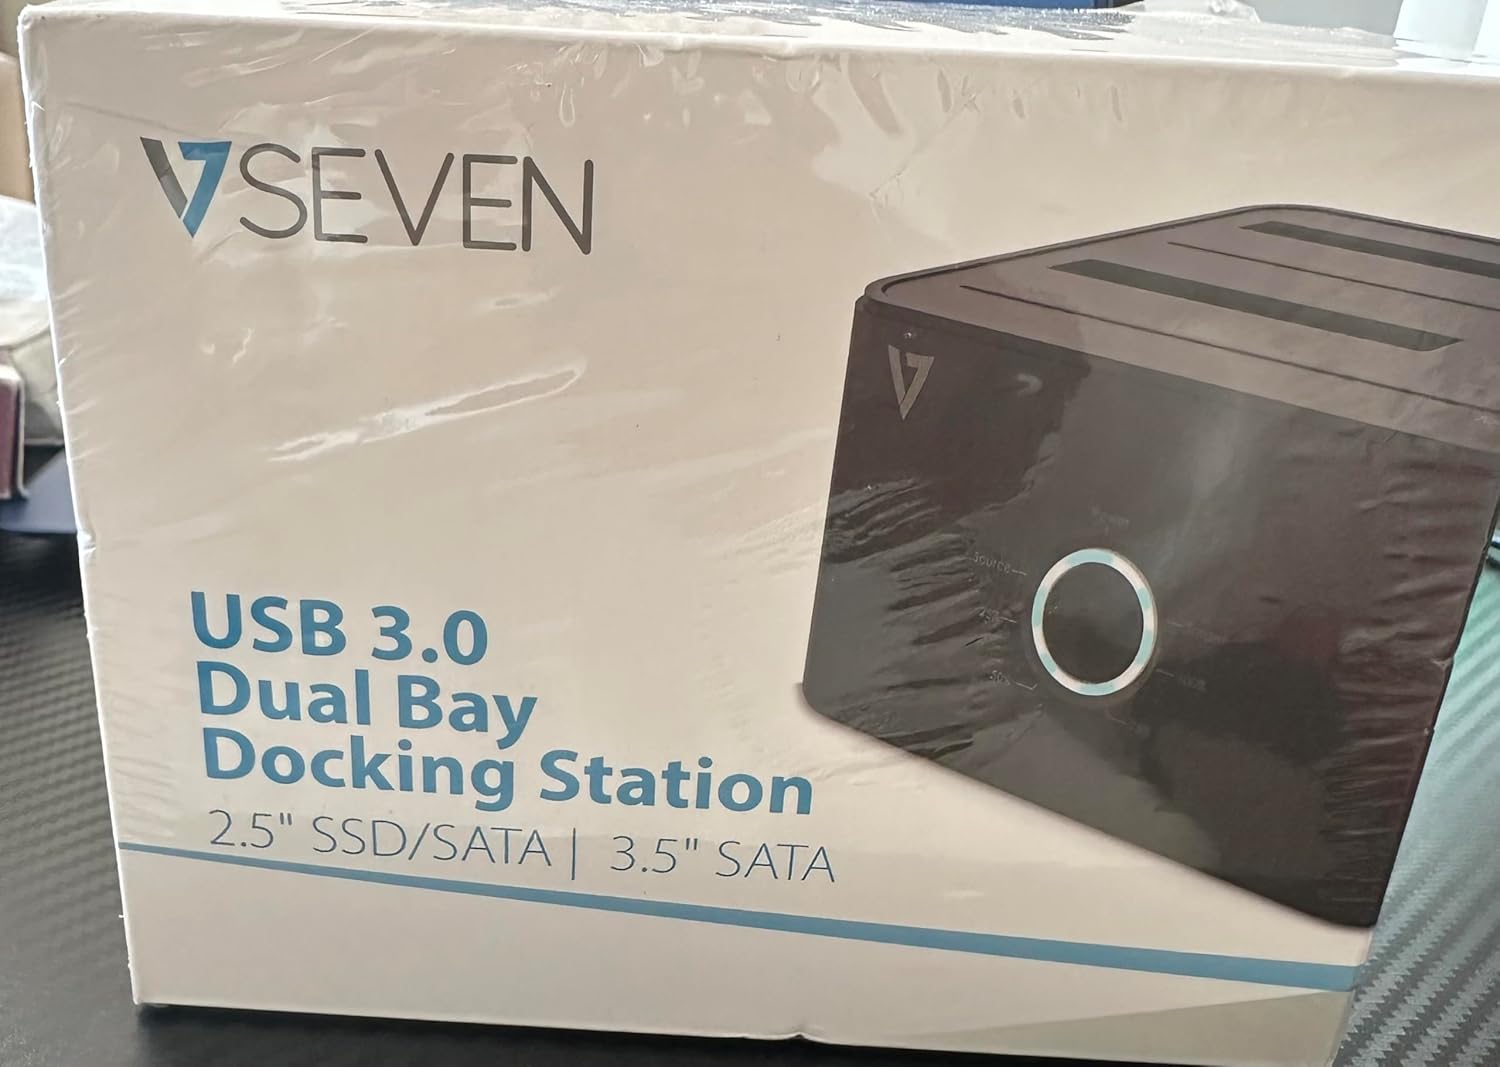
Image: The front of the V7 Dual Bay Docking Station packaging, displaying the product and its name.
The V7 Dual Bay Docking Station provides a versatile solution for managing your 2.5-inch and 3.5-inch SATA drives. Key features include:
- USB 3.0 Super-Speed Data Transfer: Achieves speeds up to 5 Gbps, significantly faster than USB 2.0.
- Zasnova z dvema ležiščema: Supports two SATA I/II/III HDDs or SSDs simultaneously.
- Standalone Clone Function: Allows direct cloning of one drive to another without requiring a computer.
- LED zaslon: Provides status indication during operation, especially for cloning.
- Reciklirani materiali: Constructed with recycled materials, contributing to environmental sustainability.

Image: The back of the V7 Dual Bay Docking Station packaging, illustrating key features and benefits, including the use of recycled materials.
Vrata in indikatorji:
- USB-B Port (1x): Poveže priklopno postajo z računalnikom.
- SATA Drive Bays (2x): For inserting 2.5-inch or 3.5-inch SATA HDDs/SSDs.
- DC Power Input (1x): For connecting the 12V/3A power adapter.
- Power Button/LED: Controls power and indicates operational status.
- Clone Button/LEDs: Initiates the cloning process and indicates progress.
Nastavitev
- Priključite napajanje: Insert the DC 12V/3A power adapter into the "DC Power Input" port on the docking station, then plug the adapter into a wall outlet.
- Vstavite pogone:
- Gently slide your 2.5-inch or 3.5-inch SATA HDD/SSD into the drive bay(s) until it is securely seated. Ensure the SATA connector aligns correctly.
- For cloning, insert the source drive into Bay 1 (Source) and the target drive into Bay 2 (Target). The target drive must be equal to or larger in capacity than the source drive.
- Povezava z računalnikom (za prenos podatkov): If you intend to use the docking station for data transfer with a computer, connect one end of the USB 3.0 A to B cable to the USB-B port on the docking station and the other end to an available USB 3.0 port on your computer.
- Vklop: Press the power button on the docking station. The power LED should illuminate.
Navodila za uporabo
A. Data Transfer Mode (Connected to Computer)
- Prepričajte se, da je priklopna postaja vklopljena in povezana z računalnikom prek kabla USB 3.0.
- Insert one or two SATA drives into the bays.
- Your operating system should detect the drives as external storage. You may need to initialize and format new drives through Disk Management (Windows) or Disk Utility (macOS) before use.
- You can now access, read, and write data to the inserted drives as you would with any external storage device.
- Preden izklopite priklopno postajo ali odstranite pogone, jih vedno varno izvrzite iz operacijskega sistema.
B. Standalone Clone Function (Without Computer)
The clone function allows you to duplicate a source drive to a target drive without a computer connection. The target drive must have a capacity equal to or greater than the source drive.
- Priprava:
- Prepričajte se, da je priklopna postaja odklopljena od računalnika.
- Vstavite Izvorni pogon (the drive you want to copy FROM) into zaliv 1.
- Vstavite Ciljni pogon (the drive you want to copy TO) into zaliv 2.
- Warning: All data on the target drive will be erased during the cloning process. Back up any important data on the target drive before proceeding.
- Začni kloniranje:
- Vklopite priklopno postajo.
- Press and hold the "Clone" button for approximately 3-5 seconds until the clone progress LEDs begin to flash.
- Confirm Clone:
- Release the "Clone" button. The 25% progress LED should start blinking.
- Press the "Clone" button again briefly to confirm and start the cloning process.
- Spremljajte napredek: The progress LEDs (25%, 50%, 75%, 100%) will illuminate sequentially to indicate the cloning status.
- Dokončanje: When the 100% LED remains solid, the cloning process is complete.
- Power Off and Remove: Preden odstranite pogone, izklopite priklopno postajo.
Vzdrževanje
- Polnilno postajo vzdržujte čisto in brez prahu. Za čiščenje uporabljajte mehko, suho krpo.
- Naprave ne izpostavljajte ekstremnim temperaturam, vlagi ali neposredni sončni svetlobi.
- Naprave ne poskušajte razstavljati ali popravljati sami. S tem boste razveljavili garancijo.
- Med delovanjem zagotovite ustrezno prezračevanje okoli naprave.
Odpravljanje težav
| Težava | Možen vzrok | rešitev |
|---|---|---|
| Naprava se ne vklopi. | Napajalnik ni priključen ali je pokvarjen. | Ensure the power adapter is securely connected to both the docking station and a working power outlet. Try a different outlet. |
| Računalnik ni zaznal pogonov. | USB cable not connected properly; drive not seated correctly; drive uninitialized/unformatted. | Check USB cable connection. Re-seat the drive(s). For new drives, initialize and format them via Disk Management (Windows) or Disk Utility (macOS). Try a different USB port on your computer. |
| Clone function not starting. | Incorrect drive placement; target drive too small; clone button not held long enough. | Ensure source drive is in Bay 1 and target drive in Bay 2. Verify target drive capacity is equal to or larger than source. Hold the clone button for 3-5 seconds until LEDs flash. |
| Počasne hitrosti prenosa podatkov. | Connected to USB 2.0 port; faulty USB cable. | Ensure the docking station is connected to a USB 3.0 port on your computer. Try a different USB 3.0 cable. |
Specifikacije
- Model: 9UDBBS-BLK
- Vmesnik strojne opreme: USB 3.0 (združljiv nazaj z USB 2.0)
- Hitrost prenosa podatkov: Up to 5 Gbps (USB 3.0 Super-Speed)
- Združljivost pogonov: 2.5" and 3.5" SATA I/II/III HDDs and SSDs
- Drive zalivi: 2
- Pristanišča: 1x USB-B (Host), 2x SATA (Internal), 1x DC Power Input
- Vhodna moč: DC 12V/3A (12 Watts)
- UPC: 662919116557
- Proizvajalec: Ingram Micro Inc.
- Material: Made from Recycled Materials
Garancija in podpora
For warranty information and technical support, please refer to the official V7 webspletno mesto ali se obrnite na prodajalca. Shranite dokazilo o nakupu za uveljavljanje garancije.
Za dodatno pomoč obiščite: www.v7world.com/support (Npramppovezava, dejanska povezava se lahko razlikuje)