
1. Uvod
This manual provides detailed instructions for the installation, operation, and maintenance of your ELUSH 60Amp MPPT Solar Charge Controller. This device is designed to efficiently manage power from your solar panels to charge various battery types, including LiFePO4, AGM, and Gel batteries, in 12V, 24V, and 48V systems.
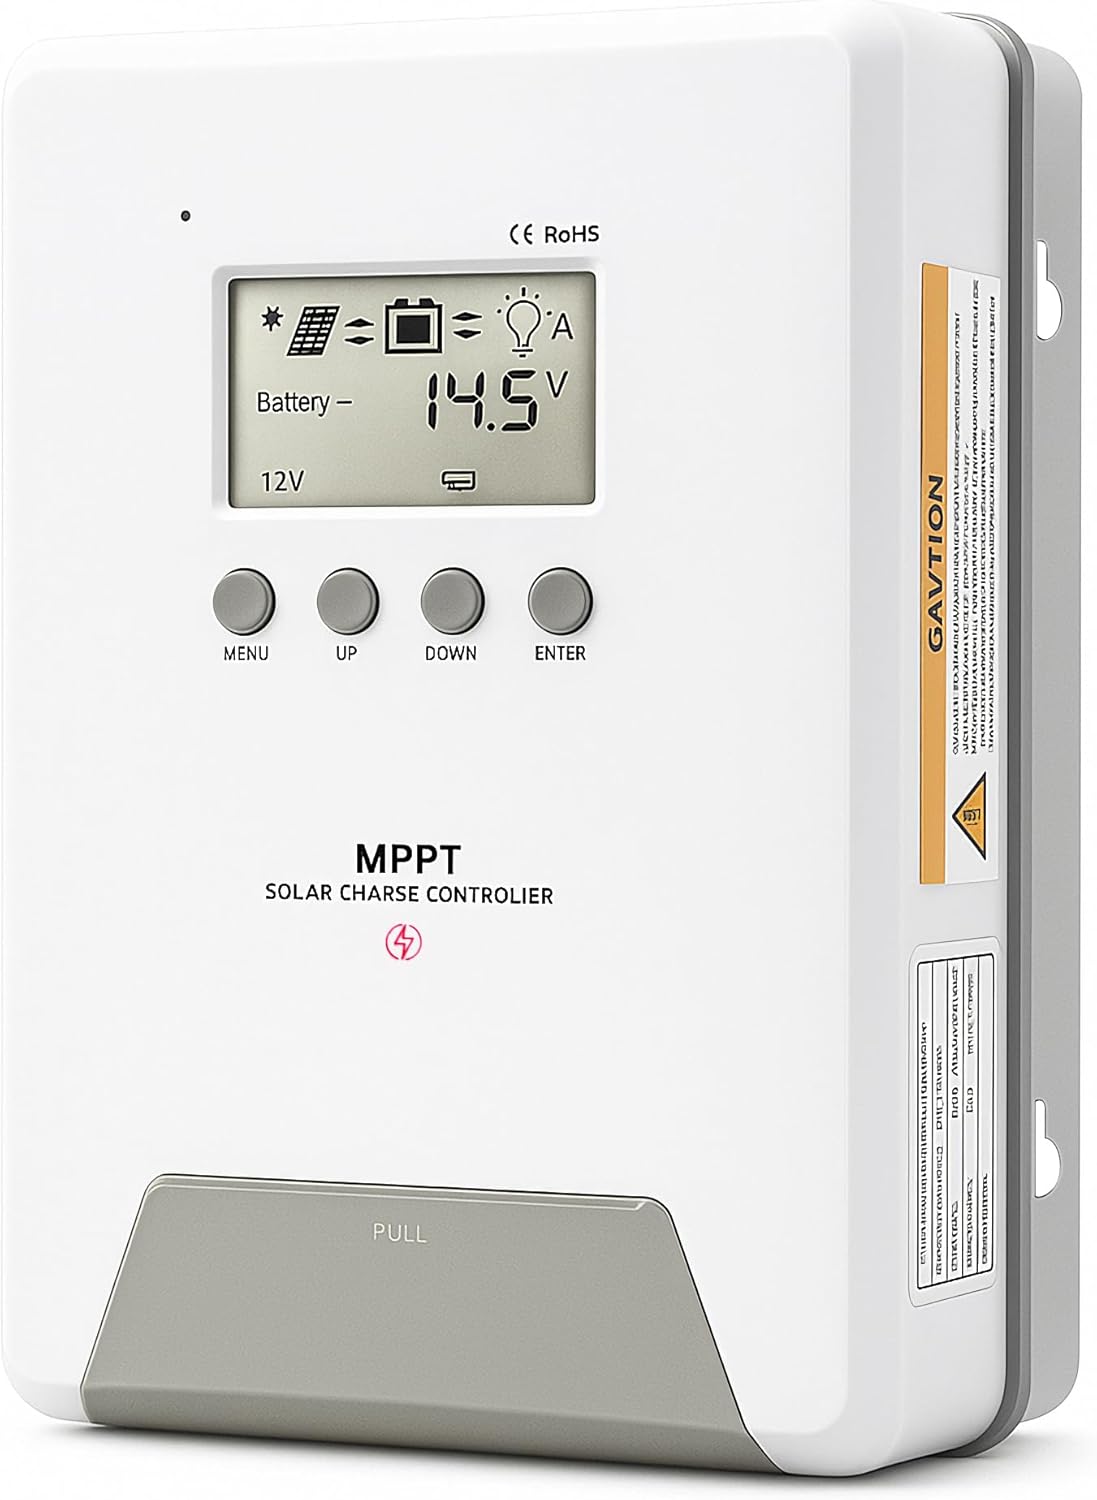
Image 1.1: ELUSH 60Amp MPPT Solar Charge Controller.
2. Ključne značilnosti
- Napredna MPPT tehnologija: Maximizes energy harvest from solar panels with tracking efficiency no less than 99% and peak conversion efficiency up to 98%.
- System Auto-Detection: Automatically detects 12V, 24V, and 48V DC system voltages upon startup.
- Široka združljivost baterij: Supports Sealed (AGM), Gel, Flooded lead-acid batteries, and Lithium batteries (LiFePO4, Ternary Lithium/Li-ion).
- Jasen LCD zaslon: Zagotavlja spremljanje volumna PV v realnem časutage, prostornina baterijetage/current, charging power, accumulated energy generation, and load status.
- Essential Built-in Protections: Includes safeguards against overvoltage, nadtok, podvoltage, and high temperature.
- Učinkovito odvajanje toplote: Features a high-quality aluminum heatsink for stable operation and optimal performance.

Image 2.1: MPPT Technology highlighting 99% tracking efficiency and 98% peak conversion efficiency.
3. Safety Information and System Protection
The ELUSH MPPT Solar Charge Controller is equipped with multiple protection features to ensure safe and reliable operation of your solar power system. Always adhere to local electrical codes and safety guidelines during installation and operation.
- Zaščita pred prekomernim praznjenjem: Prevents batteries from being discharged below a safe voltage ravni.
- Zaščita pred preobremenitvijo: Safeguards against excessive current draw from the load terminals.
- Zaščita pred kratkim stikom: Protects against short circuits in the solar panel, battery, or load circuits.
- Zaščita pred povratno polarnostjo: Prevents damage from incorrect battery or solar panel connections.
- Zaščita pred prenapolnjenjem: Ensures batteries are not overcharged, extending their lifespan.
- Temperaturna kompenzacija: Adjusts charging parameters based on battery temperature for optimal charging.
- Zaščita pred povratnim tokom: Preprečuje, da bi se tok ponoči vrnil iz baterije v sončno celico.

Image 3.1: Visual representation of the controller's system protection features.
4. Namestitev in ožičenje
Pravilna namestitev je ključnega pomena za varno in učinkovito delovanje vašega solarnega regulatorja polnjenja. Pazljivo sledite tem korakom.
4.1 Connection Sequence
Da preprečite poškodbe, komponente vedno priključite v naslednjem vrstnem redu:
- Priključite baterijo: Connect the battery to the controller's battery terminals. Ensure correct polarity (+ to + and - to -). The battery terminals should be installed with safety fuses. Ensure the distance does not exceed 150mm.
- Povežite obremenitev: Connect your DC loads to the controller's load terminals.
- Connect the solar panel: Connect the solar panel to the controller's solar energy terminals. Ensure correct polarity.
- Power on the controller: The controller will automatically power on once all connections are secure.
Opomba: If you want to connect an inverter, connect it directly to the battery, not to the load terminal of the controller.

Image 4.1: Diagram showing the connection points for solar energy, battery, and load.

Image 4.2: Step-by-step visual guide for connecting the system components.
4.2 Hidden Installation Wiring
For a clean and secure installation, the wiring can be routed and hidden. After all connections are properly made and tested, tighten the screws on the terminals and close the bottom cover of the controller to complete the installation. This protects the wiring and provides a neat appearance.
5. Navodila za uporabo
The controller features an intuitive LCD display and buttons for monitoring and configuration.
5.1 LCD-zaslon in gumbi
The LCD screen provides real-time information about your system. The buttons allow you to navigate menus and adjust settings.
- Senzor temperature: Located on the controller, it measures ambient temperature for accurate charging compensation.
- LCD zaslon: Shows PV voltage, prostornina baterijetage, charging current, load status, and other system parameters.
- Gumb MENU: Used to enter and exit menu settings.
- Gumb GOR: Navigates upwards through menu options or increases values.
- Gumb DOL: Navigates downwards through menu options or decreases values.
- Gumb ENTER: Potrdi izbire ali odpre podmenije.
Image 5.1: The controller's LCD display and button layout for user interaction.
5.2 Samodejno Voltage Recognition and Battery Compatibility
The controller automatically detects the system voltage (12V, 24V, or 48V) upon startup. It is compatible with a wide range of battery types, ensuring efficient and safe charging for your specific setup.
- Lithium-ion batteries (Li): For standard lithium-ion chemistries.
- Lithium Iron Phosphate batteries (LiFePO4): Specifically designed for LiFePO4 batteries.
- Lead-acid batteries (BAT): Includes Sealed (AGM), Gel, and Flooded types.

Image 5.2: Illustration of automatic voltage recognition and compatibility with various battery types.
6. Specifikacije
| Znamka | ELUSH |
| Številka modela | DM60A |
| Trenutna ocena | 60A |
| Sistem Voltage | 12V/24V/48V Auto Detection |
| Največja PV vhodna glasnosttage | 150 V |
| Material | Aluminij |
| Vrsta zaslona | LCD |
| barva | Črna |
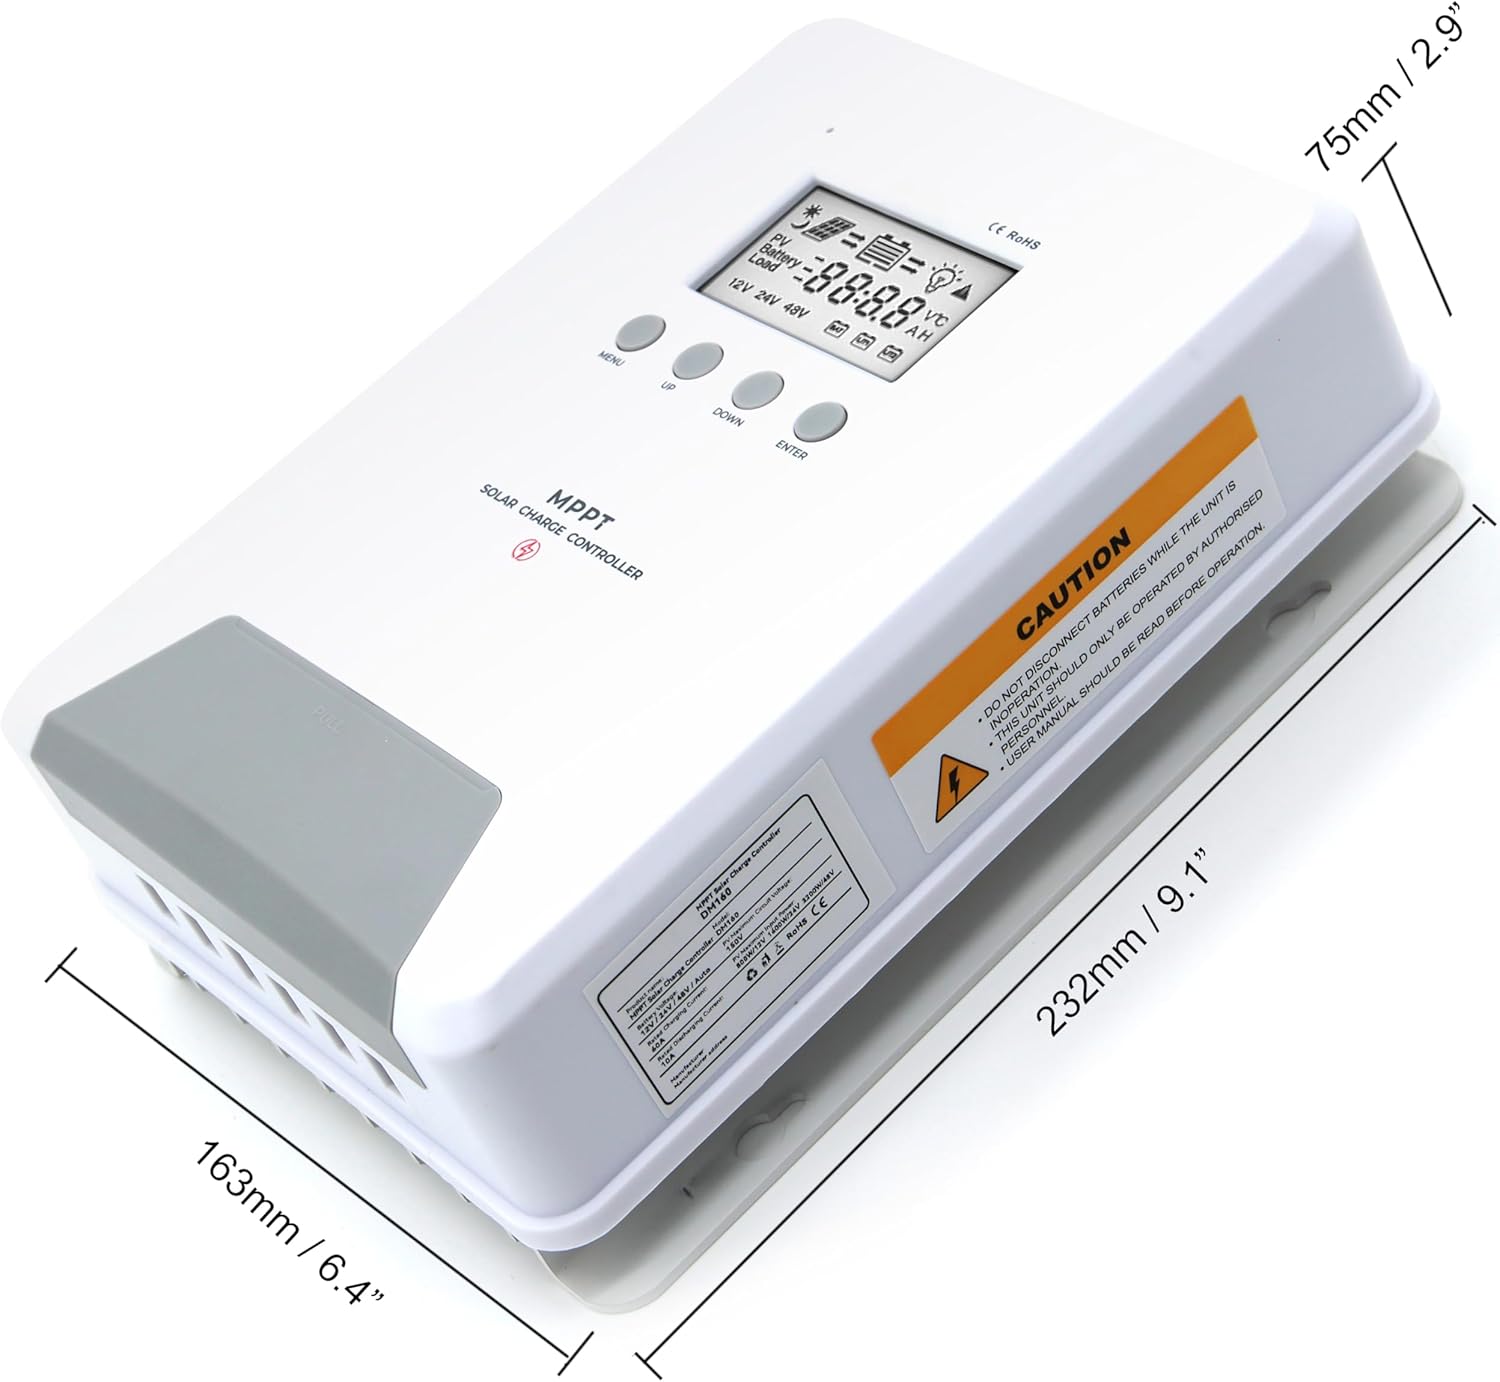
Image 6.1: Physical dimensions of the ELUSH 60Amp MPPT Solar Charge Controller.
7. Vzdrževanje
To ensure optimal performance and longevity of your solar charge controller, regular maintenance is recommended:
- Preverite povezave: Periodically check all wiring connections for tightness and corrosion. Loose connections can cause overheating and damage.
- Očistite krmilnik: Krmilnik naj bo čist in brez prahu ter umazanije. Zunanjost obrišite s suho krpo. Prepričajte se, da prezračevalne odprtine niso blokirane.
- Monitor uspešnosti: Regularly check the LCD display for normal operating parameters. Note any unusual readings or error codes.
- Zdravje baterije: Ensure your batteries are well-maintained according to their manufacturer's guidelines.
8. Odpravljanje težav
If you encounter issues with your ELUSH MPPT Solar Charge Controller, refer to the following basic troubleshooting steps:
- Brez zaslona/brez napajanja: Preverite povezave akumulatorja in se prepričajte, da je akumulator napolnjentage is within the controller's operating range. Verify fuses are intact.
- Baterija se ne polni: Confirm solar panel connections and polarity. Check for sufficient sunlight and ensure solar panel voltage je nad volumnom baterijetage. Verify battery type settings are correct.
- Nalaganje ne deluje: Check load connections and ensure the load current does not exceed the controller's rating. Verify load output settings on the controller.
- Kode napak: If the LCD displays an error code, consult the full product manual (if available) or contact technical support for specific guidance.
- Pregrevanje: Ensure the controller is installed in a well-ventilated area, away from direct sunlight or heat sources. Check for any obstructions to the heatsink.
9. Garancija in podpora
ELUSH provides professional technical support for its products. If you have any questions, require assistance with installation, operation, or troubleshooting, please feel free to contact us. Refer to your purchase documentation for specific warranty terms and contact information.