
Uvod
This manual provides detailed instructions for the safe and proper installation, operation, and maintenance of your monTEK Heavy Duty Full Motion TV Wall Mount (Model HW1276BK). Please read all instructions carefully before beginning installation. Retain this manual for future reference.
This wall mount is designed for 43-100 inch flat or curved TVs weighing up to 150 lbs (68 kg), with VESA compatibility from 200x200mm to 800x600mm.
Varnostne informacije
- OPOZORILO: This product is designed for installation on wood stud, solid concrete, or masonry walls only. DO NOT INSTALL ON DRYWALL ALONE.
- Ensure the mounting surface can safely support the combined weight of the mount and your TV.
- Med namestitvijo vedno uporabljajte ustrezno varnostno opremo.
- If you have any installation concerns, consult a qualified professional.
- Med namestitvijo hranite otroke in hišne ljubljenčke proč.
Vsebina paketa
Verify all parts are present before installation. Refer to the included hardware bags for specific screw and anchor types.

The package includes the pre-assembled wall mount, TV brackets, various screws (M-A, M-B, M-C, M-D), washers (M-E, M-F), spacers (M-G), wall anchors (W-B), lag bolts (W-A), and washers (W-C) for wall mounting. A bubble level and a small wrench are also provided.
Potrebna orodja (niso priložena)
- Phillips izvijač
- Električni vrtalnik
- Ključ za vtičnice
- Svinčnik
- Iskalnik stebrov (za namestitev lesenih stebrov)
- Merilni trak
Nastavitev in namestitev
1. korak: pritrdite TV nosilce na TV
- Televizor previdno položite z zaslonom navzdol na mehko, čisto površino.
- Prepoznajte pritrdilne luknje VESA na zadnji strani televizorja.
- Select the appropriate screws (M-A, M-B, M-C, M-D), washers (M-E, M-F), and spacers (M-G) that fit your TV's VESA pattern. Hand-thread screws to determine correct diameter.
- Attach the two vertical TV brackets to the back of your TV using the selected hardware. Ensure the brackets are centered and level.
- If the brackets block input ports, adjust their position upwards to clear the ports, ensuring they do not exceed the top edge of the TV.


Step 2: Install Wall Plate to Wall
- Določite vrsto stene: This mount is compatible with wood stud walls (16"/18" spacing), concrete walls, and solid brick walls. Ne montirajte samo na mavčno ploščo.
- Za lesene stene z nosilci:
- Use a stud finder to locate the edges and center of your wood studs. Mark the center of the studs at your desired TV height.
- Place the wall plate against the wall, aligning the mounting holes with the marked stud centers. Use the included bubble level to ensure it is perfectly horizontal.
- Mark the drill points. Drill pilot holes using a 6.0mm (1/4") drill bit to a depth of 90mm (3.5").
- Attach the wall plate using lag bolts (W-A) and washers (W-C). Tighten securely with a socket wrench.
- Za betonske/opečne stene:
- Place the wall plate against the wall at your desired TV height. Use the included bubble level to ensure it is perfectly horizontal.
- Mark the drill points. Drill pilot holes using a 12mm (1/2") drill bit to a depth of 95mm (3.7").
- Insert concrete anchors (W-B) into the drilled holes.
- Attach the wall plate using lag bolts (W-A) and washers (W-C). Tighten securely with a socket wrench.
- Extend the wall plate arms and verify that the mount is firmly secured to the wall.
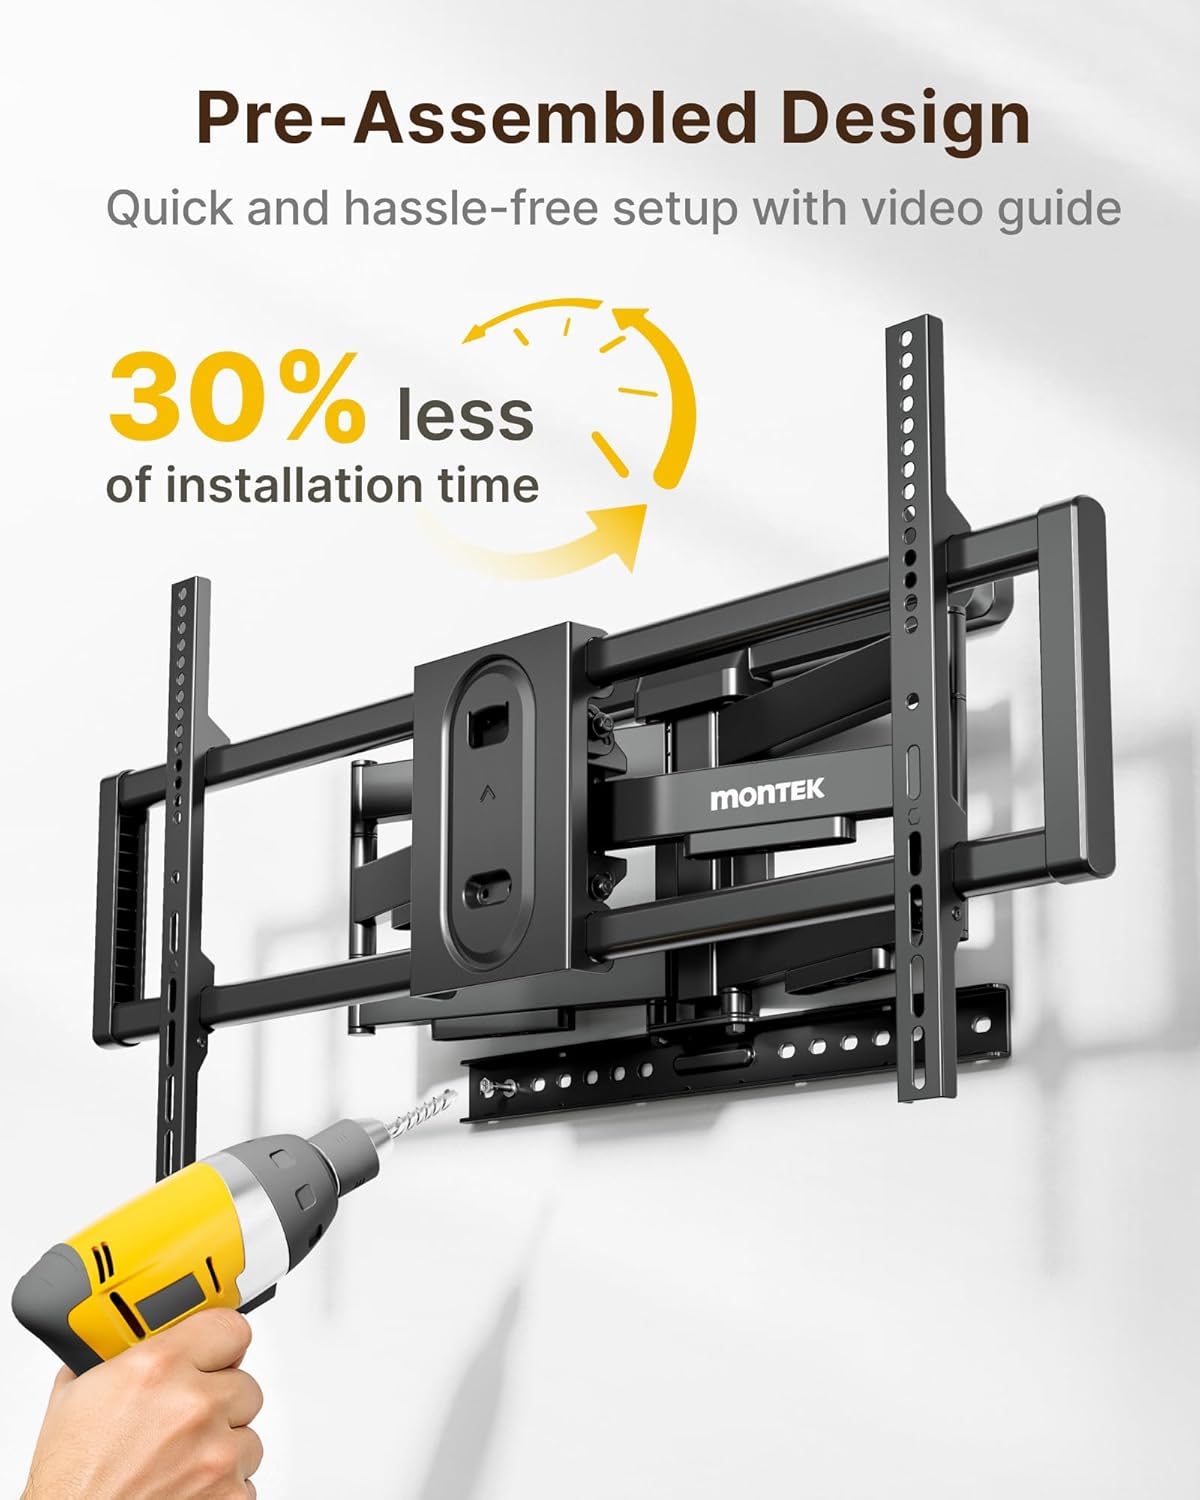


Video: Detailed animation of the TV Wall Mount Installation process.
3. korak: Obesite televizor
- With assistance, carefully lift the TV and hook the attached TV brackets onto the wall plate.
- Prepričajte se, da je televizor varno pritrjen na stensko ploščo.
- Engage the safety locks on the TV brackets to prevent accidental dislodgement.

Navodila za uporabo
Adjusting TV Position
- Podaljšanje/umikanje: The dual swing arms allow the TV to extend up to 18.9 inches from the wall for viewing and retract back to 2.56 inches for a low-profile poglej.
- Vrtljiva: The mount offers a smooth ±60° swivel range, allowing you to adjust the TV for optimal viewing from various angles in the room.
- Nagib: Adjust the TV tilt from +5° to -10° to reduce glare and achieve a comfortable viewing angle. Use the provided wrench to loosen/tighten the tilt mechanism.
- Izravnavanje zaslona: After hanging, the screen can be leveled ±3° to ensure perfect horizontal alignment. Use the provided wrench to adjust the leveling bolts on the TV brackets.


Video: Konecview of the monTEK Heavy Duty Full Motion TV Wall Mount features, including movement and stability.
Video: Demonstration of the monTEK Heavy Duty Tilting TV Wall Mount's tilting capabilities.
Upravljanje kablov
The mount features a built-in cable management design to help organize and hide cables, maintaining a neat and orderly appearance for your entertainment area.
Vzdrževanje
- Občasno preverite vse vijake in matico, da se prepričate, da so trdno priviti in varno pritrjeni.
- Nosilec očistite z mehko, suho krpo. Izogibajte se abrazivnim čistilom ali topilom.
- Ensure the moving parts operate smoothly. Do not force any adjustments.
Odpravljanje težav
- Televizor ni poravnan: Use the screen leveling adjustment feature as described in the Operating Instructions.
- Nosilec se zdi ohlapen: Re-check all wall mounting bolts and TV bracket screws. Ensure they are tightened securely. If mounted on wood studs, verify studs were correctly located.
- Težavnost prilagajanja: Ensure no cables are snagged. Loosen adjustment bolts slightly if movement is too stiff, then re-tighten to desired tension.
- Manjkajoči deli: Contact monTEK customer service for assistance.
Specifikacije
| Znamka | monTEK |
| Številka modela | HW1276BK |
| Vrsta namestitve | Stenski nosilec |
| Vrsta gibanja | Zgibno, vrtljivo |
| Material | Legirano jeklo |
| barva | Črna |
| Združljive naprave | Television (43-100 Inches) |
| Minimum Supported Screen Size | 43 palcev |
| Maximum Supported Screen Size | 100 palcev |
| Največja nosilnost | 150 lbs (68 kg) - 4X Strength Tested |
| Združljivost VESA | 200x200 mm do 800x600 mm |
| Vrtljiv domet | ±60° |
| Razpon nagiba | +5° do -10° |
| Izravnavanje zaslona | ±3° |
| Podaljšek od stene | 2.56" (zloženo) do 18.9" (izvlečeno) |
| Teža predmeta | 17.9 funta |
Garancija in podpora
This monTEK TV Wall Mount comes with a 10-letna garancija. For any questions, technical support, or warranty claims, please contact monTEK customer service through the retailer where you purchased the product or visit the official monTEK webmesto.
Spletni viri: