
Uvod
Thank you for choosing the vidaXL Shoe Rack. This manual provides essential information for the safe assembly, operation, and maintenance of your new shoe rack. Please read these instructions carefully before beginning assembly and retain them for future reference.
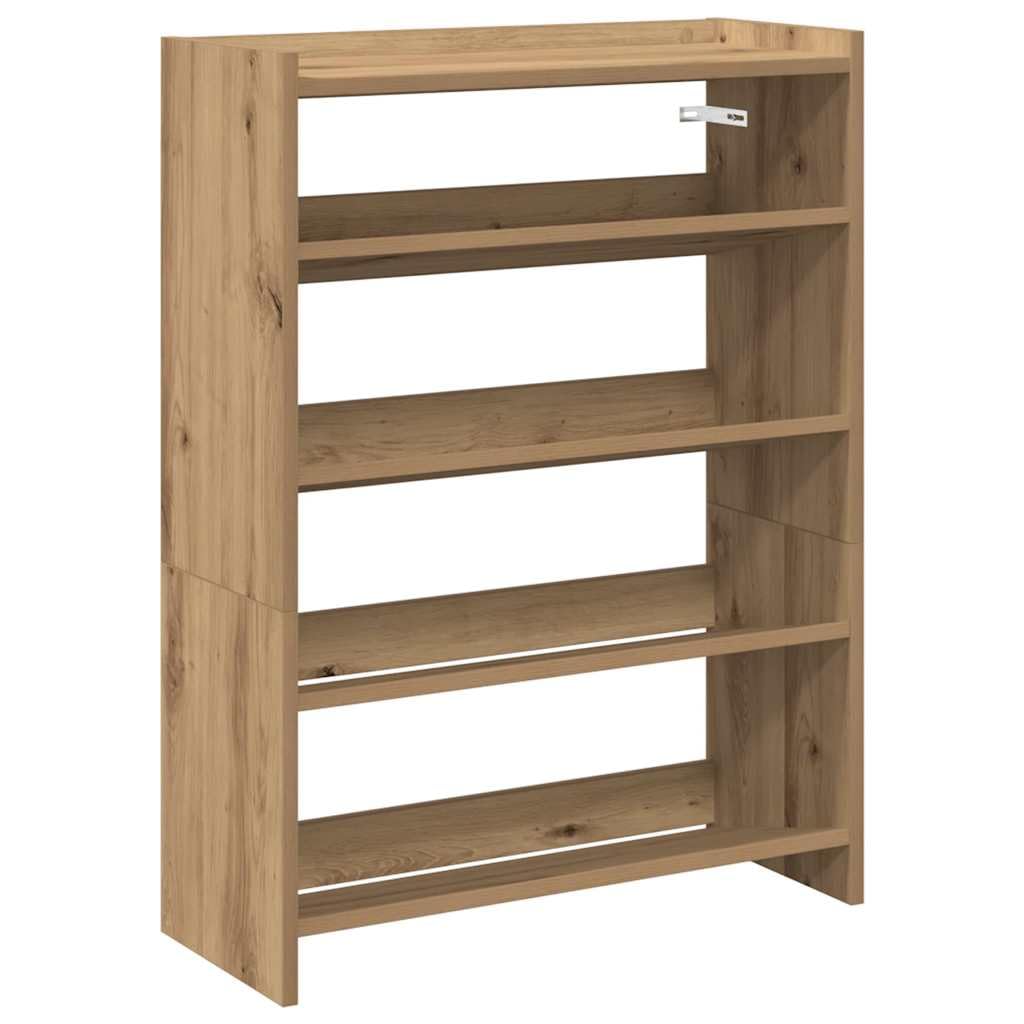
Image 1: Fully assembled vidaXL shoe rack in a craft oak finish, shown in an entryway with various shoes.
Varnostne informacije
OPOZORILO: To prevent tipping, this product must be securely fastened to the wall using the included wall-mounting device. Failure to do so can result in serious injury or death from furniture tip-over. Always ensure the product is stable and properly secured before use.
- Vse montažne dele hranite izven dosega otrok.
- Do not stand or climb on the shoe rack.
- Za stabilnost enakomerno porazdelite težo po policah.
- Redno preverjajte vse povezave in pritrdilne elemente, da zagotovite njihovo tesnost.
Vsebina paketa
Pred montažo preverite, ali so vse komponente prisotne in nepoškodovane. Če kateri koli deli manjkajo ali so poškodovani, se obrnite na podporo strankam vidaXL.
- Shoe rack panels (particle board)
- Police
- Montažni material (vijaki, mozniki, spojniki)
- Wall-mounting device (straps, screws, wall plugs)
- Navodila za uporabo
Navodila za postavitev in sestavljanje
Assembly of this shoe rack is required. Please follow the steps below carefully. It is recommended to have two people for assembly.
Potrebna orodja (niso priložena):
- Phillips izvijač za glavo
- Kladivo (za moznike)
- Vrtalnik (za montažo na steno)
- Raven
Koraki sestavljanja:
- Razpakirajte komponente: Vse dele previdno vzemite iz embalaže in jih položite na čisto, mehko površino, da preprečite praske.
- Prepoznajte dele: Refer to the included parts diagram (if available) to identify each panel and piece of hardware.
- Sestavite okvir: Connect the side panels to the top and bottom panels using the provided screws and dowels. Ensure all connections are snug.
- Namestite police: Slide the shelves into the designated slots or attach them using the appropriate hardware. Ensure shelves are level and secure.
- Pritrdite zadnjo ploščo (če je primerno): Secure the back panel to the frame using small nails or screws.
- Montaža na steno:
- Position the assembled shoe rack in its desired location against a solid wall.
- Mark the wall through the mounting holes on the back of the shoe rack or using the wall-mounting strap.
- Drill pilot holes in the marked locations on the wall. Insert wall plugs if necessary (for plasterboard or masonry walls).
- Attach the wall-mounting device to the wall and to the shoe rack, ensuring a secure connection.
- Verify that the shoe rack is stable and cannot tip over.

Image 2: Technical diagram illustrating the dimensions of the shoe rack: 60 cm width, 25 cm depth, and 81 cm height.
Navodila za uporabo
The vidaXL Shoe Rack is designed for organizing and storing footwear. Its multi-tiered shelves provide ample space for various shoe types.
- Namestitev čevljev: Place shoes neatly on the shelves. Distribute them evenly to prevent overloading any single section.
- Uporaba zgornje površine: The sturdy top surface can be used to display decorative items, photo frames, or to hold small items like keys or wallets for easy access. Do not place excessively heavy objects on the top surface.
- Kapaciteta: The maximum load capacity for the entire unit is 60 kg. Avoid exceeding this weight limit.

Image 3: The shoe rack filled with different types of footwear, demonstrating its storage capacity.
Vzdrževanje
Proper maintenance will ensure the longevity and appearance of your shoe rack.
- Čiščenje: Obrišite površino z oglasomamp krpo. Izogibajte se uporabi agresivnih kemikalij ali abrazivnih čistil, saj lahko poškodujejo premaz.
- Razlitje: Immediately wipe up any liquid spills to prevent moisture damage to the particle board.
- Pritrdilni elementi: Občasno preverite vse vijake in povezave, da se prepričate, da so trdno priviti. Po potrebi jih ponovno privijte.
- Okolje: Keep the shoe rack in a dry environment. Avoid prolonged exposure to direct sunlight or extreme temperature changes.

Slika 4: Podroben view of the top shelf, highlighting the smooth, easy-to-clean surface.
Odpravljanje težav
| Težava | Možen vzrok | rešitev |
|---|---|---|
| Shoe rack feels unstable or wobbly. |
|
|
| Police se upogibajo. |
|
|
Specifikacije
| Znamka | vidaXL |
| Številka modela | 859886 |
| Material | Iverne plošče |
| Skupne mere (D x Š x V) | 60 x 25 x 81 cm (23.6" x 9.8" x 31.9") |
| barva | Craft Oak |
| Največja nosilnost | 60 kg (132 lbs) |
| Zahtevana montaža | ja |
| Vrsta namestitve | Wall mount (anti-tip device included) |
Garancija in podpora
Za informacije o garanciji ali tehnično podporo glejte dokumentacijo, priloženo nakupu, ali obiščite uradno spletno stran vidaXL. website. If you have any questions regarding assembly, missing parts, or product functionality, please contact vidaXL customer service directly.
vidaXL Uradno Webspletno mesto: www.vidaxl.com