1. Uvod
Thank you for choosing the Milex Mist Breeze Fan MMF002. This product combines the functionality of a fan with a humidifier to provide a refreshing and comfortable environment. Please read this manual carefully before operating the appliance to ensure safe and efficient use. Keep this manual for future reference.
2. Pomembna varnostna navodila
Pri uporabi električnih naprav je treba vedno upoštevati osnovne varnostne ukrepe, da zmanjšate tveganje požara, električnega udara in poškodb oseb. Ti vključujejo:
- Pred uporabo tega aparata preberite vsa navodila.
- Zagotovite voltagNavedeno na nalepki z nazivnimi vrednostmi ustreza glasnosti vašega električnega omrežja.tage.
- Naprave, vtiča ali kabla ne potapljajte v vodo ali druge tekočine.
- Potreben je natančen nadzor, kadar katero koli napravo uporabljajo otroci ali v njeni bližini.
- Izključite vtič iz vtičnice, ko ga ne uporabljate, pred sestavljanjem ali razstavljanjem delov in pred čiščenjem.
- Ne uporabljajte nobene naprave s poškodovanim kablom ali vtičem ali po tem, ko naprava ne deluje pravilno ali je bila kakor koli poškodovana.
- Ne uporabljajte na prostem. Ta naprava je namenjena samo za uporabo v zaprtih prostorih.
- Kabel naj ne visi čez rob mize ali pulta ali se dotika vročih površin.
- Ne postavljajte na ali blizu vročega plinskega ali električnega gorilnika ali v segreto pečico.
- Napravo vedno uporabljajte na stabilni, ravni površini.
- Do not insert fingers or any objects into the fan guard or mist outlet during operation.
- Ensure the water tank is securely in place before operating the mist function.
- Only use clean tap water in the water tank. Do not add essential oils or other chemicals directly into the water tank as this may damage the unit.
3. Vsebina paketa
Carefully unpack your Milex Mist Breeze Fan and check that all items are present and in good condition. If any items are missing or damaged, please contact your retailer.
- 1 x Milex Mist Breeze Fan Unit (MMF002)
- 1 x daljinski upravljalnik
- 1 x Uporabniški priročnik (ta dokument)
4. Izdelek je končanview
Familiarize yourself with the components of your Milex Mist Breeze Fan.

Slika 4.1: Spredaj view of the Milex Mist Breeze Fan. This image shows the fan head, control panel, main body, water tank, and base with rollers.

Slika 4.2: Stran view of the Milex Mist Breeze Fan. This image highlights the overall profile and the position of the water tank at the base.
Nadzorna plošča
Slika 4.3: Podrobno view of the control panel. This panel features buttons for power, speed, mode, oscillation, timer, and mist functions.
Daljinski upravljalnik

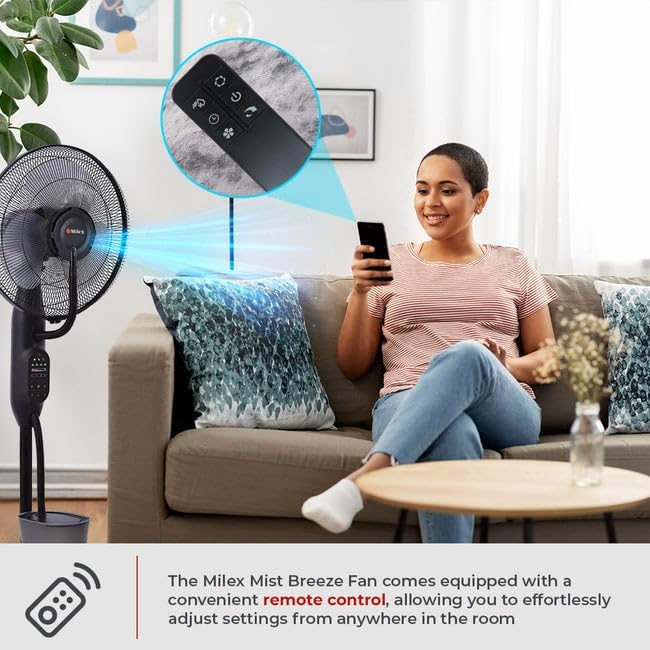
Slika 4.4: The remote control for the Milex Mist Breeze Fan. It allows for convenient adjustment of all fan settings from a distance.
5. Nastavitev
Follow these steps to set up your Milex Mist Breeze Fan:
- Razpakiraj: Odstranite ves embalažni material in se prepričajte, da so prisotni vsi sestavni deli.
- Pozicioniranje: Place the fan on a firm, level surface. The five rollers on the base allow for easy movement. Ensure there is adequate space around the fan for optimal air circulation and mist dispersion.
- Napolni rezervoar za vodo:
- Carefully remove the water tank from the base.
- Odvijte pokrov na dnu rezervoarja.
- Fill the tank with clean, cool tap water. Do not exceed the maximum fill line. The water capacity is 2.8 Litres.
- Varno privijte pokrovček nazaj.
- Napolnjen rezervoar za vodo postavite nazaj na podstavek in se prepričajte, da je pravilno nameščen.
- Priključite napajanje: Plug the power cord into a standard 220-240V, 50/60 Hz electrical outlet.
6. Delovanje
Your Milex Mist Breeze Fan can be operated using the control panel on the unit or the included remote control.
6.1 Vklop/izklop
- Pritisnite MOČ enkrat pritisnite gumb, da vklopite ventilator.
- Pritisnite MOČ ponovno pritisnite gumb, da izklopite ventilator.
Nastavitve hitrosti 6.2
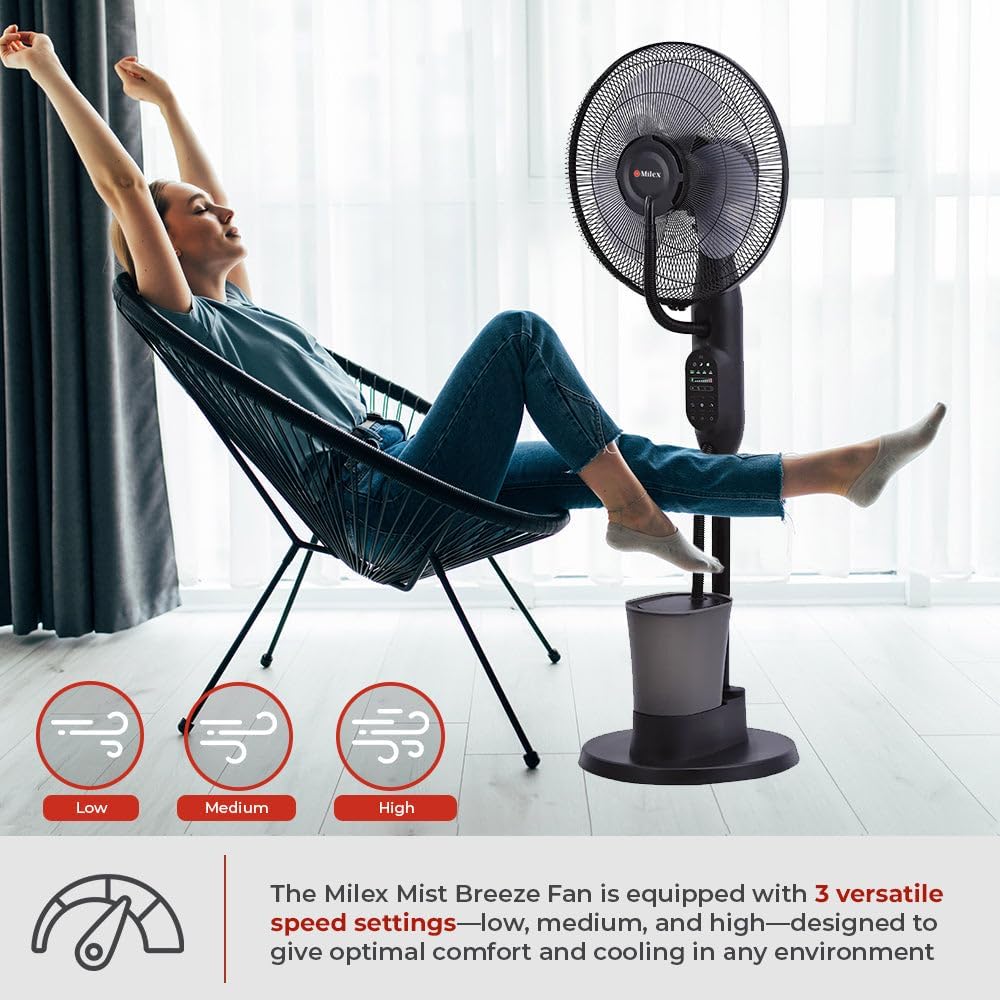
The fan has three speed settings: Low, Medium, and High.

Slika 6.1: Visual representation of the three speed settings: Low, Medium, and High.
- Pritisnite HITROST button repeatedly to cycle through the speeds: Low → Medium → High → Low.
6.3 načini Breeze
Choose from three distinct breeze modes: Natural, Normal, and Sleep.
- Pritisnite NAČIN button repeatedly to select your desired mode.
- Normalni način: Zagotavlja stalen pretok zraka pri izbrani hitrosti.
- Naravni način: Simulira naravni veter z občasnim spreminjanjem hitrosti ventilatorja.
- Spanje: Operates at a lower, quieter speed, ideal for nighttime use.
6.4 Nihanje
The fan features a 70-degree oscillation function to distribute air and mist evenly.
- Pritisnite OSC button once to activate oscillation. The fan head will move from side to side.
- Pritisnite OSC button again to stop oscillation at the current position.
6.5 Funkcija časovnika
Nastavite ventilator, da se po določenem času samodejno izklopi.
- Pritisnite ČASOVNIK button repeatedly to set the desired operating time, from 30 minutes up to 7 hours and 30 minutes, in 30-minute increments.
- The display will show the selected time. The fan will automatically turn off once the timer expires.
6.6 Mist Function (Adjustable Humidifier)
Activate the mist function to add humidity to the air.
Slika 6.2: The Milex Mist Breeze Fan producing a fine mist for humidification.
- Ensure the water tank is filled before activating the mist function.
- Pritisnite MEGLA button once to turn on the mist function.
- Pritisnite MEGLA button again to turn off the mist function.
- The mist output is approximately 180ml/h.
7. Vzdrževanje in čiščenje
Regular cleaning and maintenance will ensure the longevity and optimal performance of your Milex Mist Breeze Fan.
7.1 Generalno čiščenje
- Pred čiščenjem vedno izključite ventilator iz električne vtičnice.
- Uporabite mehko, damp krpo za brisanje zunanjih površin ventilatorja. Ne uporabljajte abrazivnih čistil ali topil.
- For the fan blades, carefully remove the front grill (refer to assembly instructions if needed) and wipe the blades with a soft cloth. Ensure the blades are completely dry before reassembling.
7.2 Water Tank and Mist Nozzle Cleaning
- Empty any remaining water from the tank after each use, especially if the fan will not be used for an extended period.
- Rinse the water tank with clean water. For thorough cleaning, use a soft brush to remove any mineral deposits or residue.
- Wipe the mist nozzle gently with a soft cloth to prevent mineral buildup, which can affect mist output.
- Pred ponovno montažo in shranjevanjem se prepričajte, da so vsi deli suhi.
8. Odpravljanje težav
If you encounter any issues with your Milex Mist Breeze Fan, please refer to the following troubleshooting guide:
| Težava | Možen vzrok | rešitev |
|---|---|---|
| Ventilator se ne vklopi. | Brez napajanja. | Preverite, ali je napajalni kabel varno priključen v delujočo vtičnico. |
| Ne nastaja megla. | Water tank is empty or incorrectly placed. | Fill the water tank with water and ensure it is correctly seated on the base. |
| Izhod megle je šibek. | Mineral buildup on the mist nozzle. | Clean the mist nozzle as described in the Maintenance section. |
| Daljinski upravljalnik ne deluje. | Baterije so prazne ali nepravilno vstavljene. | Replace the batteries in the remote control. Ensure they are inserted with correct polarity. |
| Ventilator je hrupen. | Fan blades or grill are dirty or loose. | Clean the fan blades and ensure the front grill is securely attached. |
Če težava po poskusu teh rešitev še vedno obstaja, se obrnite na podporo strankam.
9. Specifikacije
Technical specifications for the Milex Mist Breeze Fan MMF002:
- Model: MMF002
- voltage: 220–240 V, 50/60 Hz
- moč: 75 W
- Izhod megle: 180 ml/h
- Kapaciteta vode: 2.8 litrov
- Poraba vode: <220 ml/h
- Pokritost razdalje: 12-18 m²
- Nihanje: 70 stopinj
- Nastavitve hitrosti: Nizka, srednja, visoka
- Breeze Modes: Natural, Normal, Sleep
- Časovnik: 30 minut do 7 uri 30 minut
- Dimenzije (D x Š x V): 60 G x 30 Š x 46 V centimetrov (približno)
- barva: Črna
Slika 9.1: Stran view illustrating the approximate dimensions of the Milex Mist Breeze Fan.
10. Garancija in podpora
For warranty information or technical support, please refer to the warranty card included with your purchase or contact your retailer. Keep your proof of purchase for any warranty claims.