
1. Uvod
Thank you for choosing the Plyisty HD 1080P WiFi Door Peephole Camera. This device provides enhanced security for your home by offering a clear, wide-angle view of your doorstep, accessible remotely via a mobile application. Please read this manual thoroughly before installation and use to ensure proper operation and to maximize the product's lifespan.
2. Varnostne informacije
- Ensure the power supply is connected correctly before initial use. A red indicator light confirms successful power connection.
- Naprave ne izpostavljajte ekstremnim temperaturam, vlagi ali neposredni sončni svetlobi.
- Avoid using harsh chemicals or abrasive cleaners on the camera. Use a soft, dry cloth for cleaning.
- Naprave ne poskušajte sami razstaviti ali popraviti. Za pomoč se obrnite na podporo strankam.
- Napravo hranite izven dosega otrok.
3. Vsebina paketa
Preverite, ali so v vašem paketu priloženi vsi spodaj navedeni elementi:
- 1 x WiFi Door Peephole Camera
- 1 x SIM Card Pin (for reset)
- 1 x Power Cable (Micro USB)
- 1 x uporabniški priročnik

This image displays the main components included in the product package: the silver and black peephole camera unit, a black USB charging cable, and a small metal SIM card ejector pin, which is used for resetting the device.
4. Izdelek je končanview
Familiarize yourself with the different parts of your Plyisty Door Peephole Camera:
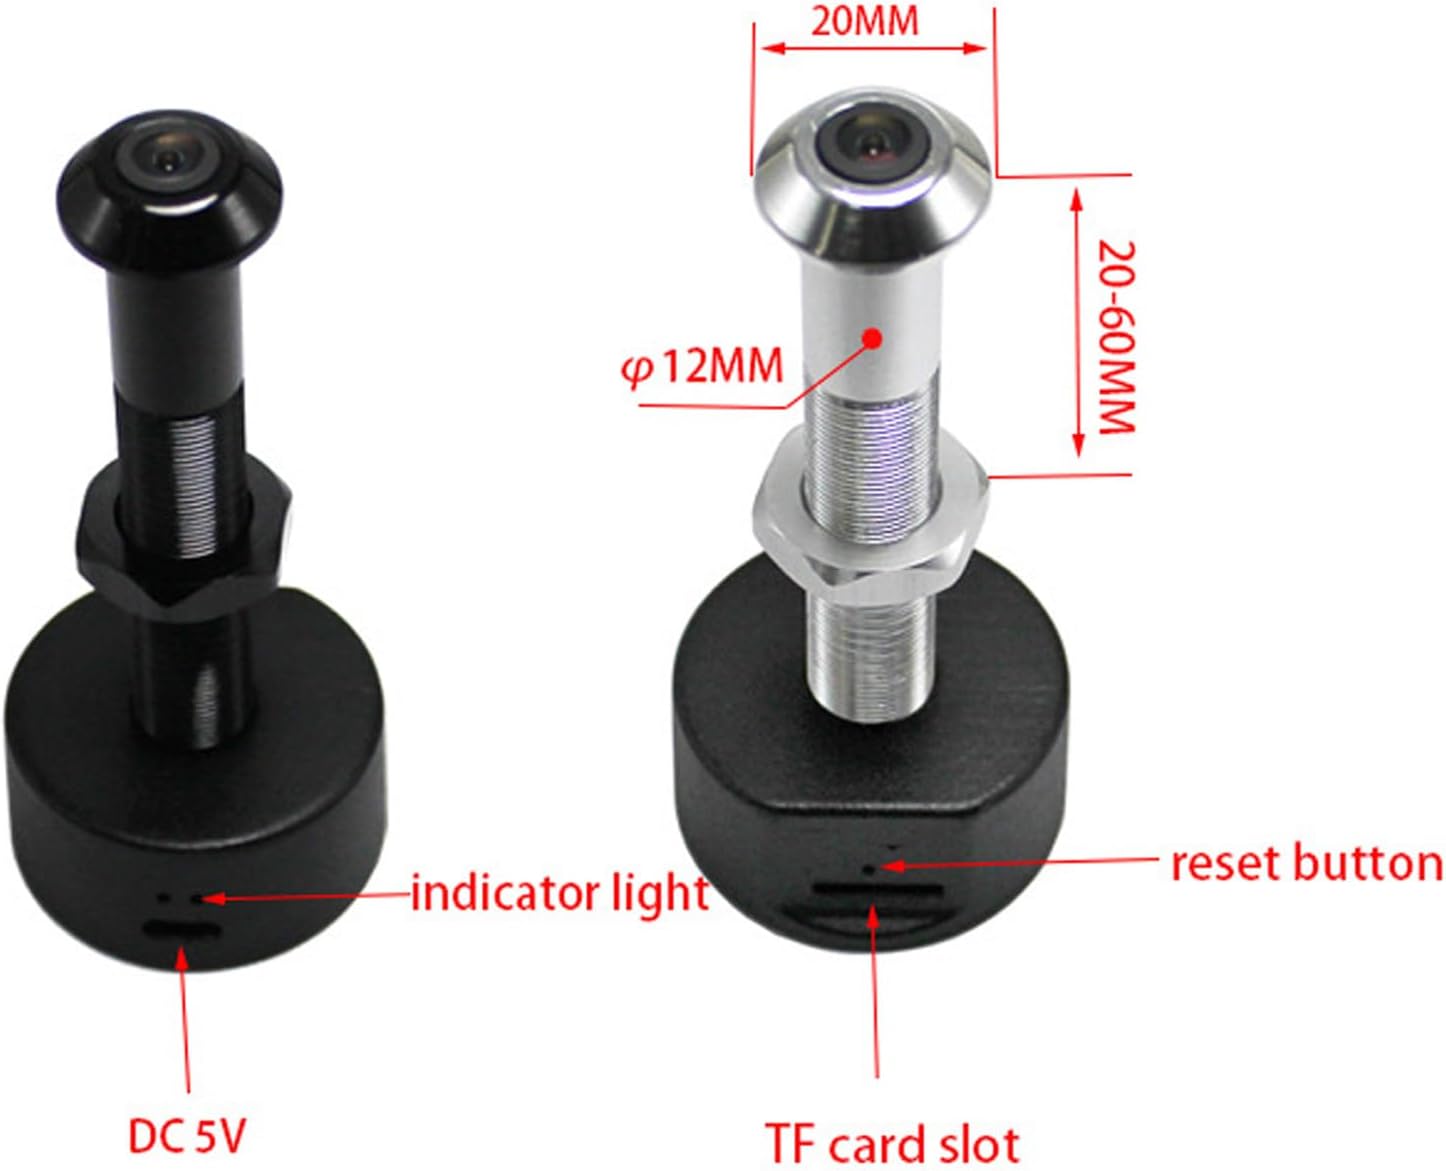
This diagram illustrates the key features of the peephole camera. It highlights the indicator light, the reset button, the DC 5V power input port, and the TF (MicroSD) card slot for local storage. Dimensions for door thickness and peephole diameter are also shown.
- Objektiv kamere: 1080P HD resolution with a 170° wide-angle view.
- Indikatorska lučka: Provides status feedback (e.g., power, connection).
- Gumb za ponastavitev: Uporablja se za ponastavitev naprave na tovarniške nastavitve.
- DC 5V Port (Micro USB): Za priklop napajanja.
- Reža za TF kartice: Supports up to 128GB memory card for local video storage (memory card not included).
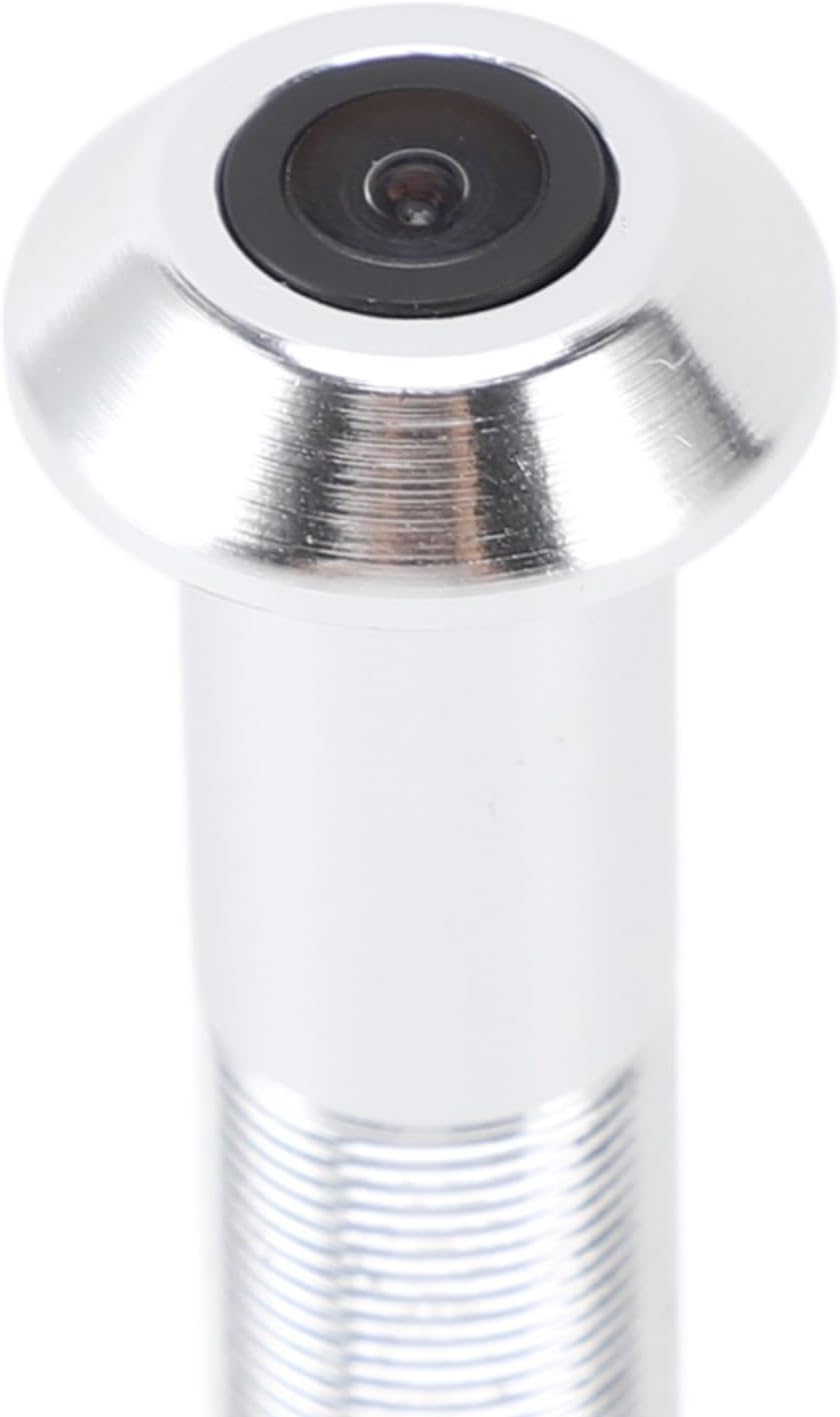
A detailed close-up of the camera lens, highlighting its compact and integrated design within the peephole unit.
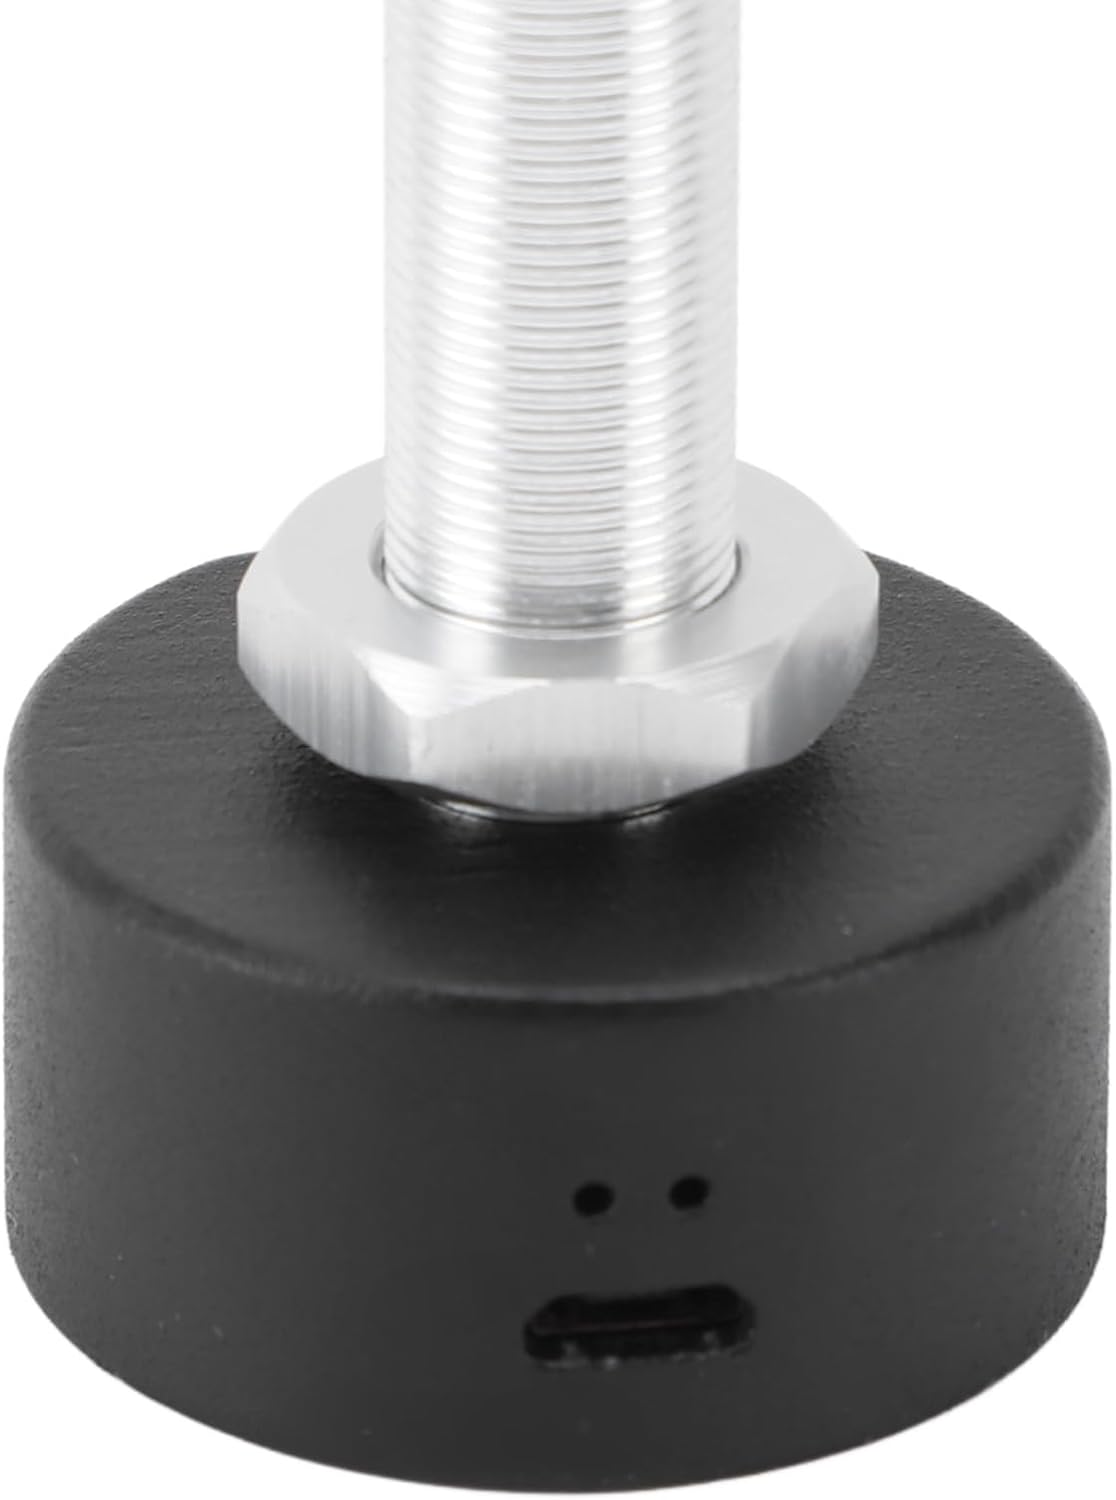
Ta slika ponuja jasen view of the Micro USB port located at the base of the camera unit, used for connecting the power cable.

A detailed shot of the TF (MicroSD) card slot, where a memory card can be inserted for local video storage.
5. Nastavitev
5.1 Združljivost vrat
Pred namestitvijo se prepričajte, da vaša vrata izpolnjujejo naslednje specifikacije:
- Debelina vrat: Approximately 2-5.7 cm (0.8-2.2 inches).
- Peephole Opening Diameter: Approximately 14-20 mm (0.6-0.8 inches).
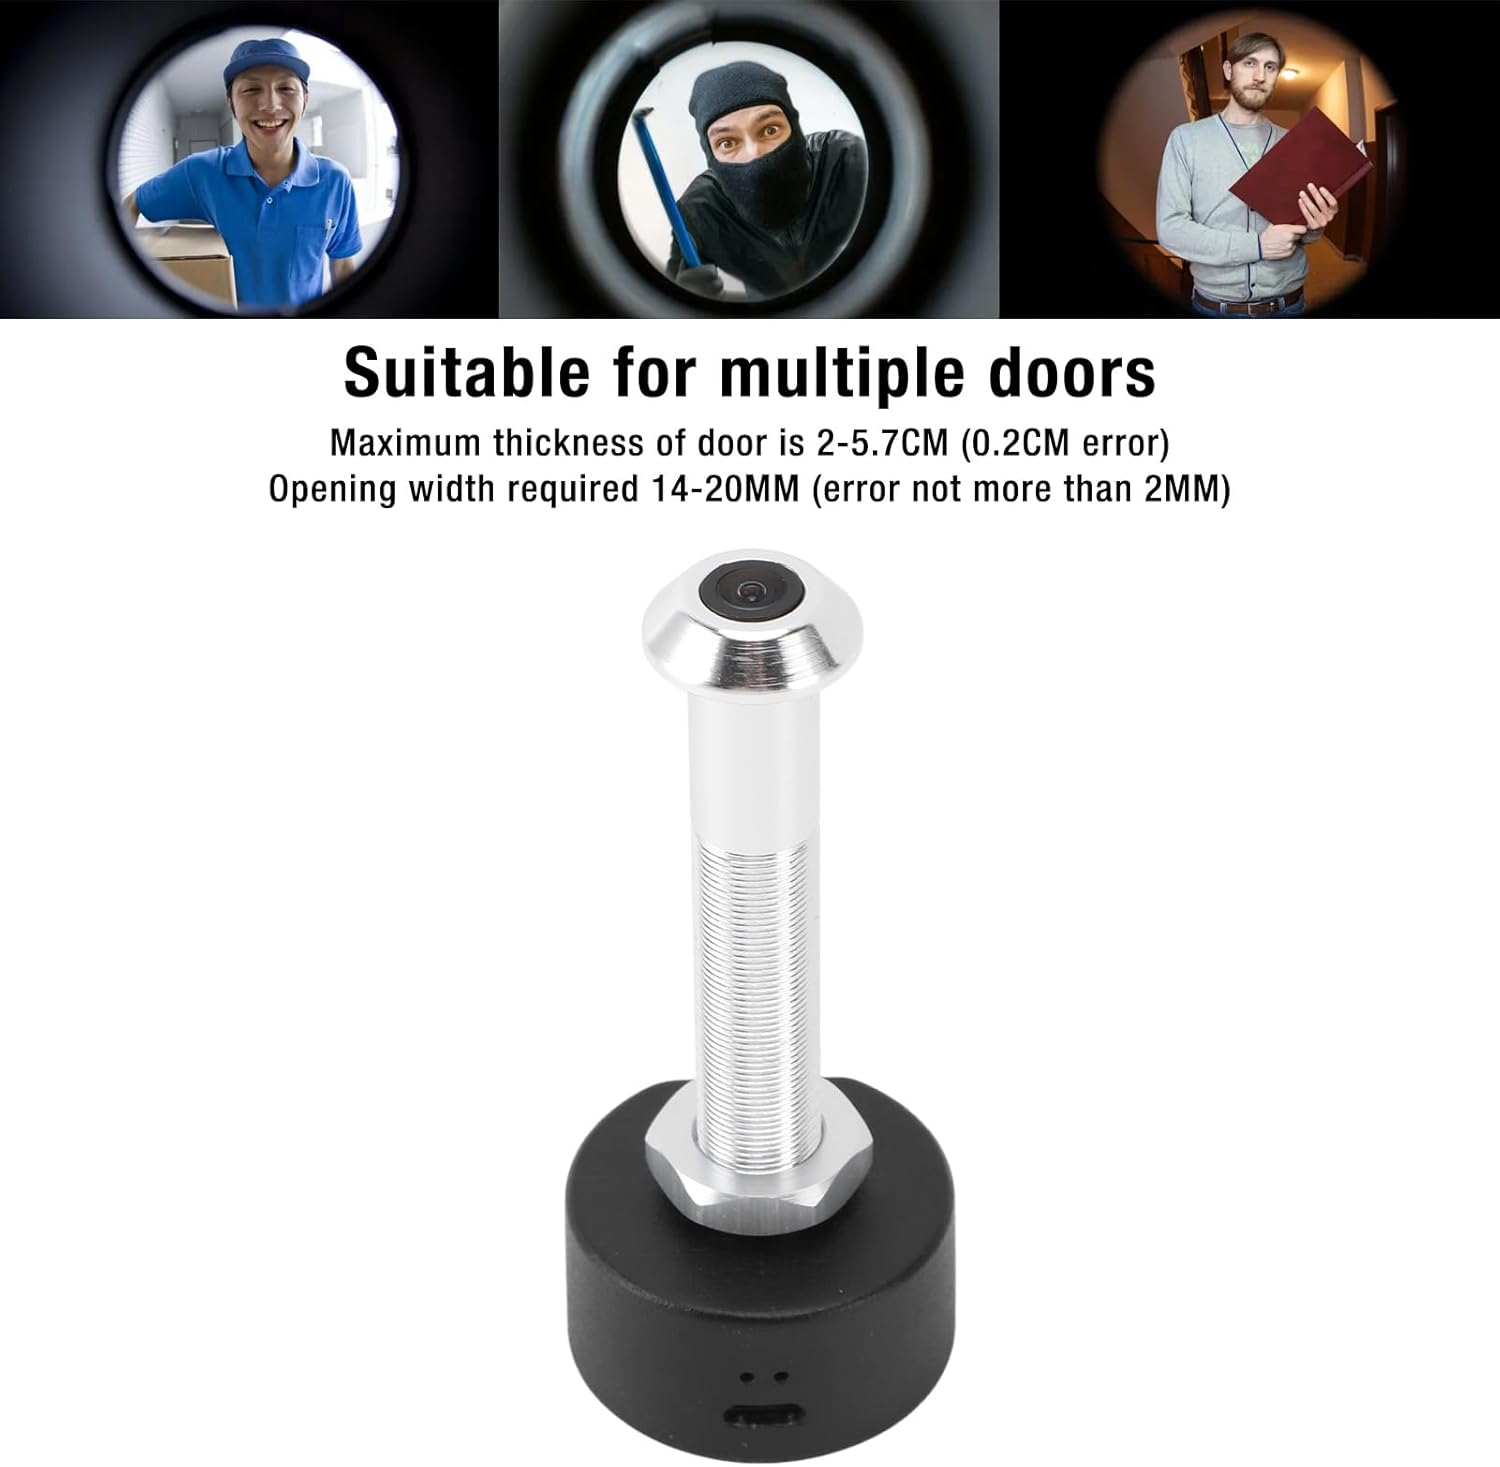
This image shows the specific dimensions required for door thickness (2-5.7 cm) and peephole opening width (14-20 mm) to ensure proper installation of the camera. It also visually depicts the camera's wide-angle view obiskovalcev.
5.2 Fizična namestitev
Za namestitev kamere sledite tem korakom:
- Remove your existing peephole viewod vrat.
- Insert the camera unit through the peephole from the outside of the door.
- From the inside, secure the camera by screwing on the retaining nut until it is snug.
- Connect the power cable to the DC 5V port on the camera.
- Ensure the power source is stable. A red indicator light will confirm power connection.

This image shows a person using a traditional peephole, juxtaposed with the Plyisty WiFi Door Peephole Camera, to demonstrate how the new camera replaces the old peephole for an upgraded viewizkušnje.
5.3 App Setup (Tuya APP)
To connect your camera to your smartphone:
- Prenesite APP Tuya iz trgovine z aplikacijami na vašem pametnem telefonu (iOS ali Android).
- Registrirajte se ali se prijavite v svoj Tuya račun.
- Tap '+' to add a new device. Select 'Security & Video Surveillance' > 'Smart Camera'.
- Follow the on-screen instructions to connect the camera to your 5.0 GHz WiFi network. This typically involves resetting the camera and scanning a QR code generated by the app.
- Once connected, you can access the live feed and settings through the app.
6. Navodila za uporabo
6.1 V živo View in spremljanje
Open the Tuya APP on your smartphone to view the live feed from your door peephole camera. You can monitor your doorstep in real-time from anywhere with an internet connection.
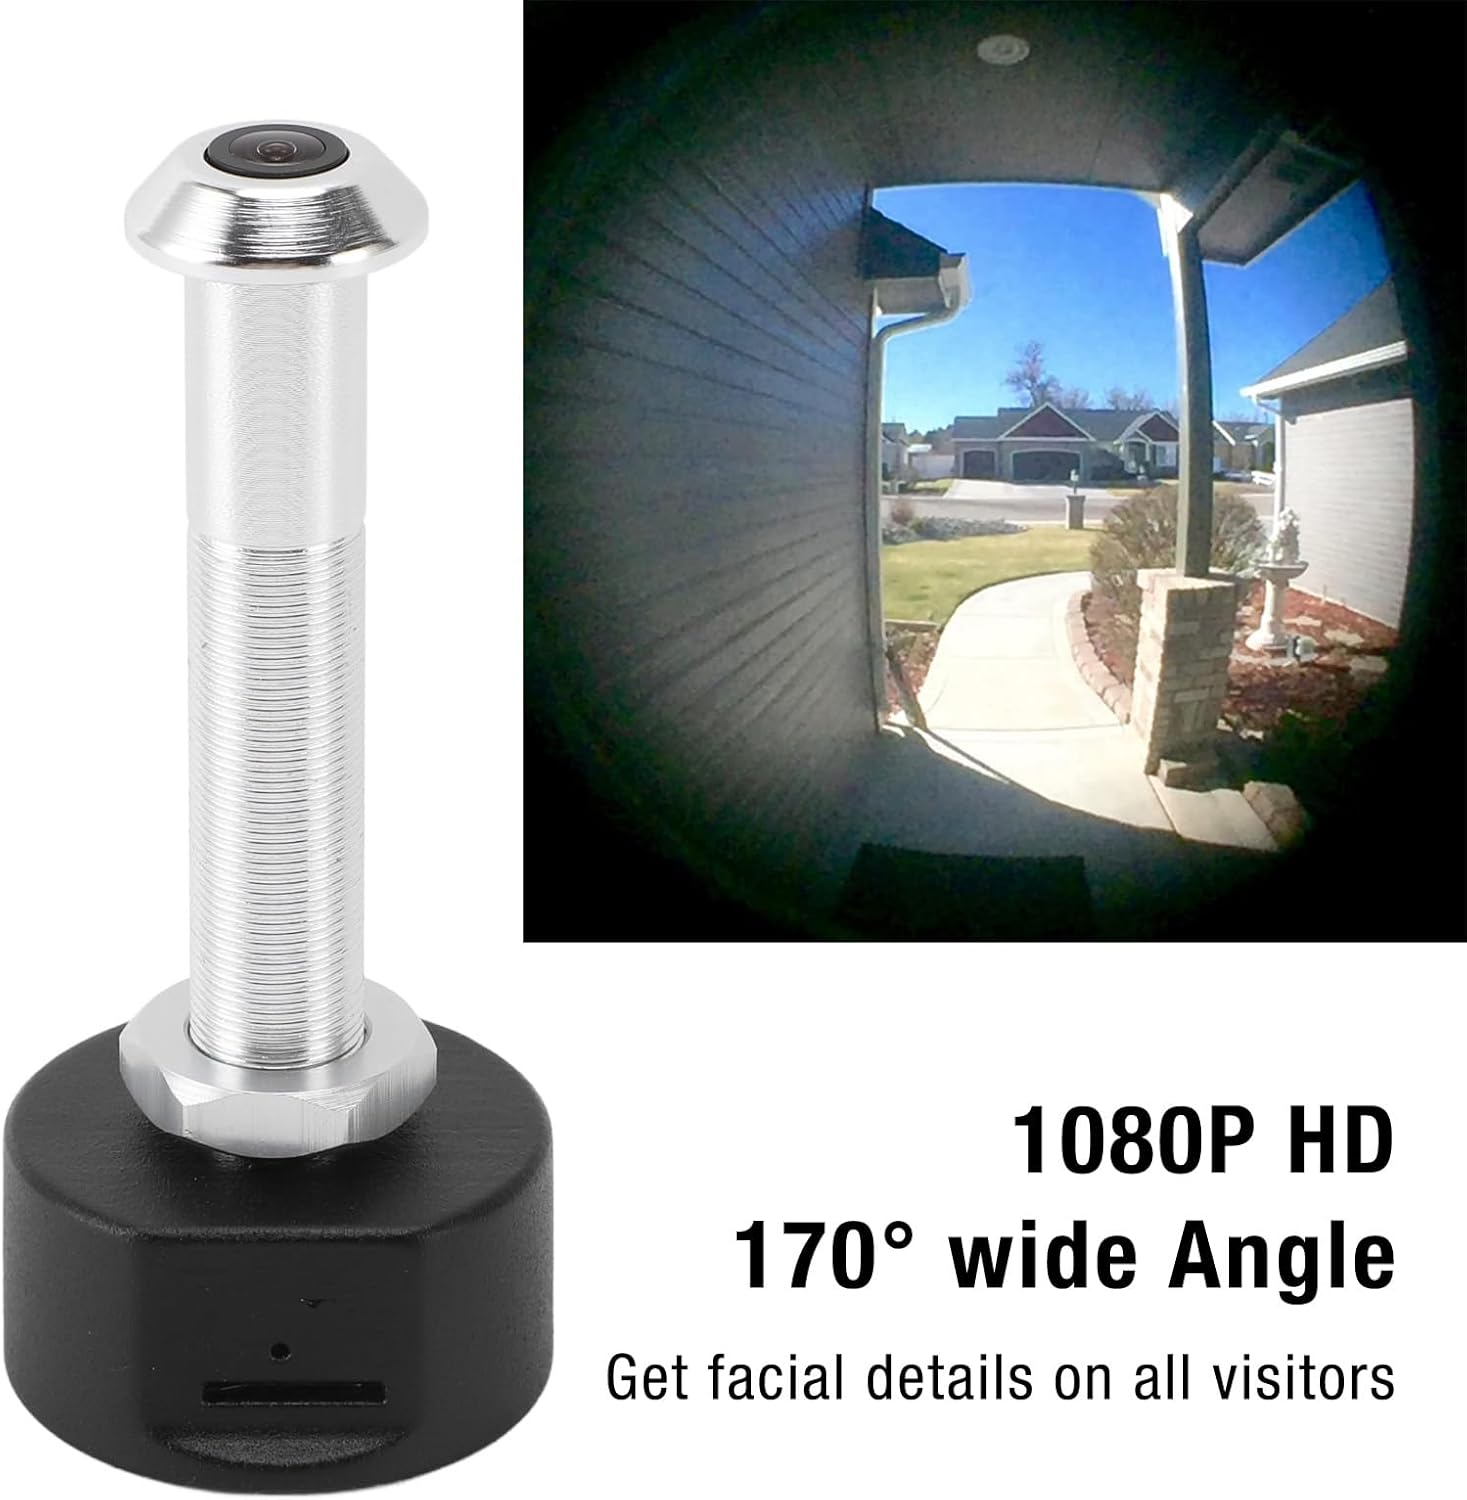
This image showcases the camera's ability to capture a 1080P HD video feed with a 170-degree wide-angle view, allowing users to see facial details of visitors and a broad area around their door.
6.2 Nočni vid
The camera is equipped with powerful infrared night vision. It automatically switches between day and night mode using an ICR infrared filter, ensuring clear visibility even in low-light or dark conditions.
6.3 Snemanje in shranjevanje
Kamera podpira dve možnosti shranjevanja:
- Shramba v oblaku: Video recordings can be stored in the cloud (subscription may be required, check Tuya APP for details).
- Shranjevanje pomnilniške kartice: Insert a TF (MicroSD) card (up to 128GB, not included) into the designated slot for local storage of recordings.
When motion is detected at your door, the camera will send a notification to your mobile phone and begin recording, enhancing your security.
7. Vzdrževanje
- Regularly check the camera lens for dust or smudges and clean gently with a soft, lint-free cloth.
- Prepričajte se, da je napajalni kabel varno priključen in nepoškodovan.
- Periodically check the Tuya APP for firmware updates to ensure optimal performance and security.
- If using a memory card, consider formatting it periodically to maintain recording efficiency.
8. Odpravljanje težav
| Težava | Možen vzrok | rešitev |
|---|---|---|
| Kamera se ne vklopi. | Power cable loose or damaged; no power from outlet. | Check cable connection. Try a different power outlet or cable. Ensure the red indicator light is on. |
| Povezave z WiFi ni mogoče vzpostaviti. | Incorrect WiFi password; camera too far from router; incompatible WiFi frequency (5.0 GHz required). | Verify WiFi password. Move camera closer to router. Ensure your router supports 5.0 GHz WiFi and the camera is connected to it. Reset the camera and try pairing again. |
| Prejeto ni bilo nobeno obvestilo. | App notifications disabled; motion detection settings incorrect. | Check notification settings in your phone and the Tuya APP. Adjust motion detection sensitivity in the app. |
| Slaba kakovost slike. | Dirty lens; low light conditions; network issues. | Clean the camera lens. Ensure adequate lighting or verify night vision is active. Check your internet connection speed. |
| Posnetki se ne shranjujejo. | Memory card full or faulty; cloud storage not activated. | Check memory card status in the app, format or replace if necessary. Ensure cloud storage subscription is active if relying on it. |
9. Specifikacije
| Funkcija | Specifikacija |
|---|---|
| Številka modela | Plyistygi4kwto72x-12 |
| Resolucija | 1920 x 1080 (1080p HD) |
| Kot objektiva | Širok kot 170° |
| Nočni vid | Supported (ICR infrared filter) |
| Povezljivost | WiFi (5.0 GHz) |
| Ime aplikacije | APP Tuya |
| Možnosti shranjevanja | Cloud Storage, Memory Card (up to 128GB, not included) |
| Vrata za polnjenje | mikro USB |
| Moč | 1 vatov |
| Material | Aluminijeva zlitina + ABS |
| Združljiva debelina vrat | Approx. 2-5.7 cm (0.8-2.2 inches) |
| Required Peephole Diameter | Approx. 14-20 mm (0.6-0.8 inches) |
| Ocena mednarodne zaščite | IP65 |
10. Garancija in podpora
This product is covered by a standard manufacturer's warranty. For specific warranty details, please refer to the documentation provided with your purchase or contact the retailer.
If you encounter any issues or have questions not addressed in this manual, please contact Plyisty customer support through the retailer's platform or their official webstran za pomoč.