
1. Uvod
This manual provides detailed instructions for the Odokee Digital Alarm Clock, Model U2-SV-001. Please read this manual thoroughly before using the product to ensure correct operation and to maximize its features. Keep this manual for future reference.
2. Izdelek je končanview
The Odokee Digital Alarm Clock is designed for ease of use and clear visibility, featuring a large display, adjustable brightness, multiple alarm sounds, and a multi-color night light. It also includes a convenient USB charging port.
Ključne značilnosti:
- Large, bold 2-inch numbers for easy readability.
- 5-level adjustable brightness dimmer for the time display.
- Extra loud alarm with 5 selectable wake-up sounds and adjustable volume (30-110dB).
- Rezervna baterija za nastavitve časa in alarma med izpadom električne energijetages (display off).
- Integrated USB charging port for external devices.
- 8-color night light with adjustable brightness.
- Front-facing buttons for effortless setup and operation.
Sestavine:
Refer to the image below for a visual representation of the clock's front panel and buttons.

Slika 2.1: Spredaj view of the Odokee Digital Alarm Clock showing the display and control buttons.
The back of the clock features the power input, USB charging port, and battery compartment.

Slika 2.2: Zadaj view of the alarm clock with power input and USB charging port.
3. Nastavitev
3.1 Napajalni priključek
- Connect the provided AC adapter to the DC 5V input port on the back of the alarm clock.
- Plug the AC adapter into a standard electrical outlet. The display will illuminate.

Figure 3.1: Connecting the alarm clock to power using the included AC adapter.
3.2 Namestitev rezervnega napajanja z baterijo
The clock requires 2 AAA alkaline batteries (not included) for backup. These batteries maintain time and alarm settings during a power outage, but the display will not light up when running on battery power alone.
- Odprite pokrov predalčka za baterije na zadnji strani ure.
- Vstavite 2 alkalni bateriji AAA in pazite na pravilno polarnost (+/-).
- Zaprite pokrov prostora za baterije.

Figure 3.2: Battery compartment for AAA batteries.
4. Navodila za uporabo
4.1 Nastavitev časa
- Pritisnite in držite ČAS NAST 2 sekunde držite gumb , da vstopite v način nastavitve časa. Številke za ure bodo utripale.
- Pritisnite HOUR 12/24H gumb za nastavitev ure.
- Pritisnite MIN AL ON/OFF gumb za nastavitev minute.
- Pritisnite ČAS NAST ponovno za potrditev in izhod iz načina nastavitve časa.

Figure 4.1: Time setting button layout.
4.2 12/24-urni format
Če želite preklopiti med 12-urnim in 24-urnim formatom časa:
- V običajnem načinu prikaza časa pritisnite HOUR 12/24H za preklapljanje med 12-urnim (z indikatorjem AM/PM) in 24-urnim formatom časa.

Figure 4.2: Toggling between 12-hour and 24-hour display.
4.3 Zatemnilnik svetlosti zaslona
The clock display has 5 brightness levels and can be turned off completely.
- Pritisnite LIGHT DIM button (also the Snooze button) repeatedly to cycle through the 5 brightness levels and the 'off' state.

Figure 4.3: Adjusting the display brightness.
4.4 Nastavitev alarma
- Pritisnite in držite ALARM NASTAVLJEN button for 2 seconds. The alarm hour digits will flash.
- Pritisnite HOUR 12/24H gumb za nastavitev budilke.
- Pritisnite MIN AL ON/OFF gumb za nastavitev minute alarma.
- Pritisnite ALARM NASTAVLJEN ponovno, da potrdite čas alarma.
- After setting the alarm time, the alarm will be automatically activated. A bell icon will appear on the display.
4.5 Alarm Sound Selection
The clock offers 5 different alarm sounds.
- While the alarm is not sounding, press the ALARMNI ZVUK button repeatedly to cycle through the 5 available sounds: Birds Chirping, Beep, Soft Music, Ode to Joy, Siren.

Figure 4.4: Available alarm sounds.
4.6 Alarm Volume Adjustment
The alarm volume can be adjusted from 30dB to 110dB.
- While the alarm is not sounding, press the ALARM VOL button repeatedly to cycle through the available volume levels.
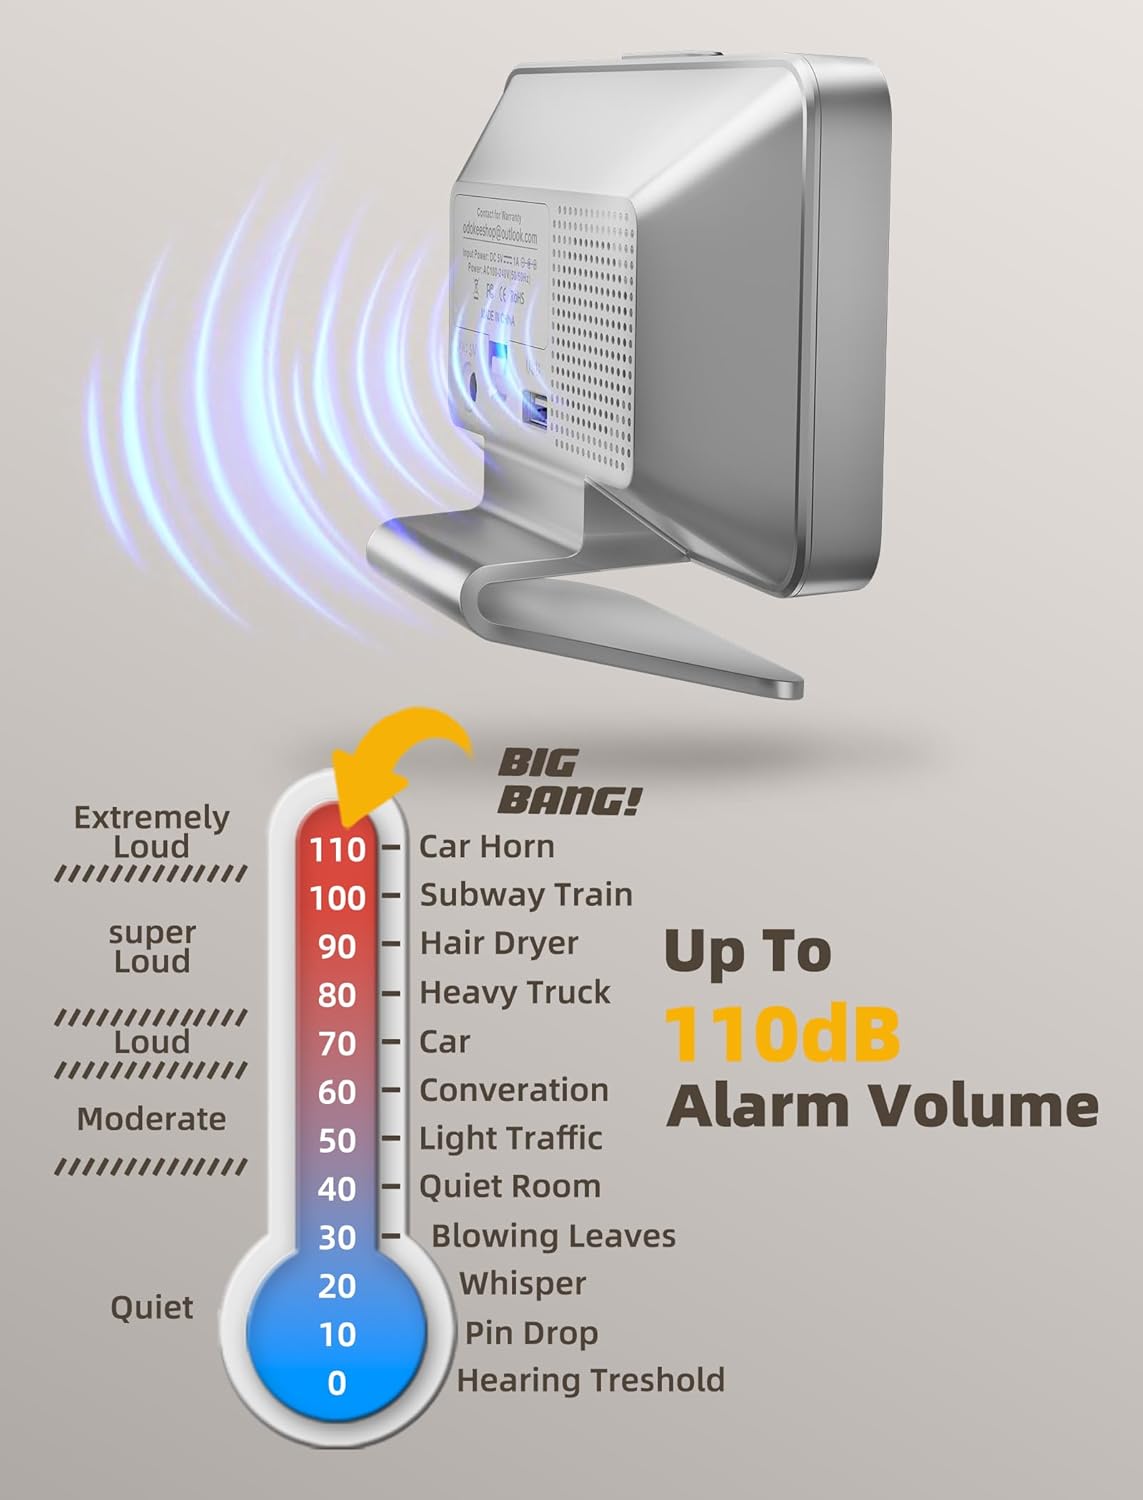
Figure 4.5: Alarm volume adjustment range.
4.7 Funkcija dremeža
Ko se oglasi alarm:
- Pritisnite veliko LIGHT DIM button (Snooze button) on top of the clock to activate snooze. The alarm will pause for 9 minutes and then sound again.
- To turn off the alarm completely, press any other button on the front panel.

Figure 4.6: Location of the Snooze/Dimmer button.
4.8 Funkcija nočne lučke
The clock features an 8-color night light with adjustable brightness.
- Pritisnite SVETLOBA button (sun icon) to turn on the night light.
- Pritisnite SVETLOBA button repeatedly to cycle through the 8 colors and adjust their brightness levels.
- To turn off the night light, continue pressing the SVETLOBA gumb, dokler se ne izklopi.

Figure 4.7: The 8-color night light feature.
4.9 vrata za polnjenje USB
A USB charging port is located on the back of the clock.
- Connect your smartphone or other USB-powered device to this port using a compatible USB cable (not included) to charge it.

Figure 4.8: Using the integrated USB charging port.
5. Vzdrževanje
5.1 Čiščenje
- Uro obrišite z mehko, suho krpo.
- Ne uporabljajte abrazivnih čistil ali topil, saj lahko poškodujejo površino.
5.2 Zamenjava baterije
- Če ura pogosto doživlja izpade električne energijetages or if the backup function is unreliable, replace the 2 AAA batteries in the battery compartment.
- Pri vstavljanju novih baterij pazite na pravilno polarnost.
6. Odpravljanje težav
| Težava | Možen vzrok | rešitev |
|---|---|---|
| Zaslon je izklopljen. | Clock is not plugged in, or brightness is set to 'off'. | Ensure AC adapter is securely plugged in. Press the LIGHT DIM gumb za nastavitev svetlosti. |
| Display is off during power outage. | This is normal. Battery backup only maintains settings, not display. | No action needed. Display will return when power is restored. |
| Alarm se ne oglasi. | Alarm ni nastavljen ali je izklopljen. Glasnost je prenizka. | Ensure alarm is set and the bell icon is visible. Adjust alarm volume using ALARM VOL gumb. |
| Čas je napačen po izpadu električne energijetage. | Rezervne baterije so prazne ali niso nameščene. | Install or replace 2 AAA batteries. Reset the time if necessary. |
| Vrata za polnjenje USB ne delujejo. | Clock is not powered, or device cable is faulty. | Ensure clock is plugged into an outlet. Try a different USB cable or device. |
7. Specifikacije
- Model: U2-SV-001
- Znamka: Odokee
- Vrsta zaslona: Digitalno
- vir energije: Električni z žico (priložen napajalnik)
- Varnostno kopiranje baterije: 2 x AAA baterije (niso priložene)
- Dimenzije izdelka: 5.5 cm Š x 4 cm V
- Material: Plastika
- Posebne lastnosti: Adjustable Brightness, Adjustable Volume, USB Charging Port, Large Display, Mood Light (8 colors)
- Teža artikla: 6 unče (171 grama)
8. Garancija in podpora
8.1 Informacije o garanciji
This Odokee Digital Alarm Clock (Model U2-SV-001) comes with an 18-month warranty from the date of purchase. This warranty covers manufacturing defects and ensures the product functions as described under normal use.
8.2 Podpora strankam
For any questions, technical assistance, or warranty claims, please contact Odokee customer support:
- E-pošta: odokeeshop@outlook.com
Please provide your model number (U2-SV-001) and purchase details when contacting support to facilitate a quicker resolution.