
Uvod
This manual provides instructions for the setup, operation, maintenance, and troubleshooting of your Pisichen 17.3 inch Portable Monitor. This monitor features a 1600x900 HD resolution, 800:1 contrast ratio, 250 cd/m² brightness, 16:9 aspect ratio, and a 60Hz refresh rate, designed to provide an extended display for various devices.
The monitor includes multiple interfaces for broad compatibility and a built-in kickstand for convenience. It supports various display modes for enhanced productivity and entertainment.
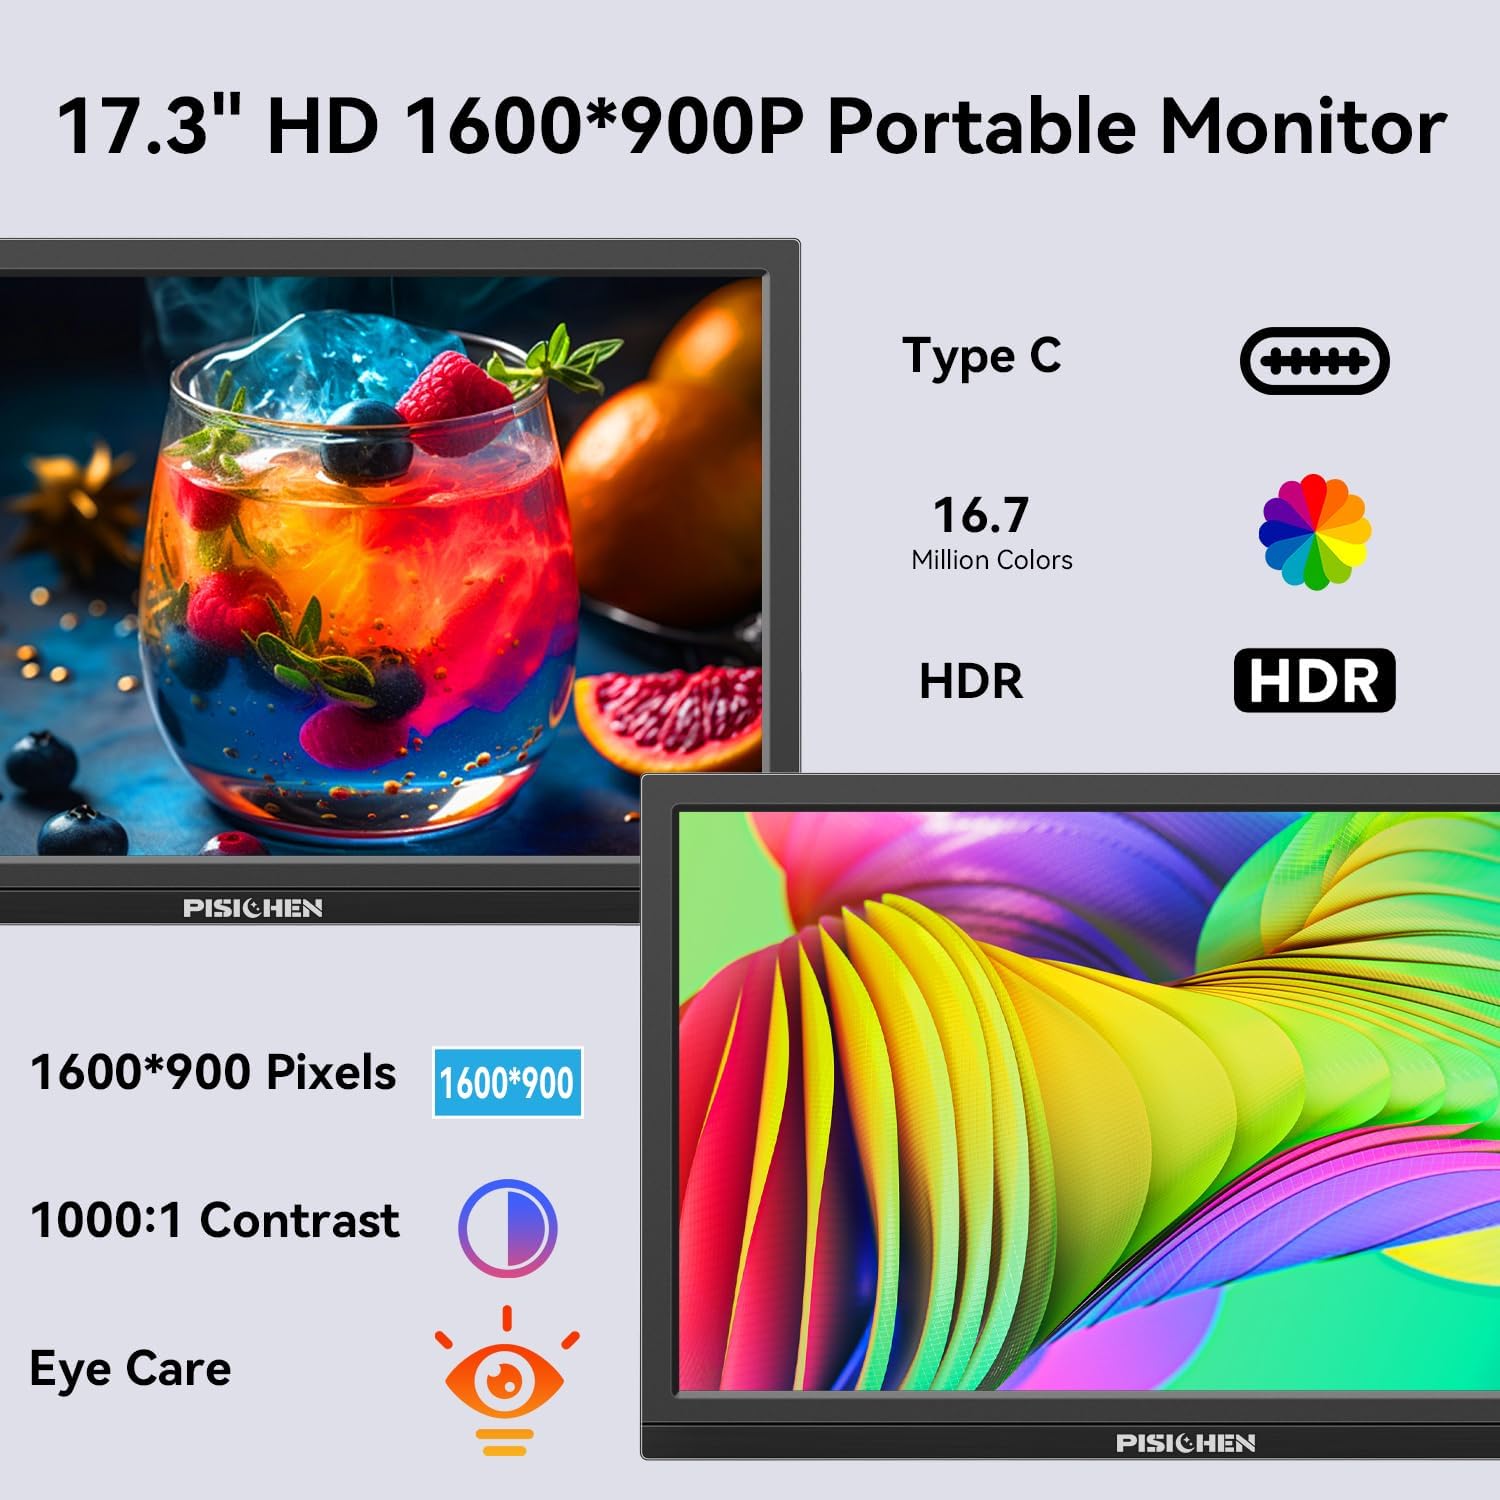
Image: The Pisichen 17.3 inch Portable Monitor highlighting its HD 1600x900 resolution, 1000:1 contrast, and eye care features.
Vsebina paketa
Preverite, ali so v paketu prisotni vsi elementi:
- 17.3-palčni prenosni monitor
- DC napajalnik
- Kabel HDMI na HDMI
- Kabel USB-C v USB-C
- Uporabniški priročnik (ta dokument)

Image: The portable monitor and its accompanying accessories, including cables and power adapter.
Navodila za namestitev
1. Priključitev napajanja
Connect the provided DC Power Adapter to the DC Power Port on the monitor and then to a power outlet. Ensure the monitor receives sufficient power for stable operation.
2. Povezovanje z napravo
The monitor supports two primary connection methods:
- Povezava USB-C: Use the provided USB-C to USB-C cable. Connect one end to the monitor's USB-C 3.1 port (for signal input) and the other end to a compatible USB-C 3.1 (or higher) port on your laptop, PC, or smartphone. This connection can transmit both video and power.
- HDMI povezava: Use the provided HDMI to HDMI cable. Connect one end to the monitor's HDMI port and the other end to the HDMI output of your device (laptop, PC, game console). When using HDMI, ensure the monitor is also connected to power via the DC power adapter.

Image: Visual guide for USB-C and HDMI connection methods, showing cable connections and power requirements.
3. Fizična postavitev
- Vgrajeno stojalo: The monitor features an integrated, foldable kickstand. Gently unfold it from the back of the monitor to position the screen at a desired viewing angle on a flat surface.
- Montaža VESA: For alternative mounting options, the monitor is equipped with standard 75x75mm VESA holes on the back. This allows for mounting to compatible desktop stands or wall mounts (mounting hardware not included).
Navodila za uporabo
1. Monitor Interfaces and Controls
Familiarize yourself with the ports and control buttons located on the side of the monitor:
- Vrata za napajanje z enosmernim tokom: Za priključitev napajalnika.
- 3.5 mm avdio vrata: Za priklop zunanjih slušalk ali zvočnikov.
- Vrata USB C 3.1: For video signal input and power delivery from compatible devices.
- Vrata USB C 2.0: Primarily for charging phones or connecting OTG devices.
- Vrata HDMI: For video signal input from HDMI-enabled devices.
- Brightness/Up Button: Adjusts screen brightness or navigates up in the OSD menu.
- Menu/OK Button: Opens the On-Screen Display (OSD) menu or confirms selections.
- Volume/Down Button: Adjusts audio volume or navigates down in the OSD menu.
- Vrata OTG: For connecting a keyboard or mouse.

Slika: Podrobna view vrat in kontrolnih gumbov monitorja.
2. Načini prikaza
The monitor supports various display modes when connected to a compatible device:
- Način podvajanja: Zrcali vsebino vašega primarnega zaslona.
- Razširjeni način: Extends your desktop, providing additional screen space.
- Drugi način zaslona: Kot zaslon uporablja samo prenosni monitor.
These modes can typically be configured through your device's display settings (e.g., Windows Display Settings, macOS System Preferences).

Slika: nprample of extending a smartphone's display to the portable monitor via USB-C.
3. Zaslonski meni (OSD).
Pritisnite Meni / V redu button to access the OSD menu. Use the Svetlost/Dr in Znižaj glasnost buttons to navigate through options and adjust settings such as brightness, contrast, color temperature, and input source. Press Meni / V redu again to confirm selections or exit sub-menus.
4. HDR Mode
The monitor supports HDR (High Dynamic Range) technology for improved color and contrast. This mode can be enabled or disabled through the OSD menu, if supported by your connected device and content.

Image: Visual comparison of SDR and HDR display quality.
5. Low Blue Light Feature
The monitor includes a Low Blue Light feature designed to filter harmful blue light, reducing eye strain during prolonged use. This setting can be adjusted via the OSD menu.

Image: Illustration of the Low Blue Light feature for eye protection.
Vzdrževanje
1. Čiščenje monitorja
- Pred čiščenjem vedno izklopite monitor in ga izključite iz električnega omrežja.
- Narahlo uporabite mehko krpo, ki ne pušča vlaken dampz vodo ali neabrazivnim čistilom za zaslone.
- Čistila ne pršite neposredno na zaslon. Najprej ga nanesite na krpo.
- Avoid using harsh chemicals, alcohol, or ammonia-based cleaners, as these can damage the screen surface.
2. Shranjevanje
Ko monitorja ne uporabljate, ga shranjujte na hladnem in suhem mestu, stran od neposredne sončne svetlobe in ekstremnih temperatur. Pri transportu uporabite zaščitni ovitek ali etui, da preprečite praske in poškodbe.
Odpravljanje težav
Če imate težave z monitorjem, si oglejte naslednje pogoste težave in rešitve:
- Ni signala / črn zaslon:
- Ensure all cables (power and video) are securely connected to both the monitor and the source device.
- Preverite, ali je izvorna naprava vklopljena in oddaja signal.
- Check the input source setting on the monitor via the OSD menu to ensure it matches your connection (e.g., HDMI, USB-C).
- If using USB-C, confirm your device's USB-C port supports video output (DisplayPort Alternate Mode).
- Screen is Too Dim / Cannot Adjust Brightness:
- Access the OSD menu and navigate to the brightness settings. Ensure the brightness level is increased.
- Some devices may have their own display settings that override or limit monitor brightness. Check your connected device's display settings.
- Ensure the monitor is receiving adequate power. A weak power source can sometimes affect brightness.
- No Audio / Headphone Jack Not Working:
- Preverite nastavitve glasnosti na monitorju (prek menija OSD) in na priključeni napravi.
- Ensure headphones or speakers are fully plugged into the 3.5mm audio port.
- Verify that the audio output on your source device is set to the portable monitor.
- Test with different headphones or speakers to rule out a faulty audio device.
- Image Distortion / Poor Picture Quality:
- Ensure the display resolution on your source device is set to the monitor's native resolution (1600x900).
- Check for damaged or loose video cables. Try a different cable if available.
- Adjust contrast and color settings in the OSD menu.
Specifikacije
| Številka modela | SLZJ173 |
| Velikost zaslona | 17.3 palcev |
| Resolucija | 1600x900 HD |
| Razmerje stranic | 16:9 |
| Kontrastno razmerje | 800:1 |
| Svetlost | 250 cd/m² |
| Hitrost osveževanja | 60Hz |
| Vrsta plošče | TN |
| Viewkota | 170° |
| Barvna lestvica | 99% sRGB, 16.7 million colors (8-bit) |
| Povezljivost | 1x HDMI, 1x USB-C 3.1 (signal input), 1x USB-C 2.0 (phone charging/OTG), 1x 3.5mm Audio Jack, 1x DC Power Port |
| Vgrajeni zvočniki | ja |
| VESA nosilec | 75x75 mm |
| Dimenzije izdelka | 0.3 x 12 x 8 palcev (približno) |
| Teža predmeta | 3.54 funtov |
Garancija in podpora
For warranty information or technical support, please contact the manufacturer, Pisichen, or the retailer from whom you purchased the product. Please have your model number (SLZJ173) and purchase details ready when contacting support.