
Ankilo WA113B&C-MA06US-HY
Ankilo Projection Alarm Clock User Manual
Model: WA113B&C-MA06US-HY
1. Uvod
Hvala za nakupasing the Ankilo Projection Alarm Clock. This device is designed to provide convenient timekeeping with a unique projection feature, allowing you to view the time on your ceiling or wall. It also includes an alarm, temperature display, and USB charging capabilities. Please read this manual carefully to ensure proper use and maintenance of your new alarm clock.
2. Varnostne informacije
- Naprave ne izpostavljajte ekstremnim temperaturam, neposredni sončni svetlobi ali visoki vlažnosti.
- Napravo hranite ločeno od vode ali drugih tekočin.
- Naprave ne poskušajte razstavljati ali popravljati sami. Vsa servisna dela prepustite usposobljenemu osebju.
- Za napajanje uporabljajte samo priloženi USB-kabel.
- The CR2032 battery is for backup only; the clock requires continuous USB power for full functionality.
3. Vsebina paketa

- 1 x Ankilo Projection Alarm Clock
- 1 x USB Power Cable (1.5m)
- 1 x CR2032 Memory Battery (pre-installed for backup)
- 1 x uporabniški priročnik
The image above shows the complete contents included in your Ankilo Projection Alarm Clock package. Please verify all items are present upon unboxing.
4. Izdelek je končanview

This diagram illustrates the various buttons and ports on your Ankilo Projection Alarm Clock for easy identification and operation.
| Komponenta | Opis |
|---|---|
| Gumb SNOOZE / LIGHT | Press to snooze alarm or adjust display brightness. |
| PROJECT Button | Press to adjust projection brightness. |
| Gumb ALARM | Press to set or activate/deactivate alarm. |
| Gumb SET | Press to enter time/date setting mode. |
| Gumb GOR | Increase values during setting, or switch 12/24H format. |
| Gumb DOL | Decrease values during setting, or switch temperature unit. |
| Projekcija Lamp | Emits time projection onto surface. |
| Napajalni priključek | Connect USB power cable here. |
| Predal za baterije CR2032 | Houses the backup battery. |
| Zvočnik | Outputs alarm sound. |
5. Nastavitev
5.1 Napajanje naprave
The Ankilo Projection Alarm Clock is primarily powered by a USB cable. Connect the provided USB cable to the power port on the back of the clock and plug the other end into a standard USB power adapter (not included) or a USB port.
Pomembna opomba:
- The LED screen will only remain on when the USB power supply is connected.
- The included CR2032 battery serves as a backup to retain time and alarm settings during power outages, but it does not power the display or projection.
5.2 Začetna nastavitev časa in datuma
- Pritisnite in držite NASTAVI button for 3 seconds to enter time setting mode. The hour digits will start flashing.
- Uporabite UP or DOL gumbi za nastavitev ure.
- Pritisnite NASTAVI ponovno pritisnite, da potrdite uro in se premaknete na nastavitev minut. Številke minut bodo utripale.
- Uporabite UP or DOL gumbe za nastavitev minut.
- Pritisnite NASTAVI again to confirm the minute and move to year setting.
- Repeat the process using UP/DOL in NASTAVI za nastavitev leta, meseca in dneva.
- Po nastavitvi dneva pritisnite NASTAVI še zadnjič za izhod iz načina nastavitev.
6. Navodila za uporabo
6.1 Nastavitev alarma
- Pritisnite in držite ALARM button for 3 seconds. The alarm hour digits will flash.
- Uporabite UP or DOL gumbe za nastavitev želene ure budilke.
- Pritisnite ALARM ponovno za potrditev ure in premik na nastavitev minut.
- Uporabite UP or DOL gumbe za nastavitev želene minute alarma.
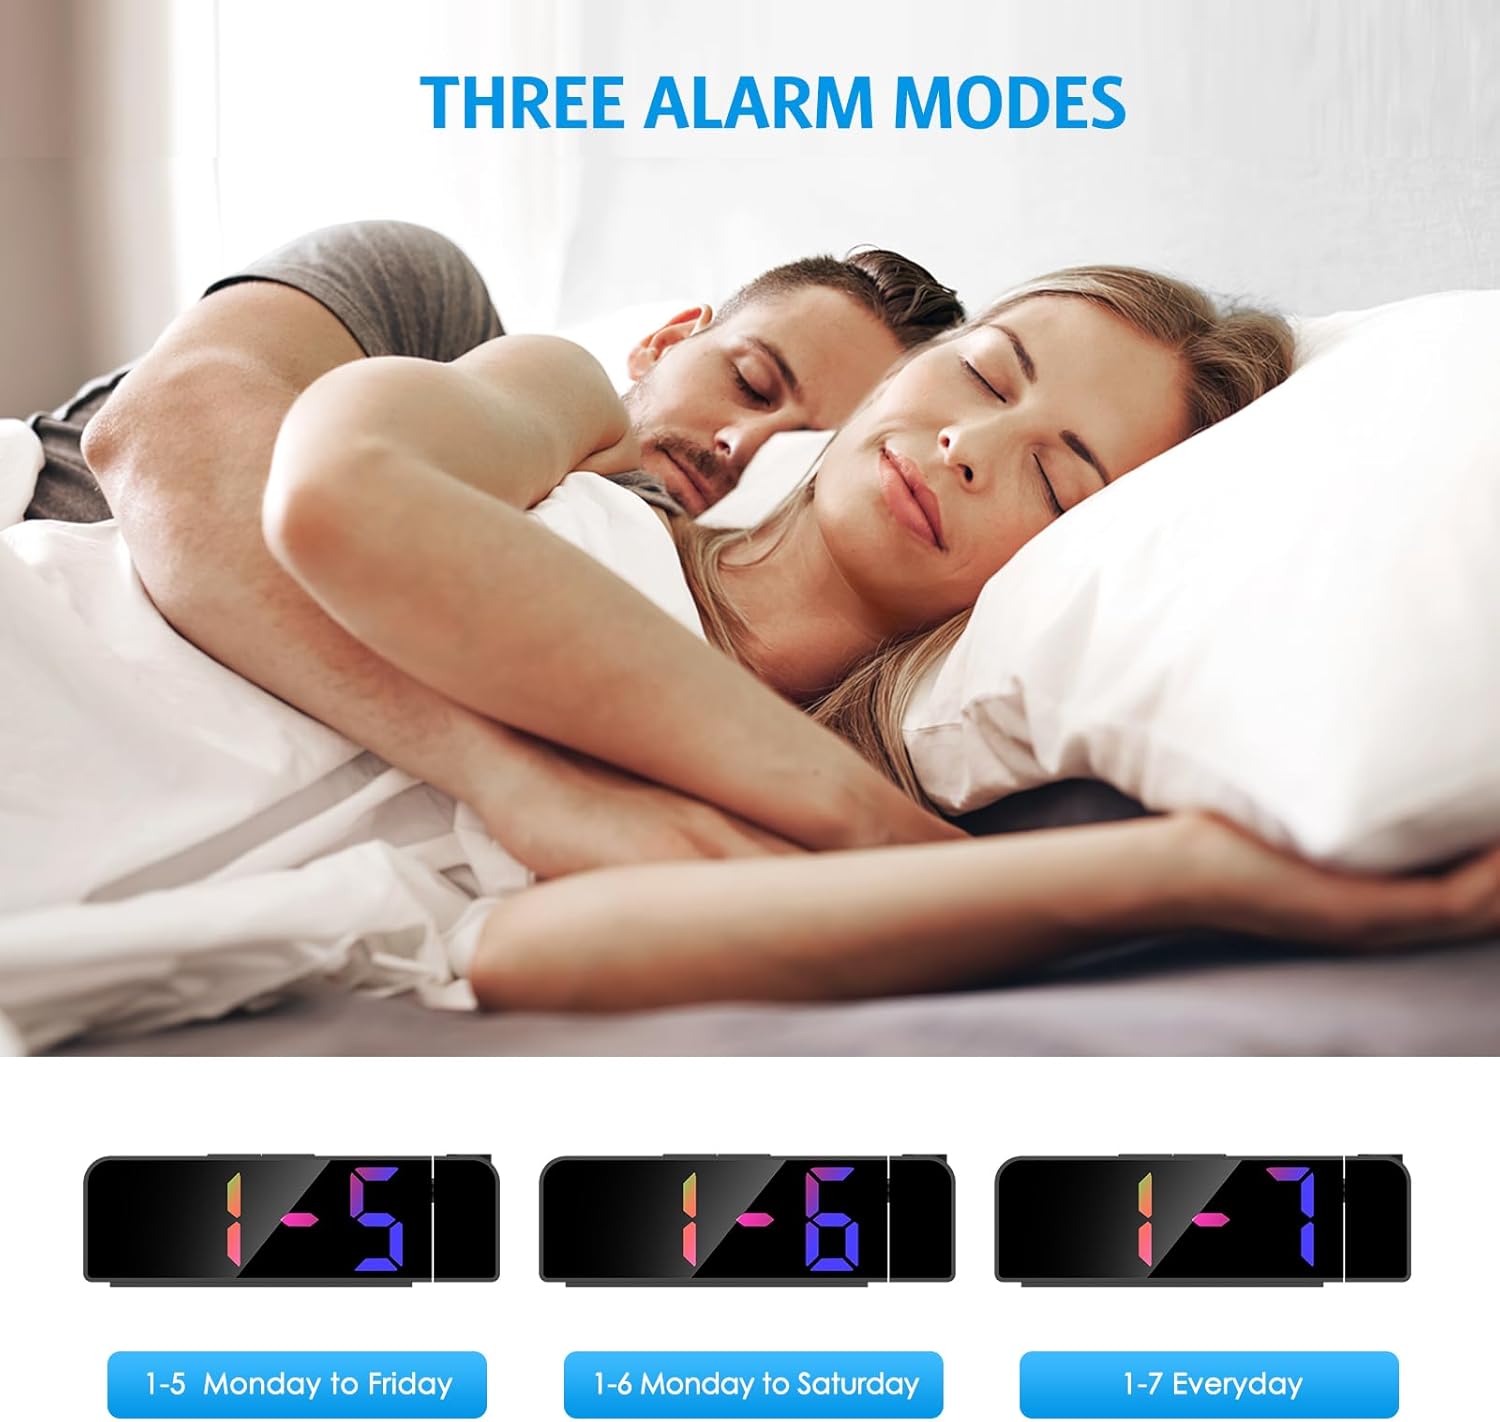
- Pritisnite ALARM again to select the alarm mode:
- 1-5: Alarm se oglaša od ponedeljka do petka.
- 1-6: Alarm sounds Monday to Saturday.
- 1-7: Alarm sounds Everyday.
- Pritisnite ALARM še zadnjič za potrditev in izhod iz načina nastavitve alarma.
The image above illustrates the three available alarm modes: weekdays, weekdays plus Saturday, and every day.
6.2 Funkcija dremeža

Ko se oglasi alarm, pritisnite veliko SNOOZE / LUČ button on the top of the clock to activate the snooze function. This will provide an additional 5 minutes of sleep before the alarm sounds again. You can repeat this process as needed.
The image highlights the prominent SNOOZE/LIGHT button, easily accessible for quick snooze activation.
6.3 Prilagajanje svetlosti zaslona

Pritisnite SNOOZE / LUČ button (short press) to cycle through 4 levels of display brightness: Bright, Medium, Low, and Off. Select the brightness level that best suits your environment.
This image demonstrates the four distinct brightness settings for the main LED display, from bright to completely off.
6.4 Adjusting Projection Brightness and Orientation

Pritisnite PROJEKT button (short press) to cycle through 3 levels of projection brightness: Off, Dim, and Bright. The projection lamp can be rotated 180 degrees to project the time onto your ceiling or wall.
The image illustrates the projection feature, showing the clock projecting time onto a wall and the three available brightness levels for the projection.

Important Projection Orientation: The projection digits are only displayed correctly when the projection direction is towards the back of the alarm clock (away from the front display). If you project forward, the numbers will appear reversed. Ensure the projection is directed appropriately for correct readability.
This image clearly demonstrates the correct and incorrect projection orientations, emphasizing that projection should be directed backward for proper display.
6.5 Nočni način

The alarm clock features an automatic night mode. By default, the display brightness will automatically dim between 18:00 (6 PM) and 5:59 (5:59 AM). This time range can be adjusted to suit your preferences within the settings menu (refer to the full manual for advanced settings).
The image depicts the alarm clock operating in a low-light environment, showcasing the automatic dimming feature of the night mode.
6.6 12/24-urni format

Za preklop med 12-urnim in 24-urnim formatom časa na kratko pritisnite UP button during normal time display. The display will toggle between AM/PM indication (12-hour) and military time (24-hour).
This image visually compares the appearance of the time display in both 12-hour and 24-hour formats.
7. Vzdrževanje
To maintain your Ankilo Projection Alarm Clock, gently wipe the surface with a soft, dry cloth. Avoid using abrasive cleaners or solvents, as these may damage the finish or electronic components. Keep the projection lens clean for clear time display.
8. Odpravljanje težav
| Težava | Možen vzrok | rešitev |
|---|---|---|
| Display is off or dim. | Not connected to USB power, or display brightness set to 'Off'. | Ensure USB cable is securely connected. Press SNOOZE / LUČ za prilagoditev svetlosti. |
| Projection numbers are reversed. | Projekcija lamp is facing forward. | Rotate the projection lamp 180 degrees so it projects towards the back of the clock. |
| Alarm se ne oglasi. | Alarm ni nastavljen ali je deaktiviran. | Pritisnite in držite ALARM to set the alarm time and mode. Ensure the alarm icon is visible on the display. |
| Ponastavitev časa/nastavitev po izpadu napajanjatage. | Rezervna baterija CR2032 je prazna ali manjka. | Replace the CR2032 battery in the battery compartment. |
| Projekcija je zamegljena. | Projection lens is dirty or surface is too far/close. | Clean the projection lens with a soft cloth. Adjust the clock's distance from the projection surface (ideal 1.6ft-16ft). |
9. Specifikacije
| Funkcija | Podrobnost |
|---|---|
| Znamka | Ankilo |
| Številka modela | WA113B&C-MA06US-HY |
| Vrsta zaslona | Digitalna LED |
| Velikost zaslona | 7.9 palcev |
| Dimenzije izdelka | 1.7 cm Š x 3.3 cm V |
| Vir napajanja | Električni kabel (USB kabel) |
| Rezervna baterija | 1 x CR2032 (priložen) |
| Posebne lastnosti | 180° Projection, Adjustable Brightness (Display & Projection), USB Charging Port, Night Mode, Temperature Display, Snooze Function, Multiple Alarm Modes (1-5, 1-6, 1-7) |
| Material | Kovina |
| Teža predmeta | 6.7 unč |
10. Garancija in podpora

- Politika vračila: Enjoy a 6-month return period from the date of purchase.
- Garancija: Your Ankilo Projection Alarm Clock is covered by a 24-month warranty against manufacturing defects.
- Doživljenjska podpora: Ankilo is committed to providing lifetime technical support for this product.
The image above summarizes our commitment to customer satisfaction, including return policy, warranty, and ongoing support.
For any questions, troubleshooting assistance, or warranty claims, please contact Ankilo customer support through the platform where you purchased the product or visit our official webspletno mesto za kontaktne podatke.
Sorodni dokumentiWA113B&C-MA06US-HY

Ask a question about this manual
Ask about setup, troubleshooting, compatibility, parts, safety, or missing instructions. Manuals+ will review the question and use this page’s manual context to help answer it.