1. Uvod
The Poly Studio Table Microphone is designed to enhance audio capture in conference environments, specifically for Poly Studio X50, X52, V52, X70, X72, and V72 video systems. It features superior 3-way audio pickup, automatically leveling voices and suppressing background noise and echo for clear, natural conversations. Its robust design includes an easily accessible mute button with an indicator light and offers a pick-up range of 2.5 meters (8.2 feet).
This manual provides instructions for setting up, operating, and maintaining your Poly Studio Table Microphone.
2. Kaj je v škatli
Preverite, ali so v embalaži prisotne vse komponente:
- Poly Studio Table Microphone (Model 875M6AA)
- RJ-11 kabel
- Navodila za namestitev (ta dokument)
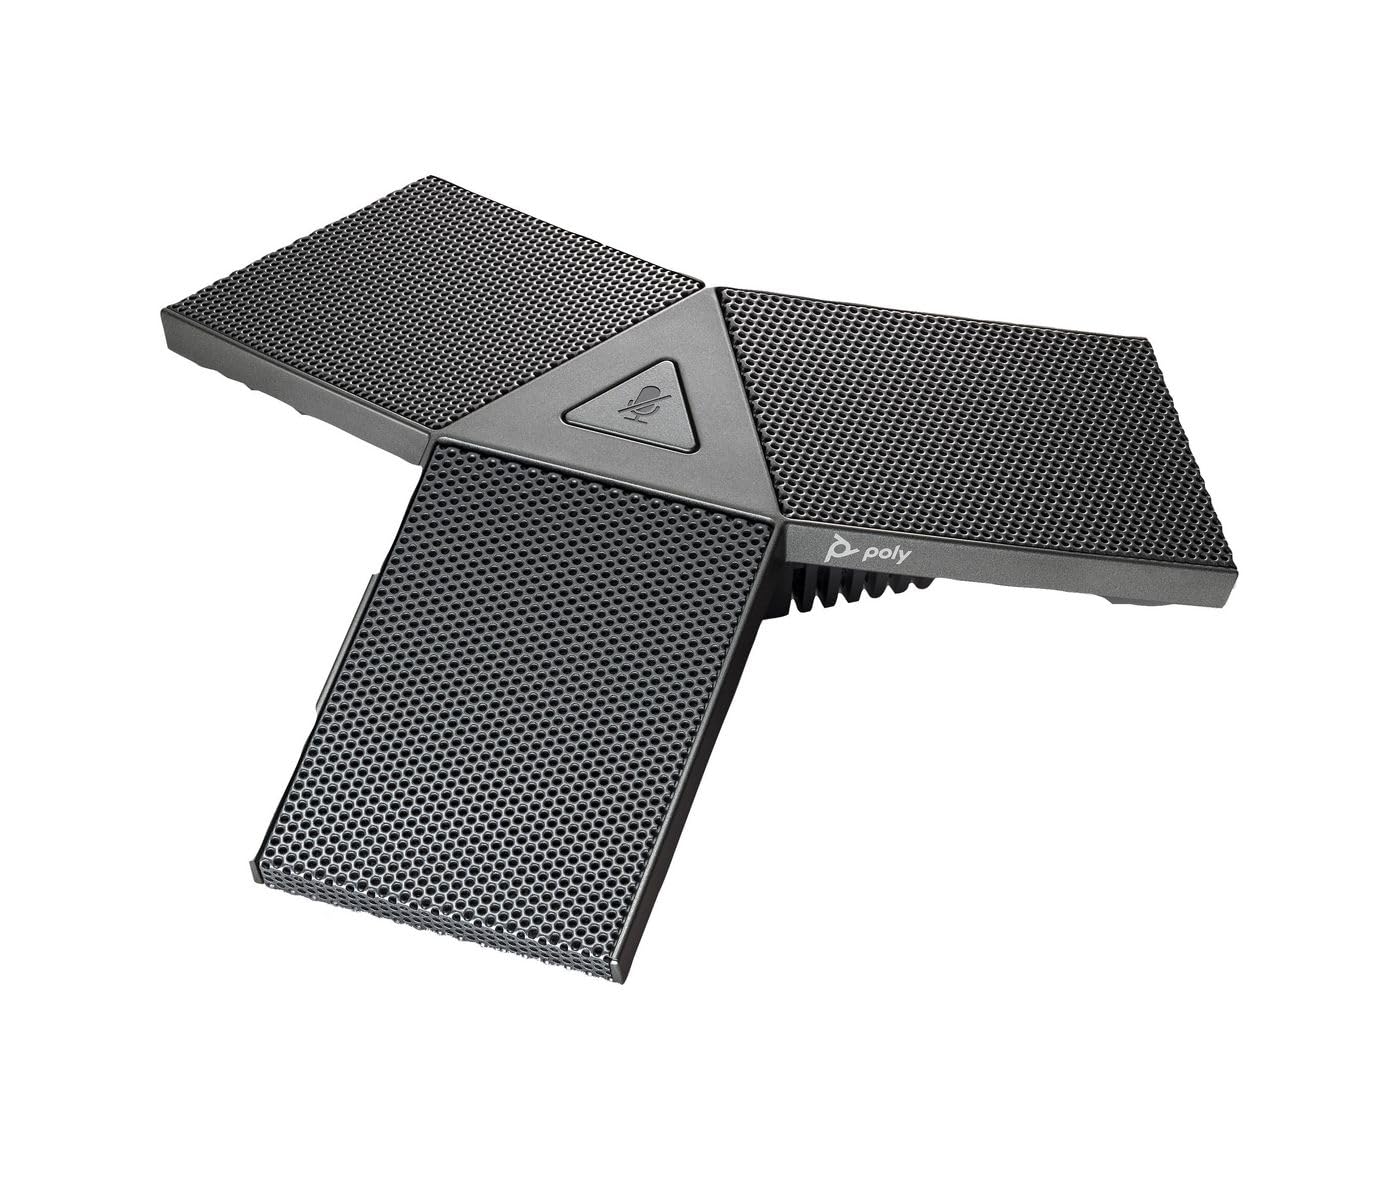
Image 1: Poly Studio Table Microphone with its RJ-11 connection cable.
3. Nastavitev
The Poly Studio Table Microphone is designed for simplified setup. Follow these steps to connect the microphone to your Poly Studio video system:
- Umestitev: Position the Poly Studio Table Microphone on a flat surface in your conference room. Ensure it is centrally located to maximize its 2.5-meter (8.2 feet) audio pickup range.
- Povezava: Locate the RJ-11 port on the underside of the microphone and on your Poly Studio video system (X50, X52, V52, X70, X72, or V72).
- Cable Insertion: Connect one end of the provided RJ-11 cable into the microphone's RJ-11 port.
- Sistemska povezava: Connect the other end of the RJ-11 cable into the corresponding RJ-11 port on your Poly Studio video system.
- Vklop: Ensure your Poly Studio video system is powered on. The microphone will automatically be detected and configured.
No additional drivers or software are typically required for basic functionality.
4. Navodila za uporabo
The Poly Studio Table Microphone is designed for intuitive operation, integrating seamlessly with your Poly Studio video system.
4.1 Audio Pickup
- The microphone features three (3) directional microphones for 360-degree audio coverage, ensuring voices are captured from all directions within its 2.5-meter (8.2 feet) range.
- Advanced audio technology automatically levels voices and suppresses background noise and echo, providing clear audio for remote participants.
4.2 Funkcija izklopa zvoka
- A convenient mute button is located on the microphone for quick control.
- Press the mute button to toggle the microphone's audio input on or off.
- An indicator light on the microphone will illuminate or change color to clearly show the mute status. Refer to your Poly Studio video system's documentation for specific indicator light behaviors.
5. Vzdrževanje
To ensure optimal performance and longevity of your Poly Studio Table Microphone, follow these maintenance guidelines:
- Čiščenje: The microphone features integrated Microban® protection to help keep surfaces cleaner and fresher for longer. For general cleaning, gently wipe the exterior surfaces with a soft, dry, or slightly damp cloth. Avoid using harsh chemicals, abrasive cleaners, or solvents.
- Shranjevanje: When not in use for extended periods, store the microphone in a clean, dry environment away from extreme temperatures and direct sunlight.
- Skrb za kabel: Avoid bending or crimping the RJ-11 cable excessively. Ensure it is not placed where it can be tripped over or damaged.
6. Odpravljanje težav
If you encounter issues with your Poly Studio Table Microphone, refer to the following common troubleshooting steps:
- Brez zvoka:
- Ensure the RJ-11 cable is securely connected to both the microphone and the Poly Studio video system.
- Verify that the microphone is not muted (check the indicator light).
- Check the audio settings on your Poly Studio video system to ensure the external microphone is selected and volume levels are appropriate.
- Restart the Poly Studio video system.
- Poor Audio Quality (Echo, Noise):
- Ensure the microphone is placed on a stable surface and not too close to speakers or other noise sources.
- Confirm that the room acoustics are suitable for conferencing.
- Verify that the microphone's surface is clean.
- Gumb za utišanje se ne odziva:
- Prepričajte se, da je mikrofon pravilno priključen in napajan.
- Restart the Poly Studio video system.
If problems persist, consult the comprehensive user manual for your specific Poly Studio video system or contact Poly technical support.
7. Specifikacije
| Funkcija | Podrobnost |
|---|---|
| Znamka | POLI |
| Ime modela | Studio |
| Številka modela | 875M6AA |
| Tehnologija povezljivosti | USB (via RJ-11 connection to Poly Studio system) |
| Vrsta priključka | RJ-11 |
| Polarni vzorec | Unidirectional (3-way audio pickup for 360-degree coverage) |
| Faktor oblike mikrofona | Namizni nosilec |
| Posebna funkcija | Mute button with indicator light, Microban® protection |
| Združljive naprave | Poly Studio X50, X52, V52, X70, X72, V72 video systems |
| Domet pobiranja | 2.5 metra (8.2 čevljev) |
| Frekvenčni odziv | 20 Hz - 20 kHz |
| Razmerje med signalom in hrupom | 78 dB |
| Teža predmeta | 0.2 funtov (približno 90 gramov) |
| Mere predmeta (D x Š x V) | 1.1 x 4.9 x 5.6 palca (približno 2.8 x 12.4 x 14.2 cm) |
| barva | Gunmetal |
| Proizvajalec | HP Inc. |
8. Garancija in podpora
Informacije o garanciji: The warranty description for this product is not explicitly available in the provided details. Please refer to the official Poly (HP Inc.) webZa posebne garancijske pogoje si oglejte spletno mesto ali dokumentacijo o nakupu.
Tehnična podpora: For further assistance, technical support, or service inquiries, please contact Poly (HP Inc.) customer support through their official website or the contact information provided with your Poly Studio video system.
You can often find support resources, FAQs, and updated documentation on the Poli webmesto.