
1. Uvod
This manual provides essential information for the safe and effective use of your nvmw 24V 2A Electric Scooter Battery Charger. Please read these instructions carefully before use and retain them for future reference. This charger is designed to provide reliable power for compatible electric scooters and wheelchairs.
2. Varnostne informacije
WARNING: To reduce the risk of fire and burns, observe the following precautions:
- Polnilnika ne razstavljajte.
- Do not squeeze or puncture the charger.
- Avoid short-circuiting external contacts.
- Do not dispose of the charger in fire.
- Polnilnik hranite stran od vode in prekomerne vlage.
- Use the charger only with compatible devices as specified in this manual.
- Med polnjenjem zagotovite ustrezno prezračevanje, da preprečite pregrevanje.
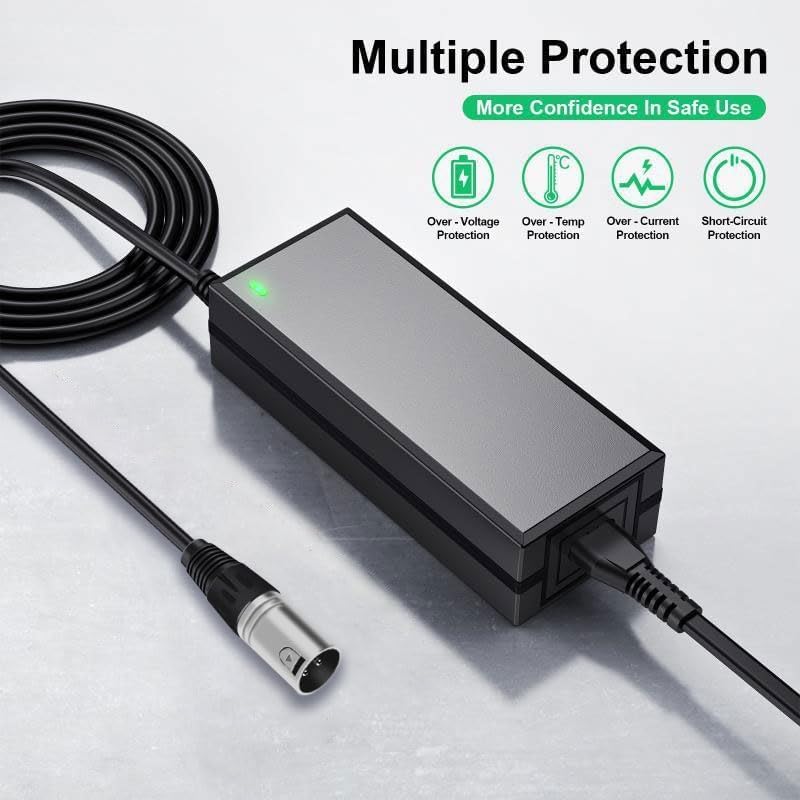
Slika 1: The nvmw 24V 2A Electric Scooter Battery Charger highlighting its multiple protection features including over-voltage, over-temperature, over-current, and short-circuit protection.
3. Izdelek je končanview
The nvmw 24V 2A Electric Scooter Battery Charger is designed for efficient and safe charging of various electric scooters and wheelchairs. It features built-in protection mechanisms to ensure reliable operation.
Ključne značilnosti:
- Zaščita: Short circuit protection, constant current and voltage regulation, overcurrent protection, and overload protection.
- Vnos: AC 100-240V, 50/60Hz.
- Izhod: DC 24V 2A.
- Priključek: Male 3-pin XLR.
- LED indikator: Prikazuje stanje polnjenja.

Slika 2: General view of the nvmw 24V 2A Electric Scooter Battery Charger, showing the main unit and the 3-pin XLR output connector.
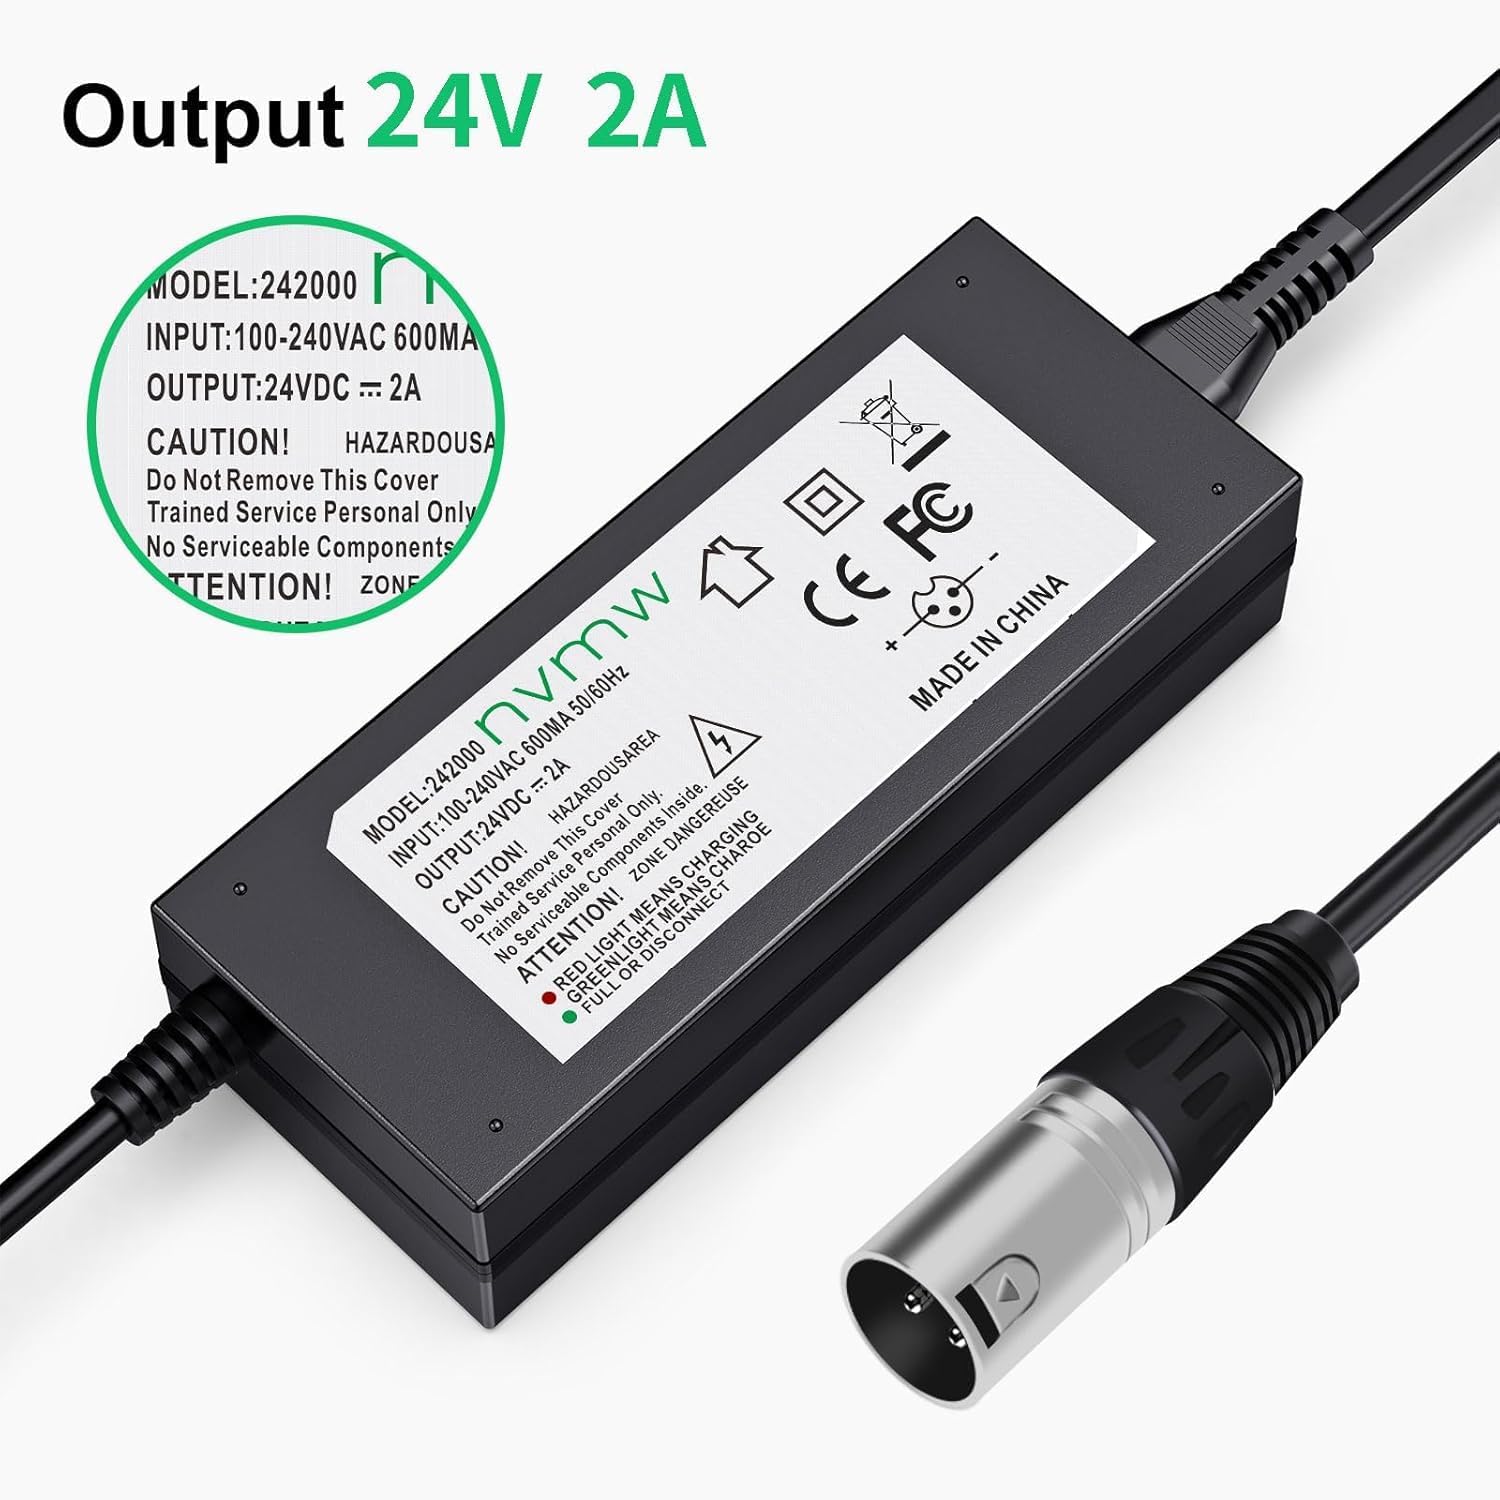
Slika 3: Close-up of the charger's label, indicating an output of 24V DC, 2A, and input voltage območje.
4. Nastavitev
Follow these steps to prepare your charger for use:
- Razpakiraj: Carefully remove the charger and power cord from its packaging.
- Priključite napajalni kabel: Insert the included US input power cord into the charger's AC input port.
- Inspect Connector: Ensure the 3-pin XLR connector on the charger's output cable is clean and free from damage.
- Preverite združljivost: Confirm that your electric scooter or wheelchair requires a 24V 2A charger with a male 3-pin XLR connector.
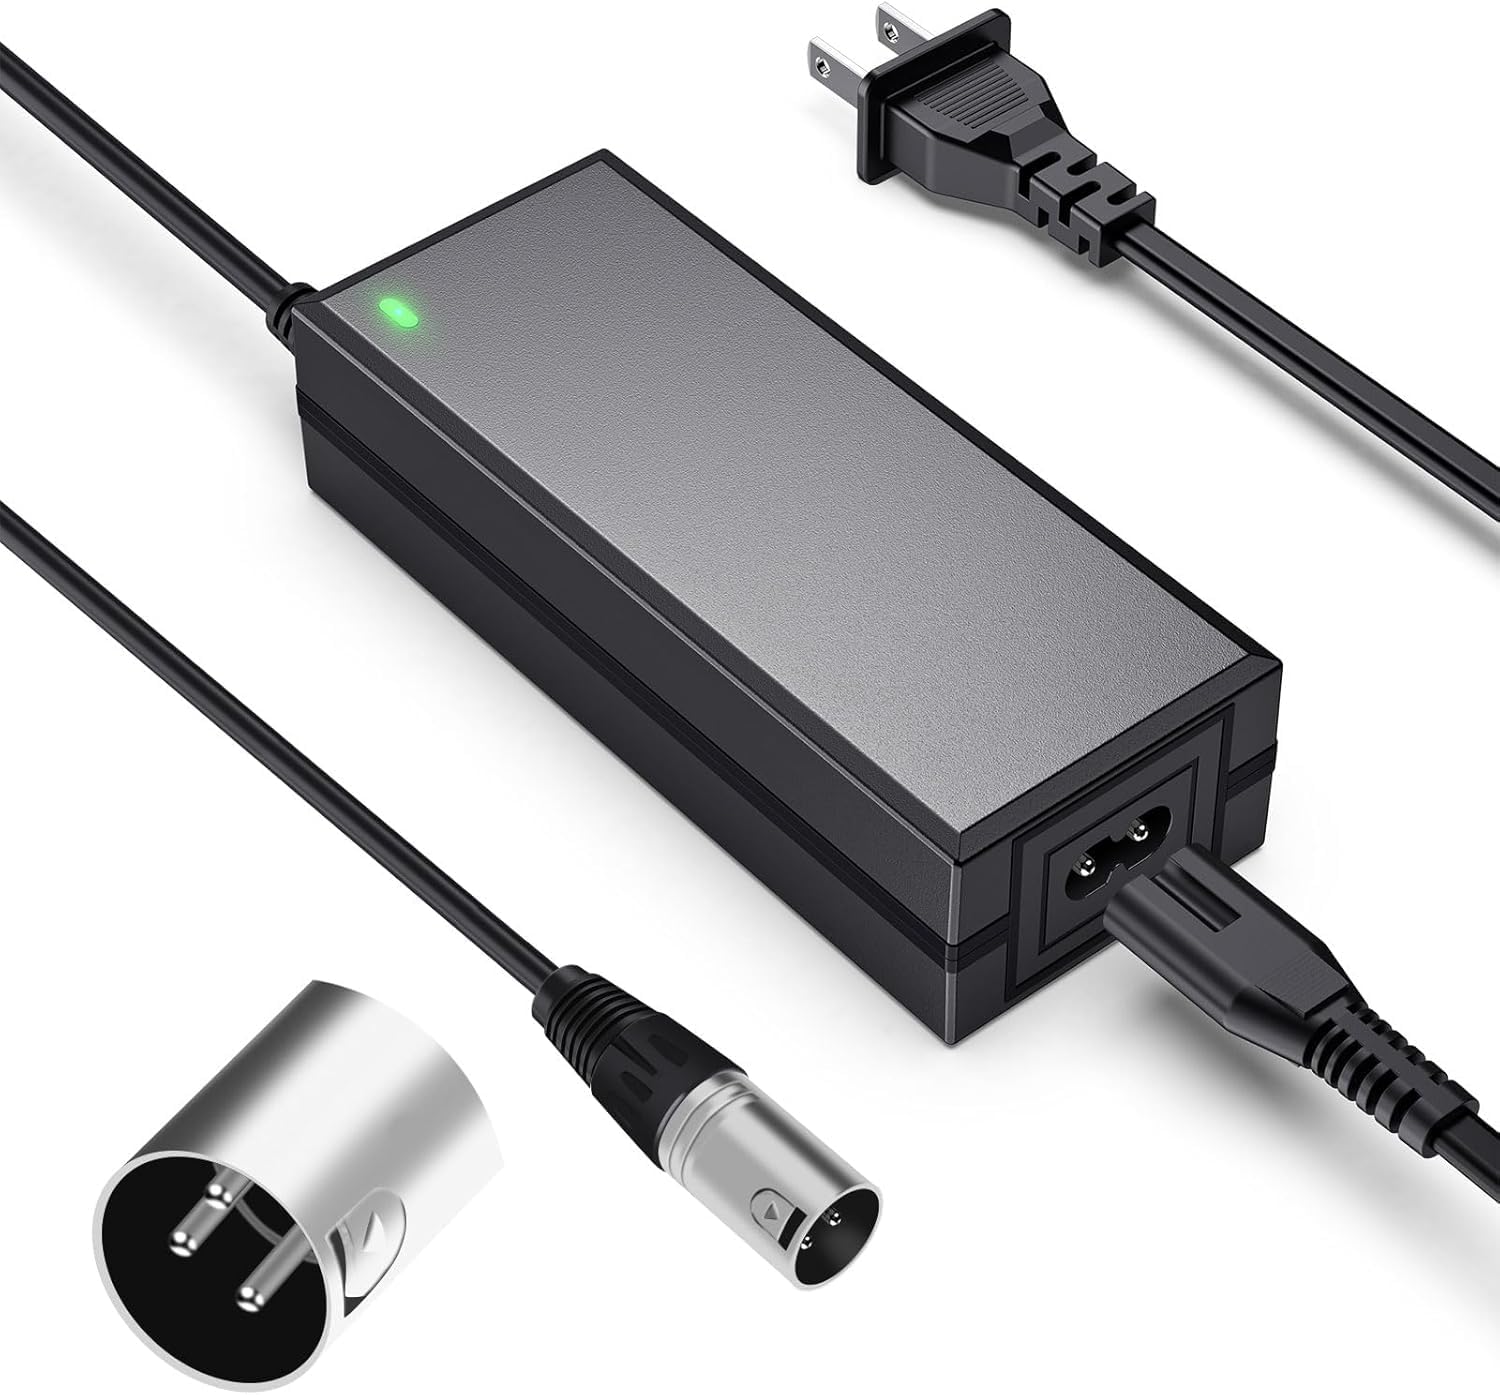
Slika 4: The charger unit, its detachable power cord, and the 3-pin XLR output connector, illustrating the components included.
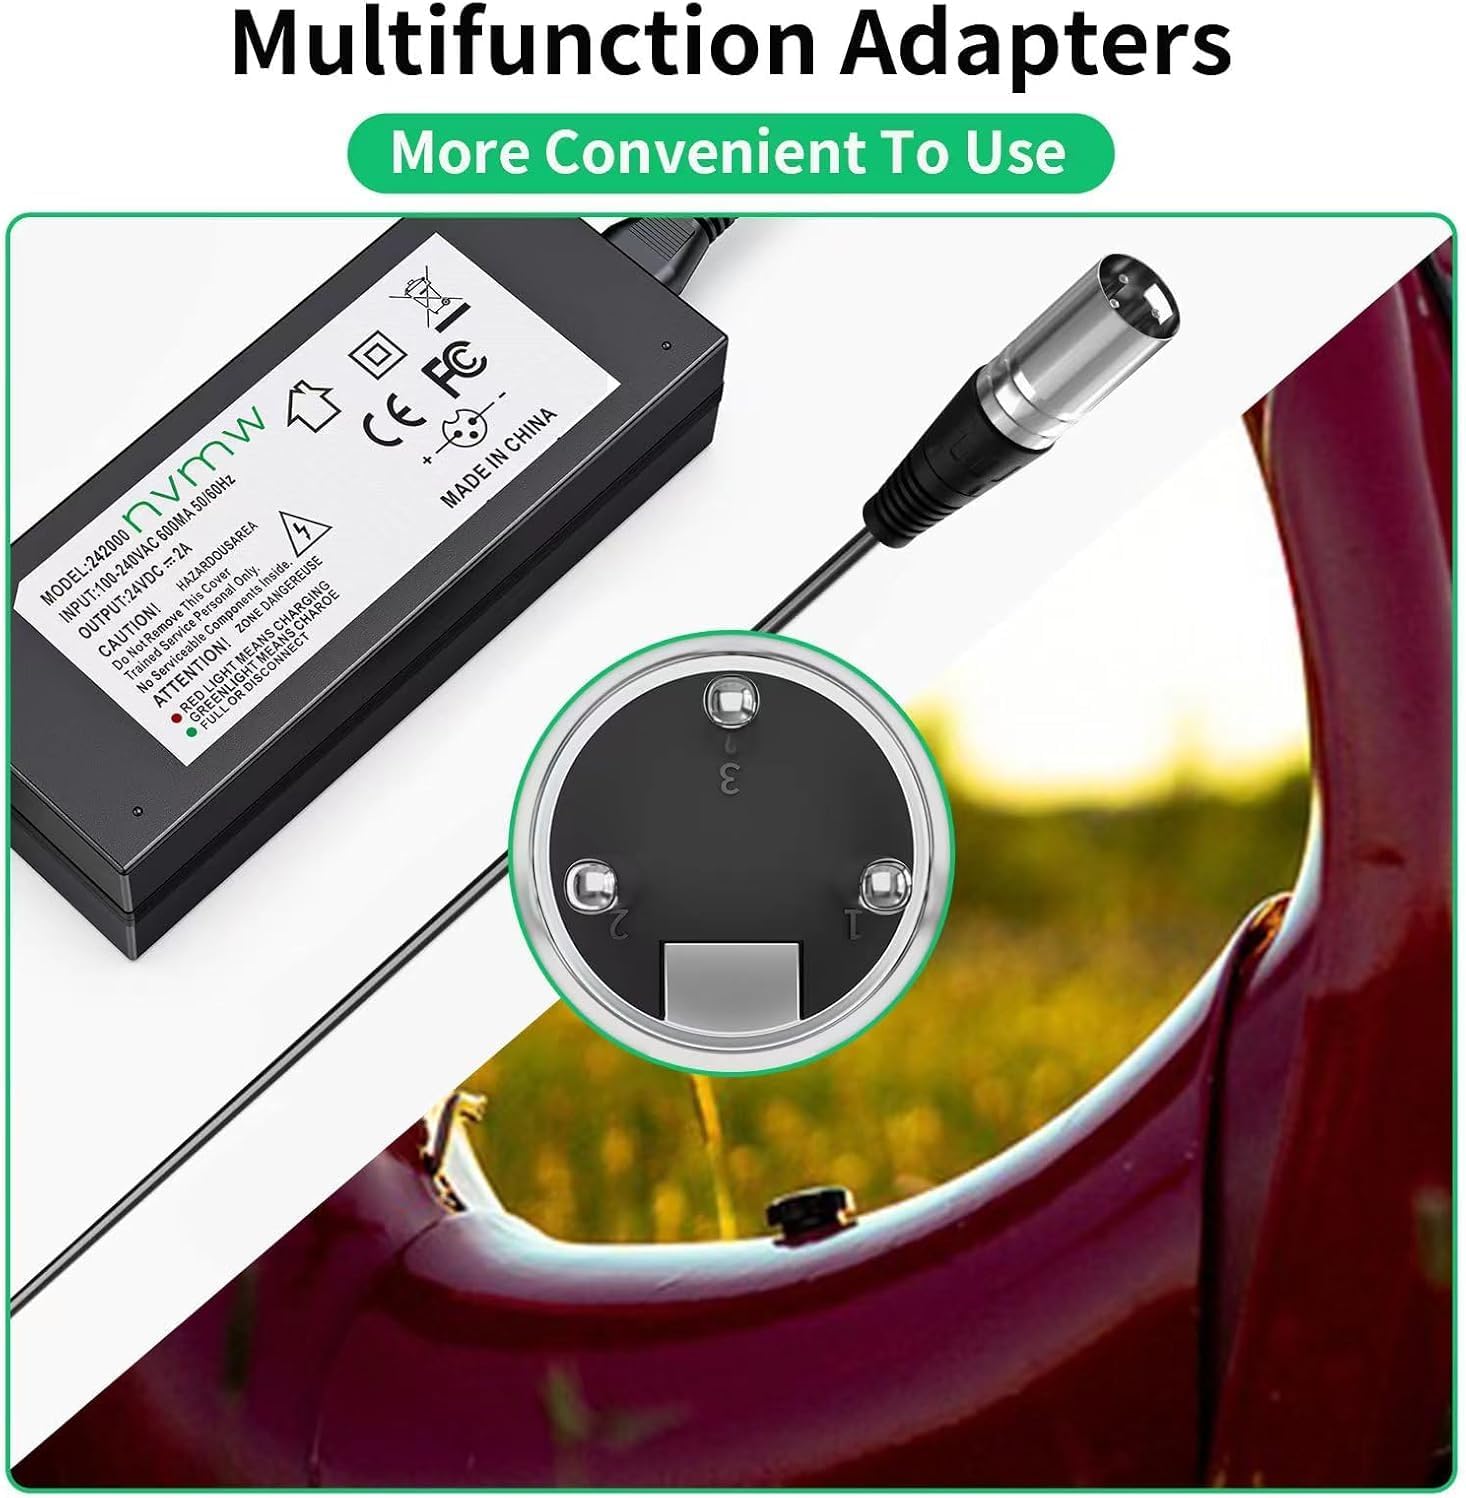
Slika 5: Podrobno view of the 3-pin XLR connector, showing its pin configuration, alongside the charger's label.
5. Navodila za uporabo
Za polnjenje naprave sledite tem korakom:
- Povežite se z napravo: Plug the 3-pin XLR connector from the charger into the charging port of your electric scooter or wheelchair. Ensure a secure connection.
- Priključite na električno vtičnico: Plug the AC power cord into a standard wall outlet (AC 100-240V).
- Monitor Polnjenje: Bodite pozorni na LED indikator na polnilniku:
- Rdeča luč: Indicates that the device is currently charging.
- Zelena luč: Indicates that charging is complete, or the charger is connected but not actively charging (e.g., if the battery is already full).
- Prekini povezavo: Once the green light indicates a full charge, first unplug the AC power cord from the wall outlet, then disconnect the XLR connector from your device.
6. Vzdrževanje
Pravilno vzdrževanje zagotavlja dolgo življenjsko dobo in delovanje vašega polnilnika:
- Čiščenje: Wipe the charger with a dry, soft cloth. Do not use liquid cleaners or solvents.
- Shranjevanje: Polnilnik shranjujte na hladnem in suhem mestu, stran od neposredne sončne svetlobe in ekstremnih temperatur, ko ga ne uporabljate.
- Skrb za kabel: Avoid bending or crimping the cables excessively. Do not pull the cable to disconnect; always grasp the plug.
- Pregled: Periodically inspect the charger, cables, and connectors for any signs of damage. If damage is found, discontinue use and replace the charger.
7. Odpravljanje težav
If you encounter issues with your charger, refer to the table below:
| Težava | Možen vzrok | rešitev |
|---|---|---|
| LED lučka polnilnika ne sveti. | Ni napajanja iz vtičnice; ohlapna povezava; pokvarjen polnilnik. | Check wall outlet with another device. Ensure all connections are secure. If problem persists, charger may be faulty. |
| LED remains green, but device is not fully charged. | Device battery is already full; incorrect connection; battery issue. | Verify device battery level. Re-seat the XLR connector. Consult device manual for battery diagnostics. |
| Charger gets excessively hot. | Poor ventilation; faulty charger or battery. | Ensure charger is in a well-ventilated area. Discontinue use if overheating persists and contact support. |
| Charger does not fit device. | Incompatible connector type or voltage. | Verify your device's charging port type and voltage requirements match the charger's 3-pin XLR and 24V output. |
8. Specifikacije
| Funkcija | Podrobnost |
|---|---|
| Znamka | nvmw |
| Številka modela | nvmw24-1 |
| Vhodna voltage | AC 100-240V |
| Frekvenčno območje | 50 do 60 Hz |
| Izhodna voltage | DC 24V |
| Izhodni tok | 2A |
| Wattage | 24 vatov |
| Vrsta priključka | 3-pin XLR (Male) |
| Vključene komponente | Napajalni kabel |
| Posebne lastnosti | Short Circuit Protection, Overcurrent Protection, Overload Protection |
| Material | Plastika |
| Teža predmeta | 0.34 kg |
| Vrsta vtičnice | Tip A - 2-pinski (severnoameriški) |
| Združljive naprave | Electric Scooters, Wheelchairs (e.g., Go Go Elite Traveler, Pride Mobility, Jazzy Power Chair, eZip Mountain Trailz, etc.) |

Slika 6: Dimensional parameters of the charger unit and its cables, showing lengths and unit size.
9. Garancija in podpora
The product comes with a 1-year warranty. For technical support, warranty claims, or further assistance, please refer to the contact information provided with your purchase or visit the manufacturer's official webmesto.