Uvod
This manual provides detailed instructions for setting up, operating, and maintaining your Geevon Weather Station. This device offers comprehensive weather monitoring capabilities for both indoor and outdoor environments, along with additional features such as an alarm clock and adjustable backlight.
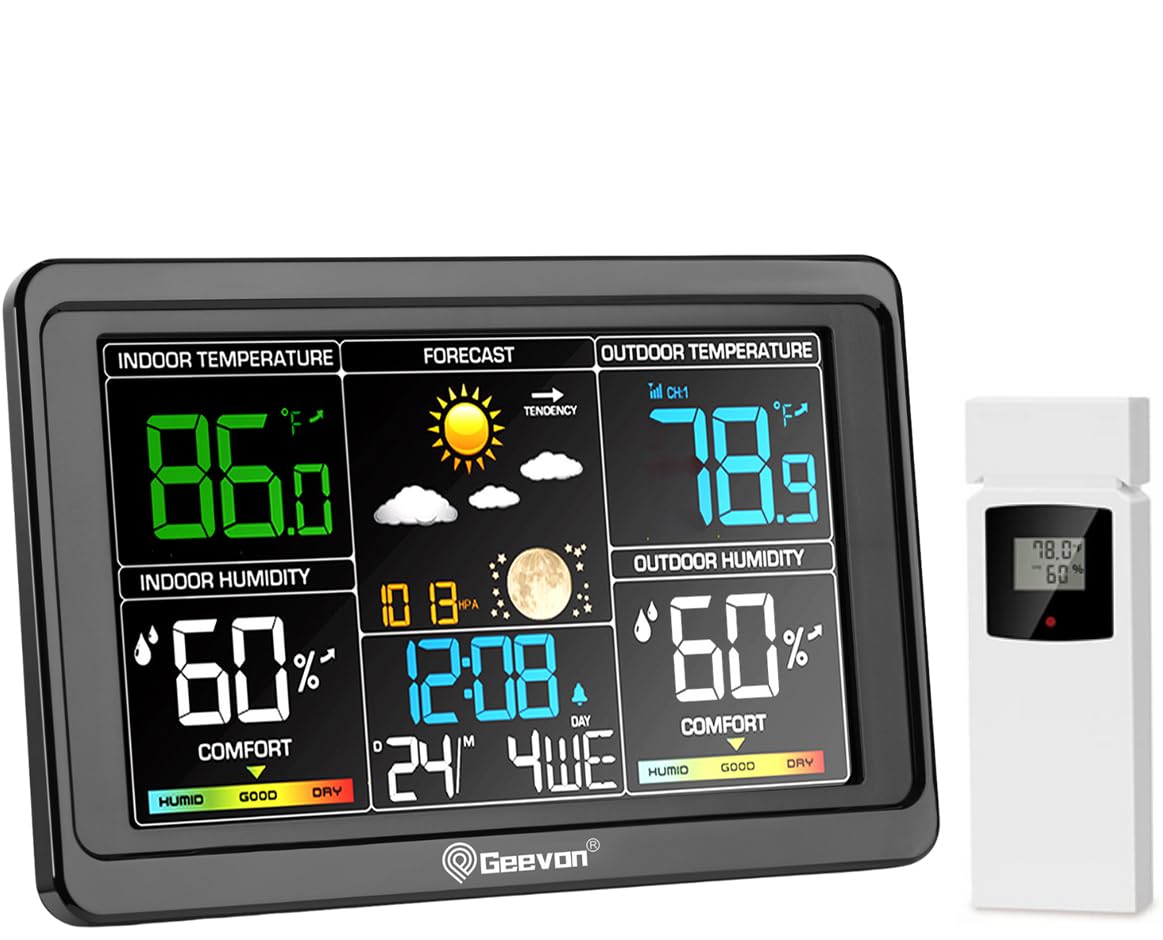
Image: Geevon Weather Station main display unit and wireless outdoor sensor.
Ključne značilnosti:
- 7.6-inch LCD color display for clear readability of indoor/outdoor temperature and humidity, weather forecast, barometric pressure, moon phases, and time.
- Supports up to 3 remote sensors (one included) with a 200FT/60M transmission range.
- Integrated USB charging port for external devices.
- Budilka s funkcijo dremeža.
- 3-level adjustable backlight for optimal viewv različnih svetlobnih pogojih.
- Flexible placement options: wall-mountable or tabletop stand.
Vsebina paketa
Prosimo, preverite paket, da se prepričate, da so prisotne vse komponente:
- 1 x Geevon Weather Station Main Unit
- 1 x Wireless Outdoor Sensor (TX16-3)
- 1 x napajalnik
- 1 x Uporabniški priročnik (ta dokument)
Vodnik za namestitev
1. Napajanje glavne enote
The main unit can be powered by either the included AC power adapter or batteries (not included).
- Using AC Power Adapter: Connect the power adapter to the DC IN port on the back of the main unit and plug it into a standard wall outlet. This allows the backlight to remain continuously on.
- Uporaba baterij: Open the battery compartment on the back of the main unit and insert 3 x AAA batteries (not included), observing polarity. When powered by batteries only, the backlight will turn off after 10 seconds to conserve power.

Image: Illustration of power options for the weather station, showing AC adapter for continuous backlight and battery power for temporary backlight.
2. Napajanje brezžičnega zunanjega senzorja
Open the battery compartment on the back of the outdoor sensor and insert 2 x AA batteries (not included), observing polarity. Close the compartment securely.
3. Združevanje senzorja z glavno enoto
Once both units are powered, the main unit will automatically search for and connect to the outdoor sensor. This process may take a few minutes. Ensure the sensor is within the 200FT/60M transmission range of the main unit.

Image: Diagram illustrating the 200FT/60M wireless transmission range between the main weather station unit and the outdoor sensor.
The weather station supports up to three remote sensors. If you have additional sensors, you can switch between channels (CH1, CH2, CH3) on the main unit to view their readings.

Image: Visual representation of the weather station's ability to connect with up to three remote sensors, showing placement exampdatotek za vsak kanal.
4. Premisleki glede namestitve
- Glavna enota: Can be placed on a desk using its built-in stand or mounted on a wall using the hanging hole.
- Zunanji senzor: Place the sensor in a shaded, dry location away from direct sunlight and rain to ensure accurate readings and prolong battery life. Avoid placing it near large metal objects or electronic devices that could interfere with the wireless signal.

Image: Important considerations for placement, advising to avoid direct sunlight and rain for the outdoor sensor, and to keep the main unit at least 3 feet (1 meter) away from other electronics.
Navodila za uporabo
Prikaži večview
The large LCD display shows various information at a glance:
- Notranja temperatura in vlažnost
- Outdoor Temperature and Humidity (for selected channel)
- Weather Forecast (Sunny, Partly Sunny, Cloudy, Rainy)
- Time, Date, and Day of the Week
- Lunine faze
- Barometrični tlak
- Comfort Indicator (HUMID, GOOD, DRY)
- Max/Min Temperature and Humidity Records
- Alarm Status
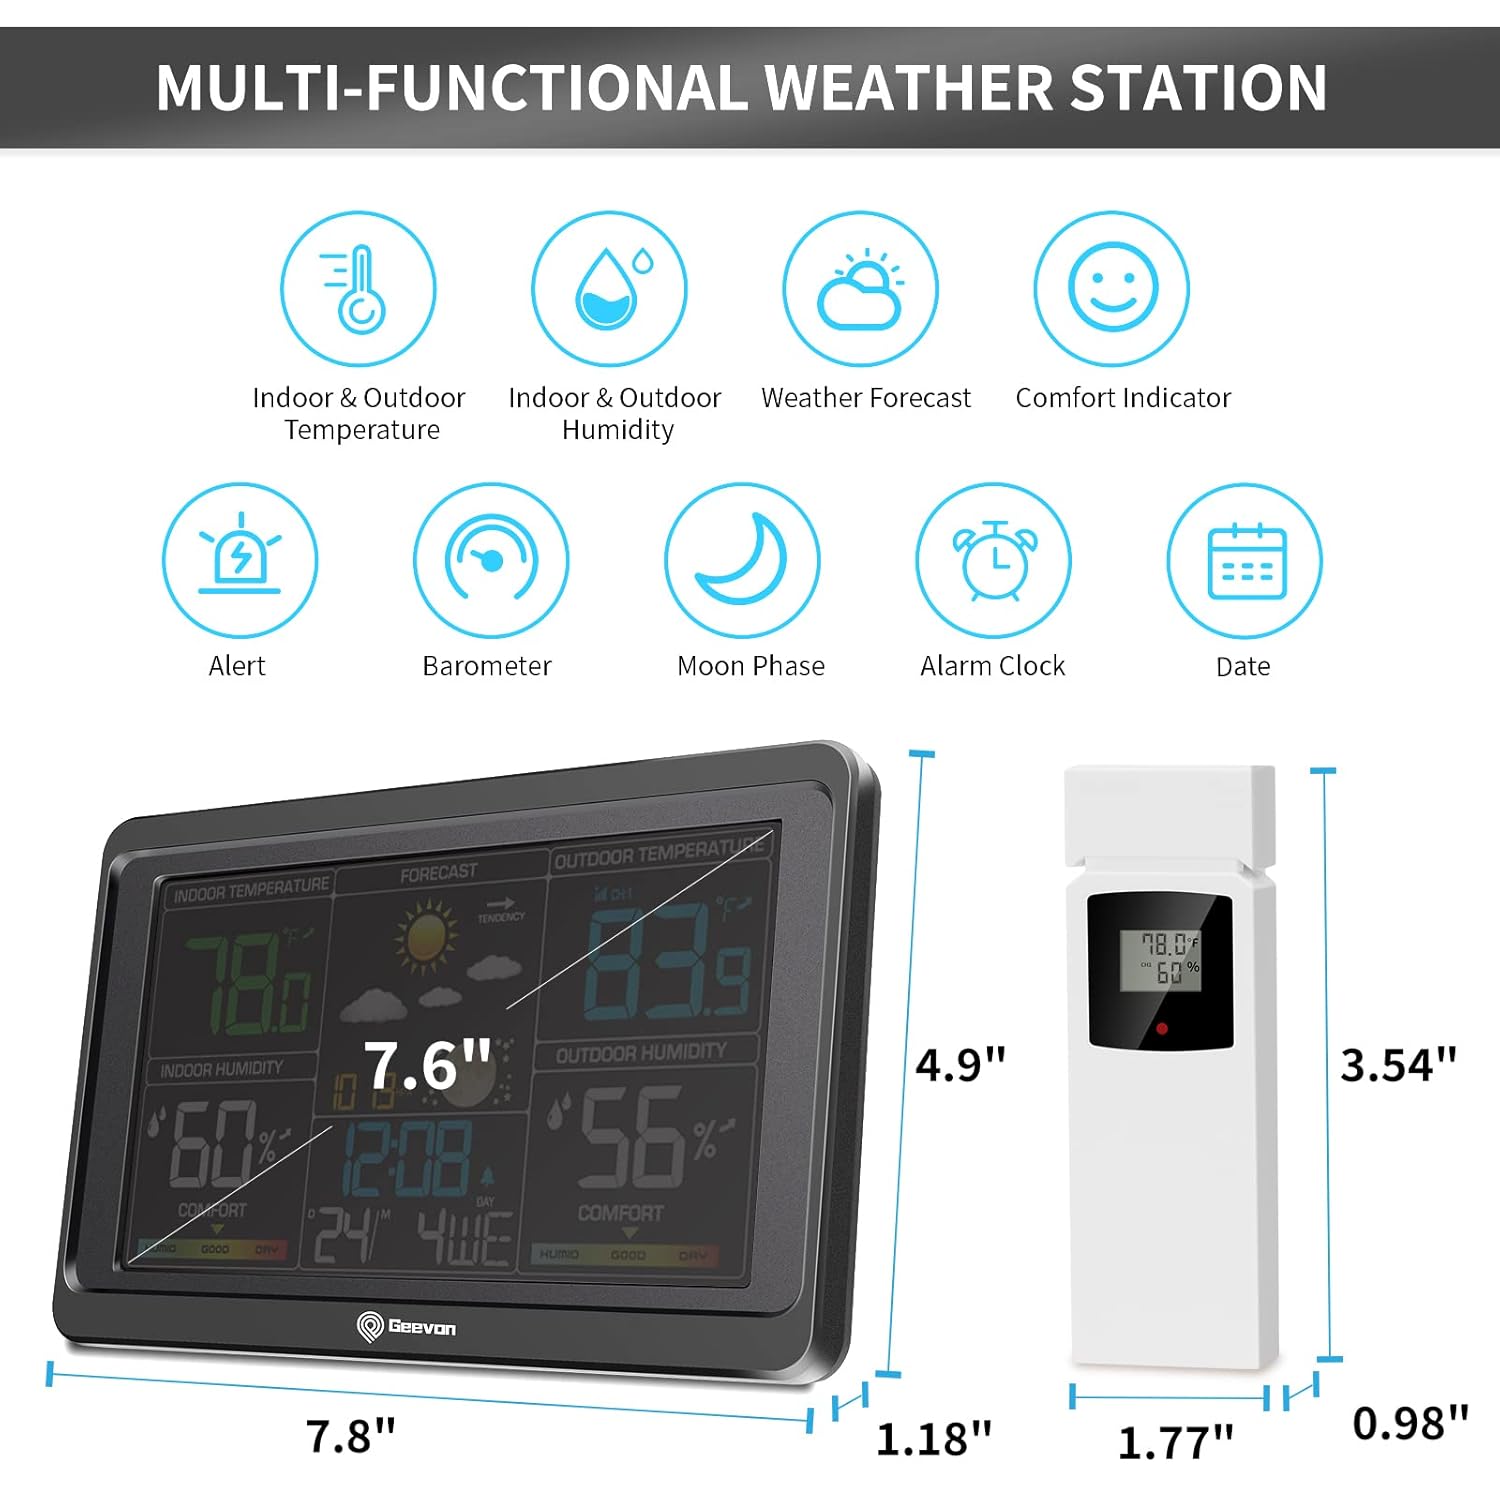
Slika: Podrobna view of the weather station's multi-functional display, highlighting indoor/outdoor temperature and humidity, weather forecast, comfort indicator, alert, barometer, moon phase, alarm clock, and date.
Nastavitev ure in datuma
Refer to the specific buttons on your device (usually labeled "SET" or "MODE") to enter time setting mode. Use the UP/DOWN buttons to adjust values and the SET/MODE button to confirm and move to the next setting (e.g., 12/24 hour format, hour, minute, year, month, day).
Funkcija budilke
Press the "ALARM" button to enter alarm setting mode. Use the UP/DOWN buttons to set the desired alarm time. Press "ALARM" again to activate or deactivate the alarm. When the alarm sounds, press the "SNOOZE" button for an additional 5 minutes of sleep.
Prilagoditev svetlosti osvetlitve ozadja
The weather station features a 3-level adjustable backlight. If the unit is powered by the AC adapter, the backlight can remain continuously on. Press the "LIGHT" or "SNOOZE/LIGHT" button to cycle through brightness levels (Off, 50%, 100%). If operating on batteries, the backlight will illuminate for 10 seconds after a button press.

Image: Demonstration of the 3-level adjustable brightness feature, showing the display at Off, 50%, and 100% brightness, and indicating that continuous backlight requires the power cord.
Vrata za polnjenje USB
An extra USB charging port is located on the side of the main unit. This port can be used to charge small electronic devices like cell phones or tablets. Ensure the weather station is connected to the AC power adapter for optimal charging performance.

Slika: Bližnji posnetek view of the weather station's extra USB charging port, showing a smartphone connected for charging.
Vzdrževanje
- Clean the display and unit surfaces with a soft, dry cloth. Avoid abrasive cleaners or solvents.
- If the unit will not be used for an extended period, remove batteries from both the main unit and the outdoor sensor to prevent leakage.
- Regularly check the outdoor sensor for debris or obstructions that might affect readings.
- Replace batteries in both units when the low battery indicator appears on the display.
Odpravljanje težav
| Težava | Možen vzrok | rešitev |
|---|---|---|
| Na glavni enoti ni prikaza. | No power; batteries inserted incorrectly or depleted; power adapter not connected. | Ensure power adapter is securely plugged in or replace batteries, checking polarity. |
| Zunanja temperatura/vlažnost ni prikazana ali je netočna. | Sensor out of range; sensor batteries depleted; interference; sensor exposed to direct elements. | Move sensor closer to main unit; replace sensor batteries; relocate sensor away from interference sources; place sensor in a shaded, protected area. |
| Backlight turns off quickly. | Enota deluje na baterijsko napajanje. | Connect the main unit to the AC power adapter for continuous backlight. |
| Inaccurate readings (general). | Sensor placement; environmental factors. | Ensure proper ventilation around sensors; avoid placing near heat sources or direct sunlight. Allow time for readings to stabilize after setup. |
Specifikacije
| Funkcija | Podrobnost |
|---|---|
| Številka modela | 8665 |
| Dimenzije izdelka | 7.6 x 1 x 4.6 cm (glavna enota) |
| Vir napajanja (glavna enota) | AC Power Adapter (Included) or 3 x AAA Batteries (Not Included) |
| Vir napajanja (zunanji senzor) | 2 x AA baterije (niso priložene) |
| Domet brezžičnega prenosa | Up to 200FT / 60M (open area) |
| Vrsta zaslona | Barvni LCD |
| Osvetlitev ozadja | 3-stopenjska nastavljiva svetlost |
| Izhod za polnjenje USB | 5V/1A (Requires AC power) |
Garancija in podpora
Geevon offers a 30-day free money-back guarantee and a 12-month warranty for this product. For any issues or questions, please contact Geevon customer service for lifetime consulting service. Contact information can typically be found on the product packaging or the official Geevon webmesto.