
PELONIS 0750545106520
Pelonis Personal Mini Fan Forced Heater User Manual
Model: 0750545106520 | Brand: PELONIS
Uvod
Thank you for choosing the Pelonis Personal Mini Fan Forced Heater. This compact and efficient heater is designed to provide supplemental warmth to small personal spaces such as offices, bedrooms, or bathrooms. Its adjustable thermostat and multiple heat settings allow for personalized comfort. Please read this manual thoroughly before operation to ensure safe and effective use.
Pomembne varnostne informacije
Always follow basic safety precautions when using electrical appliances to reduce the risk of fire, electric shock, and injury to persons. This heater is for indoor use only.
- NE PREKRIJTE: Never cover the heater or block the air intake/outlet openings. This can lead to overheating and fire.
- Zaščita pred prevrnitvijo: The heater is equipped with a safety switch that automatically turns the unit off if it is accidentally tipped over.
- Zaščita pred pregrevanjem: A red indicator light will illuminate if the heater gets too hot, and the unit will automatically shut off to prevent overheating.
- Keep combustible materials (furniture, pillows, bedding, papers, clothes, and curtains) at least 3 feet (0.9 m) from the front of the heater and away from the sides and rear.
- Ne uporabljajte v kopalnicah, pralnicah ali podobnih notranjih prostorih, kjer je prisotna voda.
- Grelnike vedno priključite neposredno v stensko vtičnico/vtičnico. Nikoli ne uporabljajte s podaljškom ali prestavljivo napajalno pipo (vtičnico/napajalni razdelilnik).
Konec izdelkaview
Familiarize yourself with the components of your Pelonis Personal Mini Fan Forced Heater:
- Številčnica termostata: Adjusts the desired temperature (Min to Max).
- Heat Setting Dial: Selects fan-only mode or one of three heat levels (Off, Fan, 1, 2, 3).
- Indikatorska lučka: Illuminates when the heater is operating or if an overheat condition occurs.
- Prednja rešetka: Air outlet for heated or fan-only air.
- Rear Air Intake: Kjer se zrak vsesava v enoto.
- Ročaj za prenašanje: Integriran ročaj za enostavno prenašanje.
- Varnostno stikalo proti prevračanju: Located on the bottom of the unit.
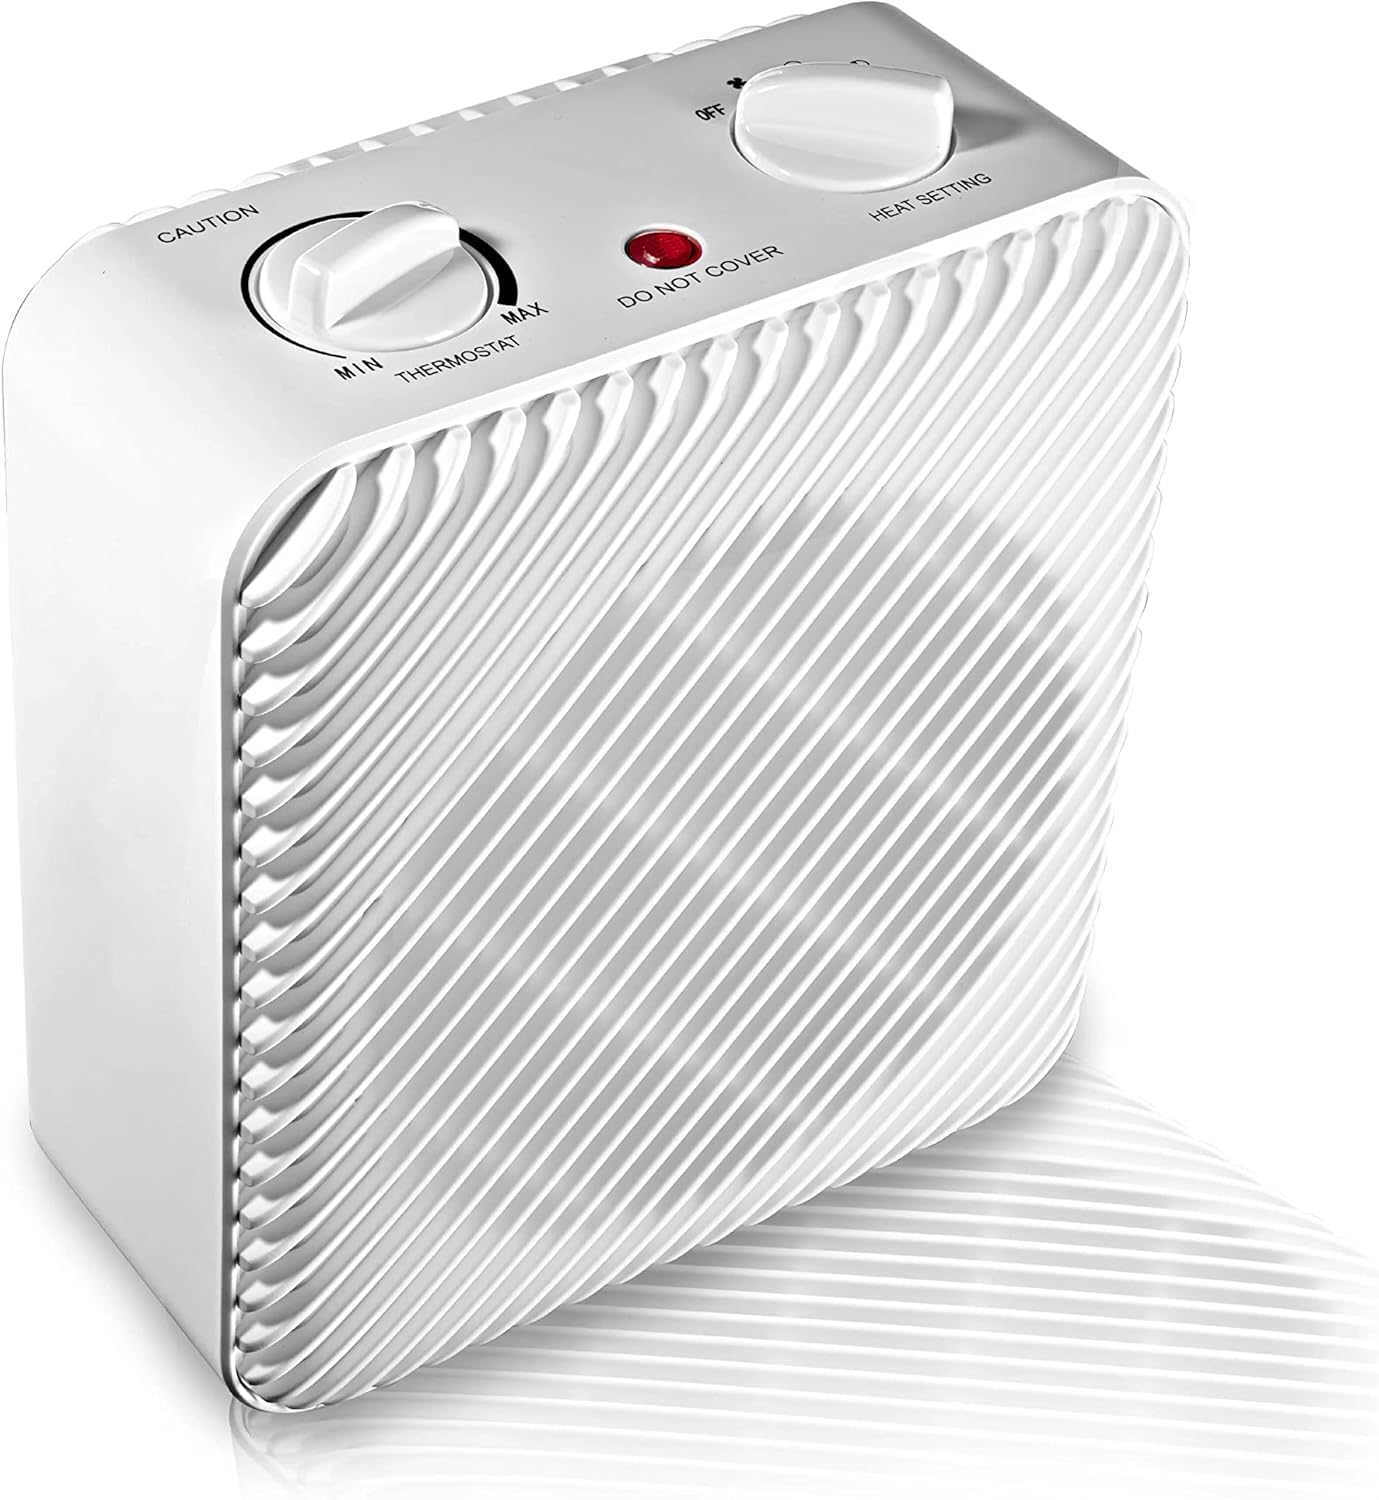
Slika 1: Spredaj in zgoraj view of the Pelonis Personal Mini Fan Forced Heater, highlighting the thermostat and heat setting dials.

Slika 2: Bližnji posnetek sprednjega dela view of the heater, showing the protective grille over the fan.

Slika 3: Zadaj view of the heater, illustrating the power cord connection and the location of the tip-over safety switch on the base.
Nastavitev
- Grelec vzemite iz embalaže in odstranite vse zaščitne materiale.
- Place the heater on a firm, level surface. Ensure it is at least 3 feet (0.9 meters) away from walls, furniture, and other objects.
- Prepričajte se, da napajalni kabel ni oviran ali položen pod preproge.
- Grelec priključite neposredno v stensko vtičnico z napetostjo 120 V AC. Ne uporabljajte podaljškov ali razdelilnikov.
Navodila za uporabo
Turning On/Off and Heat Settings
- To turn the heater on, rotate the Gumb za nastavitev toplote clockwise from the "OFF" position.
- Izberite želeni način:
- Fan Only (Fan icon): Zagotavlja kroženje hladnega zraka brez segrevanja.
- Heat Setting 1: Nizka toplotna moč.
- Heat Setting 2: Medium heat output.
- Heat Setting 3: Visoka toplotna moč.
- To turn the heater off, rotate the Gumb za nastavitev toplote counter-clockwise to the "OFF" position.
Nastavitev termostata
- Once a heat setting (1, 2, or 3) is selected, rotate the Številka termostata to your desired temperature.
- Turn the dial towards "MAX" for higher heat and "MIN" for lower heat.
- Grelnik se bo vklopil in izklopil, da ohrani nastavljeno temperaturo.
Vzdrževanje
Regular maintenance helps ensure the longevity and safe operation of your heater.
- Čiščenje: Pred čiščenjem grelnik vedno izključite iz električnega omrežja in ga pustite, da se popolnoma ohladi. Uporabite mehko,amp Za brisanje zunanjih površin uporabite krpo. Ne uporabljajte abrazivnih čistil ali topil.
- Shranjevanje: Ko grelnika ne uporabljate, ga shranite na hladnem in suhem mestu. Priporočljivo ga je shraniti v originalni embalaži, da ga zaščitite pred prahom in poškodbami.
- Ne poskušajte sami odpirati ali popravljati grelnika. Vsa servisna dela prepustite usposobljenemu serviserju.
Odpravljanje težav
| Težava | Možen vzrok | rešitev |
|---|---|---|
| Grelec se ne vklopi. | Not plugged in; power outlet not working; tip-over switch activated; overheat protection activated. | Ensure unit is securely plugged into a working outlet. Check if the heater was tipped over (reset by placing upright). Allow unit to cool down if overheat light is on. |
| Grelec nepričakovano preneha delovati. | Overheat protection activated; tip-over switch activated. | Unplug the unit, allow it to cool for 10-15 minutes, then plug back in. Ensure unit is on a stable, flat surface. |
| Heater is on but no heat is produced. | Set to "Fan Only" mode; thermostat set too low. | Ensure the Heat Setting Dial is on 1, 2, or 3. Adjust the Thermostat Dial to a higher setting. |
Specifikacije
- Znamka: PELONIS
- Številka modela: 0750545106520
- Faktor oblike: Podstavek
- Notranja/zunanja uporaba: Notranja
- Vrsta sobe: Domači urad
- Vrsta goriva: Električni
- Število hitrosti: 3 (Heat settings) + Fan Only
- voltage: 120 voltov (AC)
- Ampstarost: 12.5 Amps
- Najvišja nastavitev temperature: 450 stopinj Fahrenheita
- Teža artikla: 3.66 funtov
- Dimenzije paketa: 10.35 x 8.62 x 4.72 palcev
- UPC: 750545106520
Garancija in podpora
Za informacije o garanciji ali tehnično podporo glejte garancijski list, ki je priložen izdelku, ali obiščite uradno spletno stran PELONIS. webNaprave ne poskušajte popravljati sami.
Ask a question about this manual
Ask about setup, troubleshooting, compatibility, parts, safety, or missing instructions. Manuals+ will review the question and use this page’s manual context to help answer it.