
Teskee WB10-11kW
Teskee EV Charger Type 2 Wallbox (Model WB10-11kW) - User Manual
Celovita navodila za namestitev, delovanje in vzdrževanje.
1. Uvod
Thank you for choosing the Teskee EV Charger Type 2 Wallbox. This manual provides essential information for the safe and efficient use of your charging station. Please read it thoroughly before installation and operation, and keep it for future reference.
Ključne značilnosti:
- Fast and Stable Charging: Delivers a maximum charging power of 11kW with a 16A output current. Features a 6-meter cable and 3-phase Level 2 EV charging with a Type 2 plug. Designed for easy wall mounting without requiring a dedicated app.
- Kompakten in vsestranski dizajn: Its compact form factor allows for flexible indoor or outdoor installation, suitable for various electrical systems in homes, apartments, hotels, and workplaces.
- Safe and Reliable Operation: Equipped with advanced vehicle communication and comprehensive safety protections. Certified to CE, FCC, RoHS, and TUV standards, with an IP66 rating for robust water and dust resistance, suitable for outdoor use. Includes protection against over/under voltage, overload, short circuit, leakage, earth leakage, overheating, and lightning.
- Durable and Eco-Friendly: The charging cable features a TPU shell, providing enhanced wear resistance, anti-aging properties, and excellent heat and cold resistance. It is environmentally friendly and boasts an IK10 impact protection rating, equivalent to a 5 kg mass dropped from 400 mm.
- Universal Compatibility and Convenience: Compatible with all Type 2 (IEC 62196-2) electric and plug-in hybrid vehicles across Europe. Includes a complimentary cable hook for convenient storage, making it ideal for home, outdoor, and indoor charging.
2. Varnostne informacije
Always adhere to local electrical codes and safety regulations during installation and use. Installation should only be performed by a qualified electrician. Do not attempt to open or repair the device yourself. Ensure the charging cable is not damaged before use. Keep children and pets away from the charging area.
3. Vsebina paketa
- Teskee EV Charger Type 2 Wallbox (Model WB10-11kW)
- Montažna plošča
- Razširitveni vijaki
- Kabelski kavelj
- Uporabniški priročnik
4. Izdelek je končanview
The Teskee EV Charger Type 2 Wallbox is designed for efficient and safe electric vehicle charging. Below are key components and their functions.
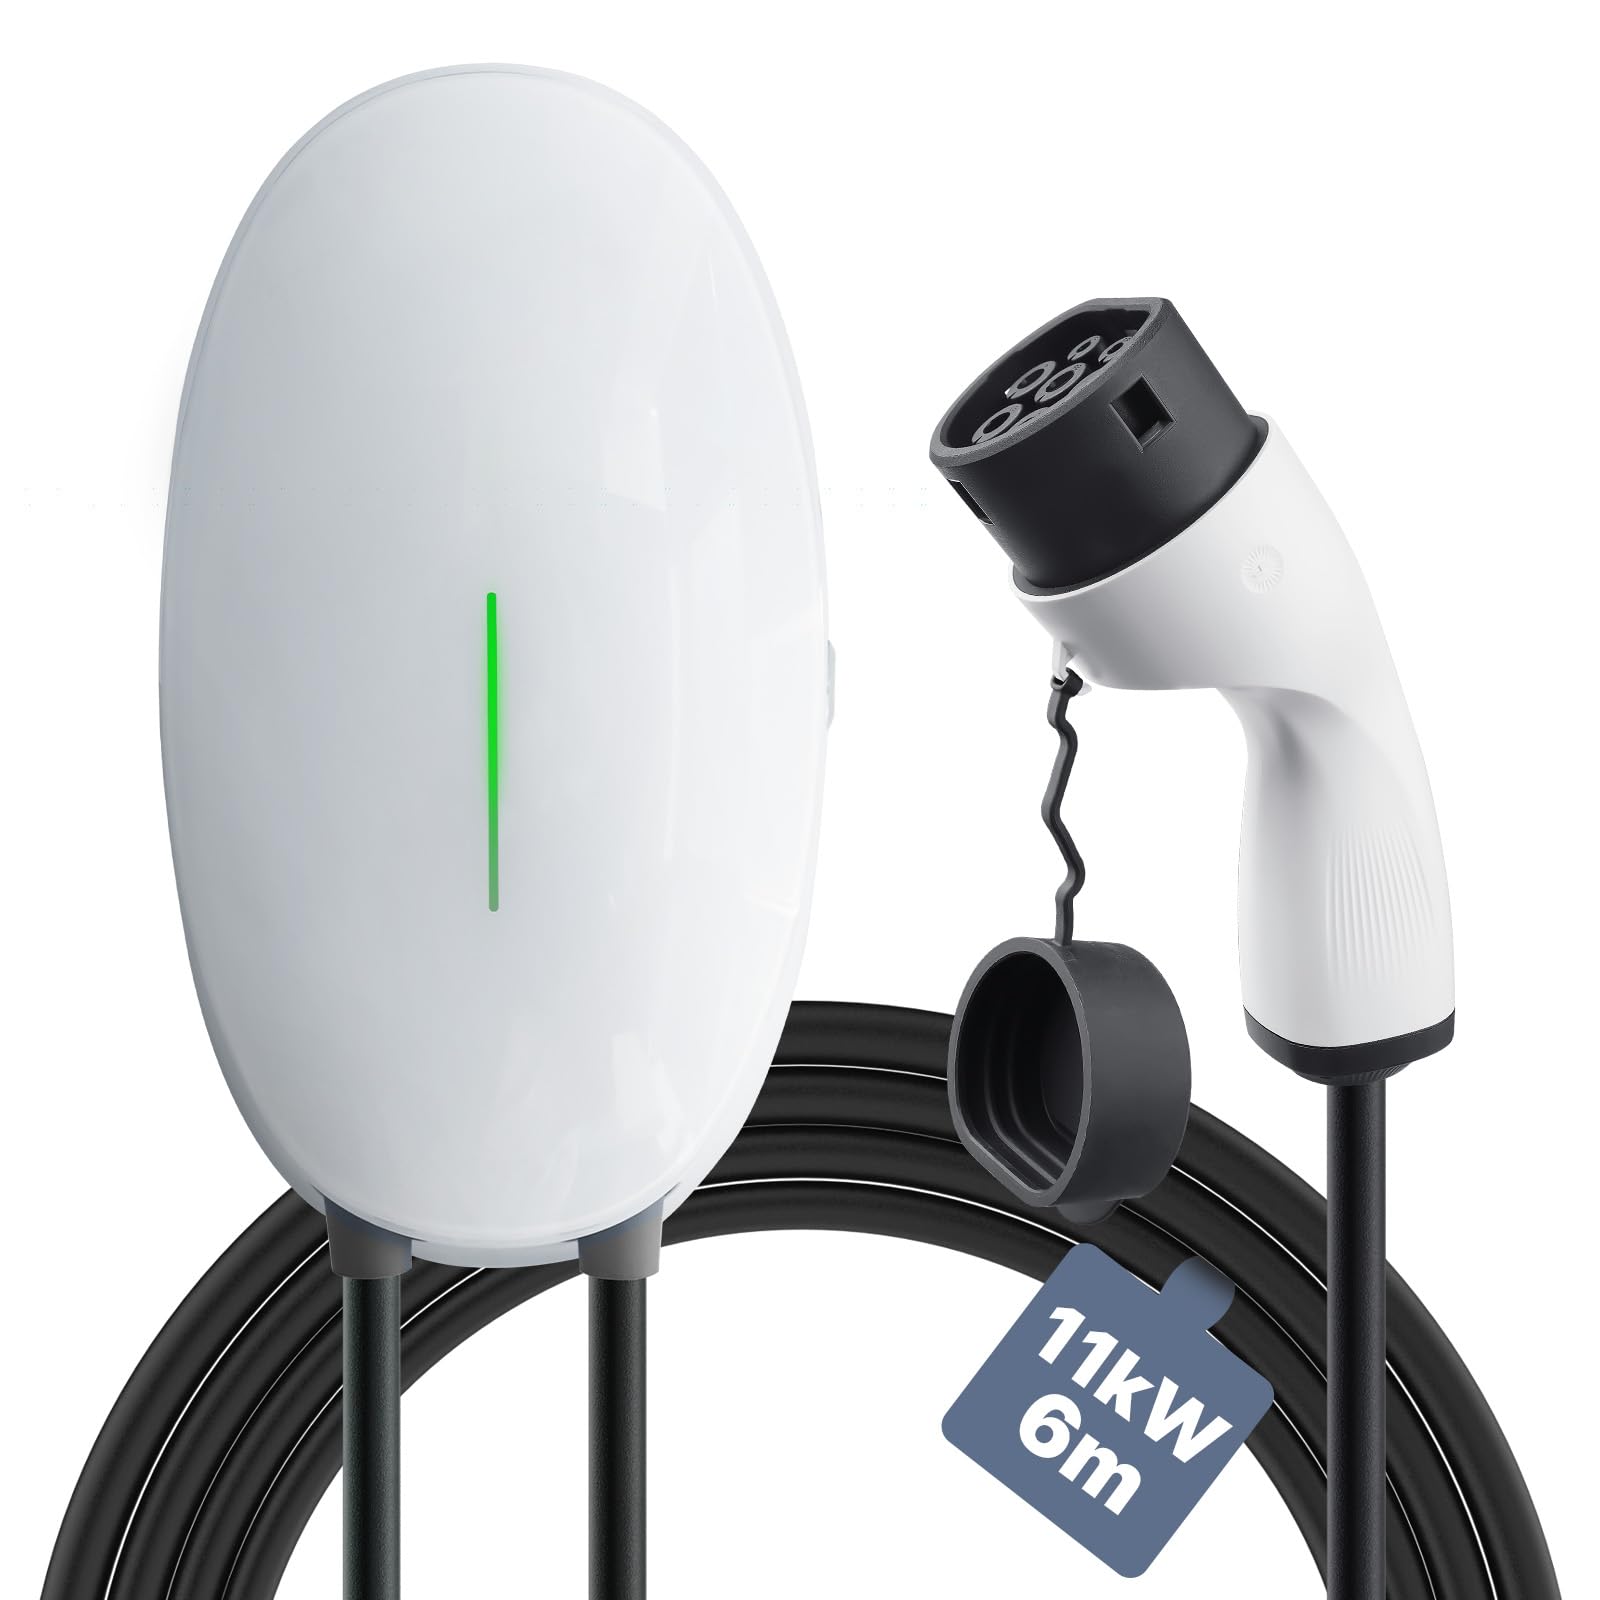
Figure 4.1: Teskee EV Charger Type 2 Wallbox. This image shows the main unit of the Teskee EV Charger, highlighting its compact design and integrated charging cable.

Figure 4.2: Teskee EV Charger Dimensions. This image provides a detailed view of the charger's dimensions, including its height, width, and depth, crucial for installation planning.

Figure 4.3: Type 2 Plug and Cable Construction. This image illustrates the internal structure of the charging cable and the Type 2 plug, emphasizing its robust and certified design for excellent conductivity and heat dissipation.
5. Specifikacije
| Funkcija | Specifikacija |
|---|---|
| Številka modela | WB10-11kW |
| Največja moč polnjenja | 11 kW |
| Največji izhodni tok | 16 Ampere |
| Dolžina kabla | 6 metrov |
| Faze | 3-fazni |
| Vrsta priključka | Tip 2 (IEC 62196-2) |
| voltage | 380 volt |
| Ocena IP | IP66 (odporno na vodo in prah) |
| Zaščita pred udarci | IK10 |
| Material | Copper (cable), TPU (cable shell) |
| Teža predmeta | 4.5 kilogramov |
| Dimenzije (paket) | 43.9 x 42 x 12.5 cm |
| Certifikati | CE, FCC, RoHS, TUV |
6. Vodič za namestitev
Pomembno: Installation must be performed by a certified electrician in accordance with all local and national electrical codes.
6.1 Montaža polnilne postaje Wallbox
- Izberite lokacijo: Choose a suitable indoor or outdoor location near your parking spot, ensuring it is protected from direct sunlight and heavy rain if possible, despite its IP66 rating. Ensure sufficient space around the unit for cable management and ventilation.
- Pripravite montažno površino: Mark the drilling points on the wall using the mounting plate as a template. Ensure the surface is solid and can support the weight of the charger.
- Vrtanje lukenj: Drill holes at the marked positions and insert the expansion screws.
- Pritrdite montažno ploščo: Securely fasten the mounting plate to the wall using the provided screws. Ensure it is level and firmly attached.
- Namestite polnilnik: Align the charger with the mounting plate and slide it down until it clicks into place. Verify that the charger is securely fixed to the wall.

Slika 6.1: Nprample of Wallbox Installation. This image shows the Teskee EV Charger mounted on an exterior wall of a house, with two electric vehicles charging, demonstrating its outdoor suitability and cable length.
6.2 Električna povezava
The Teskee EV Charger requires a 3-phase electrical connection. Consult a qualified electrician for proper wiring to your main electrical panel. Ensure the circuit is adequately protected with a circuit breaker and residual current device (RCD) as per local regulations.
Video 6.2: Teskee 11kW EV Wallbox Installation Guide. This video provides a visual step-by-step guide on how to install the Teskee 11kW EV Wallbox, including mounting and initial setup.
7. Navodila za uporabo
7.1 Začetek polnjenja
- Povežite se z vozilom: Open the charging port cover on your electric vehicle. Insert the Type 2 charging plug firmly into your vehicle's charging port.
- Začni polnjenje: The charger will automatically detect the vehicle and begin the charging process. The display on the charger will show charging status, current, voltage in moč.

Figure 7.1: Plugging in the EV Charger. This image shows a user connecting the Type 2 charging plug to an electric vehicle, illustrating the ease of use.
7.2 Smart App Control (if applicable)
If your Teskee Wallbox model supports smart app control (e.g., via Tuya Smart app), follow these general steps:
- Prenesite aplikacijo: Download the 'Tuya Smart' app from your smartphone's app store.
- Dodaj napravo: Open the app, register an account, and follow the instructions to add a new device. The app will guide you through connecting the charger to your Wi-Fi network.
- Nadzor in nadzor: Once connected, you can use the app to adjust charging current, schedule charging times, view charging history, and toggle RFID functions.
7.3 Ročno upravljanje
The charger features a control button for manual adjustments:
- Enkratni pritisk: Press the button once to cycle through and adjust the charging current (e.g., 6A, 8A, 10A, 13A, 16A).
- Dvojni tisk: Press the button twice quickly to enter Wi-Fi configuration mode.
- Press and Hold (Standby Mode): In standby mode, press and hold the button for 5 seconds to set a charging delay time. Release when the desired delay is shown on the display.
- Press and Hold (Charging Mode): While charging, press and hold the button to interrupt the charging process.
7.4 RFID Card Functions
If your model includes RFID functionality, use the provided RFID cards to control charging:
- Activate/Deactivate Charging: Tap an authorized RFID card on the marked area of the wallbox to start or stop a charging session.
- Toggle RFID Function: To disable the RFID function, tap an RFID card on the marked area for 10 seconds. To re-enable, tap for 10 seconds again.

Figure 7.2: Charger in Outdoor Conditions. This image demonstrates the charger's IP66 water resistance, showing it operating safely during rain.
8. Vzdrževanje
- Redno čiščenje: Polnilnik in kabel obrišite z mehko krpoamp krpo za odstranjevanje prahu in umazanije. Ne uporabljajte abrazivnih čistil ali topil.
- Preglejte kabel: Periodically check the charging cable and plug for any signs of wear, cuts, or damage. If damage is found, discontinue use immediately and contact customer support.
- Shranjevanje: When not in use, ensure the charging cable is neatly coiled and stored on the provided hook to prevent tripping hazards and cable damage.
9. Odpravljanje težav
| Težava | Možen vzrok | rešitev |
|---|---|---|
| Polnilnik se ne zažene | No power supply; cable not properly connected; vehicle not ready to charge. | Check power supply and circuit breaker. Ensure cable is firmly connected to both charger and vehicle. Verify vehicle's charging settings. |
| Polnjenje prekinjeno | Pregrevanje; nihanje moči; okvara vozila. | Allow charger to cool down. Check household electrical system. Consult vehicle manual for fault codes. |
| Počasna hitrost polnjenja | Lower current setting; vehicle limitation; grid voltage padec. | Check charger's current setting (if adjustable). Consult vehicle manual for charging capabilities. Contact electrician to check grid voltage. |
| Zaslon ne deluje | Ni napajanja; notranja napaka. | Check power supply. If power is present and display remains off, contact customer support. |
10. Garancija in podpora
10.1 Informacije o garanciji
The Teskee EV Charger Type 2 Wallbox comes with a standard manufacturer's warranty. Please refer to the warranty card included in your package or visit the official Teskee webZa podrobne pogoje in določila obiščite spletno mesto. Shranite dokazilo o nakupu za uveljavljanje garancije.
10.2 Podpora strankam
For technical assistance, troubleshooting, or any questions regarding your Teskee EV Charger, please contact our customer support team. You can find contact information on the Teskee official webspletnem mestu ali prek vašega prodajalca.
Ask a question about this manual
Ask about setup, troubleshooting, compatibility, parts, safety, or missing instructions. Manuals+ will review the question and use this page’s manual context to help answer it.