
1. Uvod
Thank you for choosing the HOMVILLA Alarm Clock Model 8813. This manual provides detailed instructions for setting up, operating, and maintaining your new alarm clock. Please read this manual thoroughly before use to ensure proper functionality and to maximize your user experience. Keep this manual for future reference.
2. Vsebina paketa
Prosimo, preverite paket za naslednje artikle:
- HOMVILLA Alarm Clock (Model 8813)
- USB polnilni kabel
- Napajalni adapter
- Uporabniški priročnik (ta dokument)

Image 2.1: Alarm clock, USB cable, and power adapter included in the package.
3. Izdelek je končanview
Seznanite se z različnimi deli in upravljalnimi elementi budilke.

Slika 3.1: Spredaj in zadaj view of the alarm clock with labeled components.
Sprednji zaslon:
- Velik LED zaslon: Shows time, AM/PM indicator, Alarm 1 (①), Alarm 2 (②), and DST indicator.
Rear Buttons and Ports:
- Kolo za glasnost: Adjusts alarm volume (90-120dB).
- DST Button: Activates/deactivates Daylight Saving Time.
- Gumb za nastavitev časa: Vstopi v način nastavitve časa.
- Gumb GOR: Med nastavljanjem poveča vrednosti.
- Gumb DOL: Zmanjša vrednosti med nastavitvijo.
- Gumb za nastavitev alarma: Vstopi v način nastavitve alarma.
- Gumb za vklop/izklop: Turns alarm on/off.
- Gumb za ponastavitev: Ponastavi uro na tovarniške nastavitve.
- Dimmer Wheel: Adjusts display brightness (0-100%).
- Vrata USB: Za polnjenje zunanjih naprav.
- DC Port: Za vnos moči.
Zgornji gumb:
- Gumb za dremež: Activates snooze function when an alarm sounds.
4. Nastavitev
4.1 Napajalni priključek
The HOMVILLA Alarm Clock is mains powered. Connect the provided USB charging cable to the DC port on the back of the clock and plug the power adapter into a standard wall outlet.
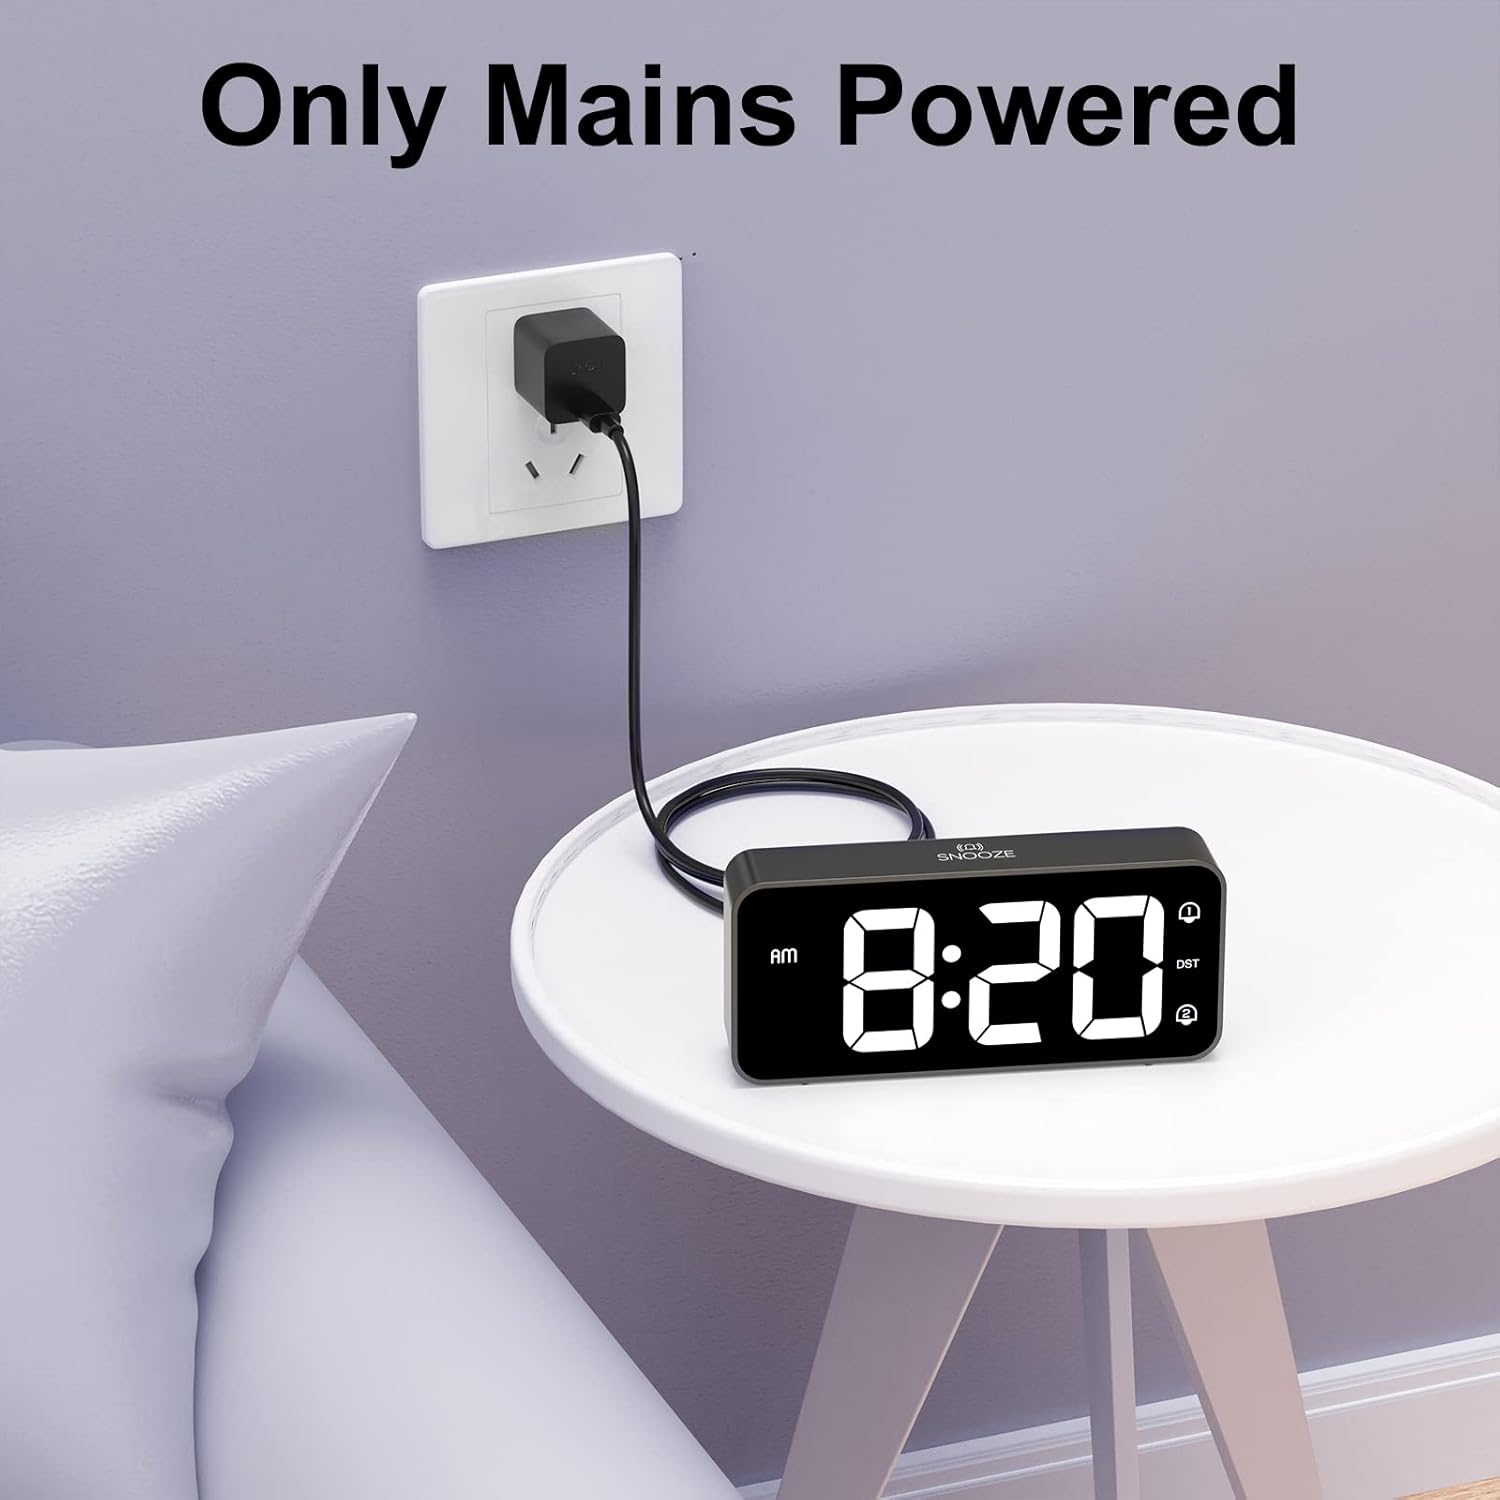
Image 4.1: Connecting the alarm clock to a power outlet.
4.2 Namestitev rezervnega napajanja z baterijo (neobvezno)
Za ohranitev časovnih nastavitev med izpadom električne energijetage, install two AAA batteries (not included) into the battery compartment on the bottom of the clock. The batteries only support the memory function and do not power the display or alarm functions.
- Odprite pokrov predalčka za baterije na spodnji strani ure.
- Vstavite dve bateriji AAA in pazite na pravilno polarnost (+/-).
- Zaprite pokrov prostora za baterije.

Image 4.2: Installing AAA batteries for memory function.
5. Navodila za uporabo
5.1 Nastavitev časa
- Pritisnite in držite Nastavitev časa button on the back of the clock. The hour digits will start flashing.
- Uporabite UP or DOL gumbi za nastavitev ure.
- Pritisnite Nastavitev časa Ponovno pritisnite gumb , da potrdite uro in se premaknete na nastavitev minut. Številke minut bodo utripale.
- Uporabite UP or DOL gumbe za nastavitev minut.
- Pritisnite Nastavitev časa button a third time to confirm the minutes and switch between 12-hour and 24-hour format. Use UP or DOL izbrati.
- Pritisnite Nastavitev časa button once more to exit time setting mode.
5.2 Nastavitev alarmov (dvojni alarmi)
Ura podpira dva neodvisna alarma (Alarm 1 in Alarm 2).
- Pritisnite in držite Set alarmov button. The Alarm 1 icon (①) and hour digits will flash.
- Uporabite UP or DOL gumbe za nastavitev ure budilke.
- Pritisnite Set alarmov Ponovno pritisnite gumb , da potrdite uro in se premaknete na nastavitev minut. Številke minut bodo utripale.
- Uporabite UP or DOL gumbe za nastavitev minut alarma.
- Pritisnite Set alarmov button a third time to select the alarm sound (see section 5.5).
- Pritisnite Set alarmov button a fourth time to exit Alarm 1 setting.
- To set Alarm 2, repeat steps 1-6. The Alarm 2 icon (②) will flash during its setting.
5.3 Aktiviranje/deaktiviranje alarmov
After setting an alarm, press the Vklop/izklop button on the back of the clock to toggle Alarm 1 or Alarm 2 on/off. The corresponding alarm icon (① or ②) will appear on the display when active.
5.4 Funkcija dremeža
Ko se oglasi alarm:
- Pritisnite veliko dremež button on the top of the clock. The alarm will pause for 5 minutes and then sound again.
- To turn off the alarm for the day, briefly press any of the five buttons on the back of the clock. The alarm will sound again the next day at the set time.

Image 5.1: Snooze function and dual alarm capability.
5.5 Prilagajanje svetlosti zaslona
The display brightness can be adjusted from 0% to 100%.
- Poiščite Zatemnitveno kolo on the back right side of the clock.
- Slide the wheel up or down to increase or decrease the display brightness to your preference.

Image 5.2: Adjustable display brightness for day and night.
5.6 Prilagajanje glasnosti alarma
The alarm volume can be adjusted between 90dB and 120dB.
- Poiščite Prostorninsko kolo on the back left side of the clock.
- Slide the wheel up or down to increase or decrease the alarm volume.

Image 5.3: Volume and brightness adjustment wheels.
5.7 Selecting Alarm Sounds
The clock offers eight different alarm melodies.
- During alarm setting (refer to section 5.2, step 5), use the UP or DOL buttons to cycle through the available alarm sounds.
- The available sounds include: Classic ringtone, Bird call, Running water, Crickets, Cock call, White noise, Stringed music, and 'Di di di'.

Image 5.4: Eight available alarm sounds.
5.8 Poletni čas (DST)
- Pritisnite poletni čas button on the back of the clock to activate or deactivate Daylight Saving Time.
- When DST is active, the time will adjust by one hour, and a DST indicator will appear on the display.
5.9 vrata za polnjenje USB
- The USB port on the back of the clock can be used to charge mobile phones or other small electronic devices.
- Connect your device's charging cable to the USB port.
6. Vzdrževanje
- To clean the clock, gently wipe the surface with a soft, dry cloth.
- Ne uporabljajte abrazivnih čistil, topil ali kemičnih razpršil, saj lahko poškodujejo premaz.
- Uro hranite stran od neposredne sončne svetlobe, ekstremnih temperatur in visoke vlažnosti.
7. Odpravljanje težav
| Težava | Možen vzrok | rešitev |
|---|---|---|
| Prikaz ure je izklopljen. | Ni priključka za napajanje. | Prepričajte se, da je napajalnik varno priključen na uro in delujočo stensko vtičnico. |
| Alarm se ne oglasi. | Alarm ni aktiviran ali pa je glasnost prenizka. | Check if the alarm icon (① or ②) is displayed. Adjust the volume wheel to increase alarm volume. |
| Čas je napačen po izpadu električne energijetage. | No battery backup installed or batteries are depleted. | Install fresh AAA batteries for memory function. Reset the time manually if necessary. |
| Zaslon je presvetel/pretemn. | Potrebno je prilagoditi nastavitev svetlosti. | Use the Dimmer Wheel on the back of the clock to adjust brightness. |
| Vrata za polnjenje USB ne delujejo. | Nezdružljivost naprave ali težave z napajanjem. | Ensure the clock is powered. Try a different USB cable or device. The port is for charging, not data transfer. |
8. Specifikacije
| Funkcija | Podrobnost |
|---|---|
| Številka modela | 8813 |
| Vrsta zaslona | Digitalna LED |
| Vir napajanja | Mains Powered (USB cable + adapter) |
| Rezervna baterija | 2 x AAA bateriji (nista priloženi, samo za funkcijo pomnilnika) |
| Dimenzije izdelka | 14.5 x 3.2 x 6.5 cm (5.7 x 1.26 x 2.56 palca) |
| Teža predmeta | 157 g |
| Posebne lastnosti | Dual Alarm, Snooze Function, Dimmable Display, USB Charging Port, DST Mode |
| Območje glasnosti alarma | 90-120 dB |
| Svetlost zaslona | 0-100% nastavljivo |
9. Garancija in podpora
HOMVILLA offers a lifetime warranty for this product. For any questions, technical support, or warranty claims, please contact our customer service team.
E-pošta storitve: support@homvillalife.com

Image 9.1: Service email for customer support.