
DOOMAY 5293UK
DOOMAY Digital Alarm Clock User Manual
Model: 5293UK
Blagovna znamka: DOOMAY
1. Uvod
Hvala za nakupasing the DOOMAY Digital Alarm Clock. This compact and versatile alarm clock is designed for convenience and readability, featuring an adjustable LCD display, snooze function, weekend mode, and temperature display. This manual will guide you through the setup, operation, and maintenance of your new alarm clock to ensure optimal performance.
2. Varnostne informacije
- Napravo hranite stran od vode in okolij z visoko vlažnostjo.
- Avoid exposing the clock to direct sunlight or extreme temperatures.
- Naprave ne poskušajte razstavljati ali popravljati sami. Za servis se obrnite na usposobljeno osebje.
- Use only the specified battery type (2 x AAA batteries).
- Če naprave ne boste uporabljali dlje časa, odstranite baterije, da preprečite puščanje.
- Baterije hranite izven dosega otrok.
3. Vsebina paketa
- DOOMAY Digital Alarm Clock (1 unit)
- Baterije AAA (2 kosa)
- Uporabniški priročnik (ta dokument)
4. Izdelek je končanview
Familiarize yourself with the components and controls of your DOOMAY Digital Alarm Clock.
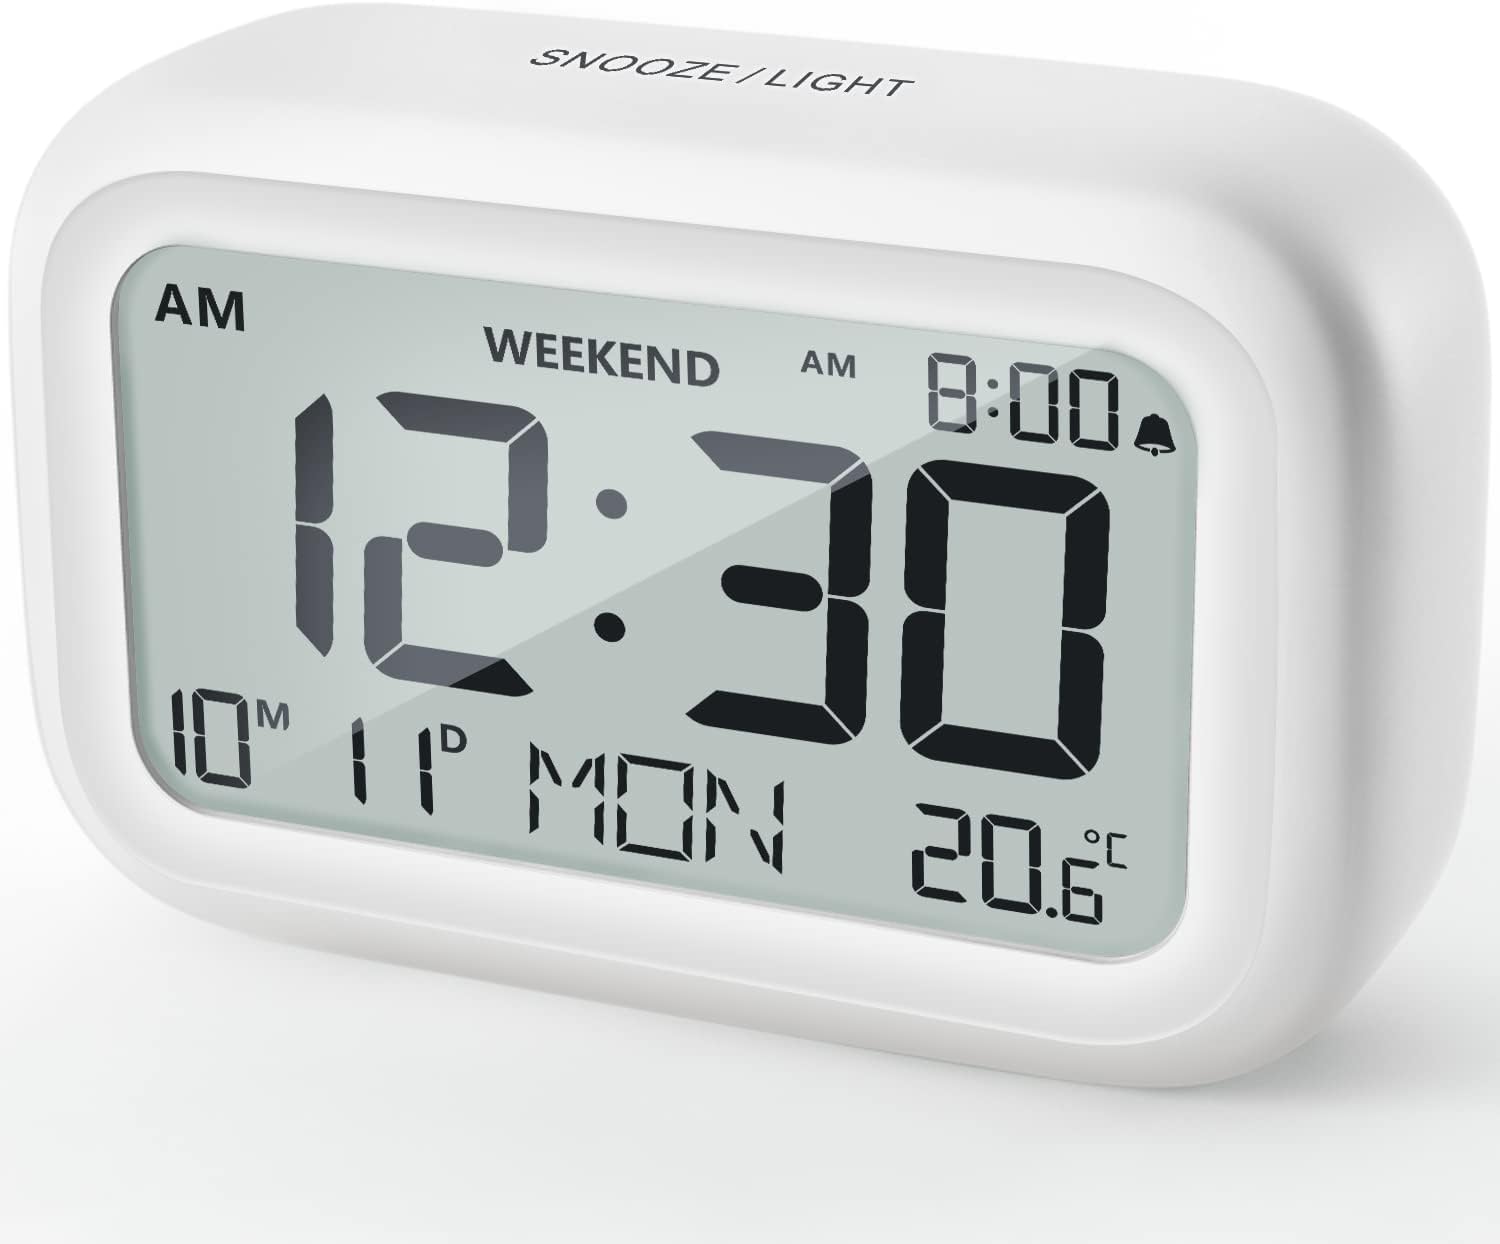
Slika 4.1: Spredaj View of the Alarm Clock
This image displays the front of the DOOMAY Digital Alarm Clock, highlighting its large, clear LCD screen. The screen shows the current time (12:30), AM indicator, day of the week (MON), date (10th month, 11th day), and indoor temperature (20.6°C). The top of the clock has a "SNOOZE/LIGHT" button.

Slika 4.2: Ključne značilnostiview
This diagram illustrates the main functionalities of the alarm clock: 12/24H time display, calendar, alarm setting, adjustable volume, snooze function, backlight, weekend mode, and temperature display. The clock itself is shown on a wooden table, displaying 7:00 AM, Friday, and 28.8 degrees.

Figure 4.3: Back Panel Controls
This image shows the rear of the alarm clock, detailing the various control buttons and the battery compartment. Buttons are clearly labeled for: 12/24H time format, Alarm setting, Weekend mode, Date setting, Minus (-) for decreasing values, Plus (+) for increasing values, and °C/°F for temperature unit selection. The battery compartment is visible, designed for two AAA batteries.
Kontrole in zaslon:
- LCD zaslon: Shows time, date, day of week, AM/PM indicator, alarm status, and temperature.
- SNOOZE/LIGHT Button (Top): Activates snooze function during alarm; illuminates backlight for 5 seconds.
- 12/24H Button (Back): Preklaplja med 12-urnim in 24-urnim formatom časa.
- ALARM Button (Back): Vstopi v način nastavitve alarma.
- WEEKEND Button (Back): Activates/deactivates weekend mode.
- DATE Button (Back): Enters date setting mode.
- MINUS (-) Button (Back): Decreases values during setting; adjusts alarm volume.
- PLUS (+) Button (Back): Increases values during setting; adjusts alarm volume.
- °C/°F Button (Back): Preklaplja med temperaturnimi enotami Celzija in Fahrenheita.
5. Nastavitev
5.1 Namestitev baterije
- Odprite pokrov prostora za baterije, ki se nahaja na zadnji strani ure.
- Vstavite dve (2) bateriji AAA in pri tem pazite na pravilno polarnost (+ in -).
- Trdno zaprite pokrov prostora za baterije.
- The display will light up, and the clock will be ready for initial setup. A low battery symbol will appear when batteries need replacement. If the display shows "8888" flashing, it's also an indication to change batteries.
5.2 Začetna nastavitev časa in datuma
- Nastavi čas:
- Pritisnite 12/24H button to switch between 12-hour (with AM/PM) and 24-hour formats.
- Pritisnite in držite 12/24H 3 sekunde držite gumb , da vstopite v način nastavitve časa. Številke za ure bodo utripale.
- Uporabite + or - gumbi za nastavitev ure.
- Pritisnite 12/24H Ponovno pritisnite gumb , da potrdite uro in se premaknete na nastavitev minut. Številke minut bodo utripale.
- Uporabite + or - gumbe za nastavitev minut.
- Pritisnite 12/24H button one more time to exit time setting.
- Nastavi datum:
- Pritisnite in držite DATUM button for 3 seconds to enter date setting mode. The year digits will flash.
- Uporabite + or - gumbe za nastavitev leta.
- Pritisnite DATUM button again to confirm the year and move to month setting.
- Adjust the month using + or -.
- Pritisnite DATUM again to move to day setting.
- Prilagodite dan z uporabo + or -.
- Pritisnite DATUM one more time to exit date setting. The day of the week will automatically adjust.
6. Navodila za uporabo
6.1 Nastavitev alarma
- Pritisnite in držite ALARM button for 3 seconds. The alarm hour digits will flash.
- Uporabite + or - gumbe za nastavitev želene ure budilke.
- Pritisnite ALARM button again to confirm the hour and move to minute setting. The alarm minute digits will flash.
- Uporabite + or - gumbe za nastavitev želene minute alarma.
- Pritisnite ALARM button one more time to exit alarm setting. The alarm icon (bell symbol) will appear on the display, indicating the alarm is active.
- To turn the alarm ON/OFF, simply press the ALARM button once. The bell icon will appear/disappear.
6.2 Funkcija dremeža
When the alarm sounds, gently tap the large SNOOZE / LUČ button on the top of the clock. The alarm will pause for 9 minutes and then sound again. This can be repeated multiple times.

Figure 6.1: Activating Snooze
This image demonstrates how to activate the snooze function by touching the top of the alarm clock. The text highlights that this action provides an additional 9 minutes of sleep after the alarm sounds.
To completely turn off the alarm after it sounds (without snoozing), press any button on the back of the clock.
6.3 Weekend Mode
The weekend mode allows the alarm to sound only from Monday to Friday, preventing it from ringing on Saturday and Sunday.

Figure 6.2: Weekend Mode Activated
This image shows the alarm clock display with the "WEEKEND" indicator prominently displayed, signifying that the weekend mode is active. The accompanying text clarifies that in this mode, the alarm will only sound from Monday to Friday, ensuring undisturbed weekends.
- To activate Weekend Mode, press the VIKEND button once. The "WEEKEND" indicator will appear on the display.
- To deactivate Weekend Mode, press the VIKEND button again. The "WEEKEND" indicator will disappear.
6.4 Adjustable Alarm Volume
The alarm clock offers two volume levels: Low (70 dB) and High (85 dB).

Figure 6.3: Alarm Volume Levels
This image visually represents the two available alarm volume settings: L01 (85 dB) for a louder alarm and L02 (70 dB) for a softer alarm. The alarm clock is shown in a bedroom setting, emphasizing its use as a bedside device.
- V običajnem načinu prikaza časa pritisnite + or - buttons to cycle between the two alarm volume levels. The current volume level will be briefly displayed.
6.5 Funkcija osvetlitve ozadja
To illuminate the display in low light conditions, simply tap the SNOOZE / LUČ button on the top of the clock. The backlight will activate for approximately 5 seconds, providing clear visibility of the time and other information.
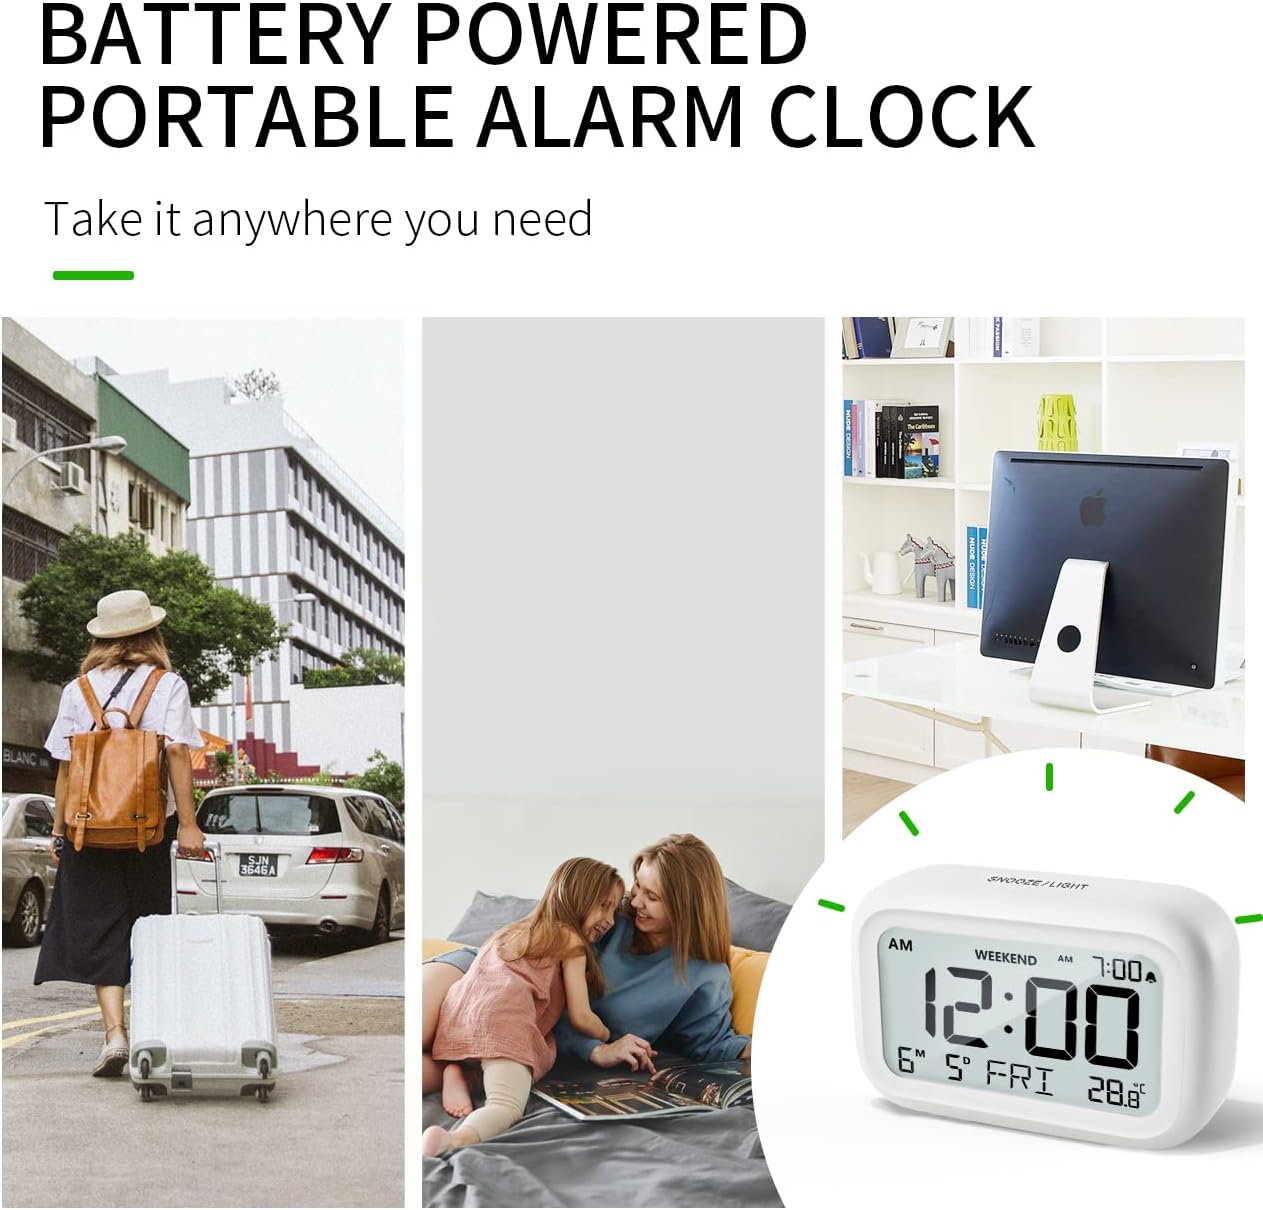
Figure 6.4: Backlight in Action
This image provides a side-by-side comparison of the alarm clock's display. On the left, the clock is shown in a well-lit environment. On the right, the same clock is shown in a dark setting with its 5-second backlight activated, demonstrating how the display becomes clearly visible at night.
6.6 Prikaz temperature
The clock displays the indoor temperature. You can switch between Celsius (°C) and Fahrenheit (°F) units.
- To change the temperature unit, press the ° C / ° F gumb na zadnji strani ure.
7. Vzdrževanje
7.1 Čiščenje
Uro obrišite z mehko, suho krpo. Ne uporabljajte abrazivnih čistil ali topil, saj lahko poškodujejo površino.
7.2 Zamenjava baterije
When the low battery indicator appears on the display, or if the display shows "8888" flashing, it is time to replace the batteries. Follow the steps in Section 5.1 Battery Installation to replace the two AAA batteries.
8. Odpravljanje težav
| Težava | Možen vzrok | rešitev |
|---|---|---|
| Zaslon je prazen ali temen. | Baterije so prazne ali nepravilno nameščene. | Baterije zamenjajte z novimi baterijami AAA in pri tem pazite na pravilno polarnost. |
| Alarm se ne oglasi. | Alarm is not activated, or Weekend Mode is ON. | Ensure the alarm icon is displayed. Check if Weekend Mode is active and deactivate if necessary. |
| Funkcija dremeža ne deluje. | Not tapping the SNOOZE/LIGHT button correctly. | Ensure a firm, brief tap on the top SNOOZE/LIGHT button when the alarm is sounding. |
| Ura/datum ni pravilen. | Not set correctly or batteries were removed. | Refer to Section 5.2 Initial Time and Date Setting to re-set. |
9. Specifikacije
| Funkcija | Podrobnost |
|---|---|
| Številka modela | 5293UK |
| Znamka | DOOMAY |
| Dimenzije (D x Š x V) | 10.9 x 3.81 x 6.9 cm (4.29 x 1.5 x 2.72 palca) |
| Teža | 127.01 gramov (0.28 lbs) |
| Material | Akrilonitril butadien stiren (ABS) |
| Vir napajanja | 2 x AAA baterije (priložene) |
| Vrsta zaslona | Digitalni LCD |
| Glasnost alarma | Low (70 dB), High (85 dB) |
| Trajanje dremeža | 9 minut |
| Trajanje osvetlitve ozadja | 5 sekund |
| Enote za temperaturo | Celzij (°C) / Fahrenheit (°F) |
10. Garancija in podpora
DOOMAY products are designed for reliability and performance. For any questions, technical support, or warranty claims, please contact your retailer or visit the official DOOMAY webZa pomoč se obrnite na spletno mesto. Za namene garancije shranite dokazilo o nakupu.
For further information, you may visit the brand's Amazon store page: DOOMAY Store on Amazon
Ask a question about this manual
Ask about setup, troubleshooting, compatibility, parts, safety, or missing instructions. Manuals+ will review the question and use this page’s manual context to help answer it.