
1. Uvod
This manual provides detailed instructions for the installation, operation, and maintenance of your new ATA 43 Inch Full HD LED Smart TV, Model 43S1. Please read this manual thoroughly before using the television to ensure proper functionality and to maximize your viewizkušnje. Ta priročnik shranite za poznejšo uporabo.
2. Pomembne varnostne informacije
- vir energije: Prepričajte se, da je televizor priključen na napajanje z navedeno glasnostjotage območje.
- Prezračevanje: Ne blokirajte prezračevalnih odprtin. Okoli televizorja pustite dovolj prostora za pravilen pretok zraka.
- Voda in vlaga: Televizorja ne izpostavljajte dežju ali vlagi. Na televizor ne postavljajte predmetov, napolnjenih s tekočinami, kot so vaze.
- Čiščenje: Pred čiščenjem izključite televizor iz električnega omrežja. Uporabite mehko, suho krpo. Ne uporabljajte tekočih čistil ali aerosolnih čistil.
- Umestitev: Televizor postavite na stabilno, ravno površino. Izogibajte se neposredni sončni svetlobi ali bližini virov toplote.
- Servisiranje: Tega izdelka ne poskušajte servisirati sami. Vsa servisna dela prepustite usposobljenemu servisnemu osebju.
3. Vsebina paketa
Označite polje za naslednje elemente:
- ATA 43 Inch Full HD LED Smart TV (Model 43S1)
- Daljinski upravljalnik
- TV stojalo (2 kosa)
- Napajalni kabel
- Uporabniški priročnik (ta dokument)
- Vijaki za TV stojalo
4. Izdelek je končanview
4.1. Spredaj View
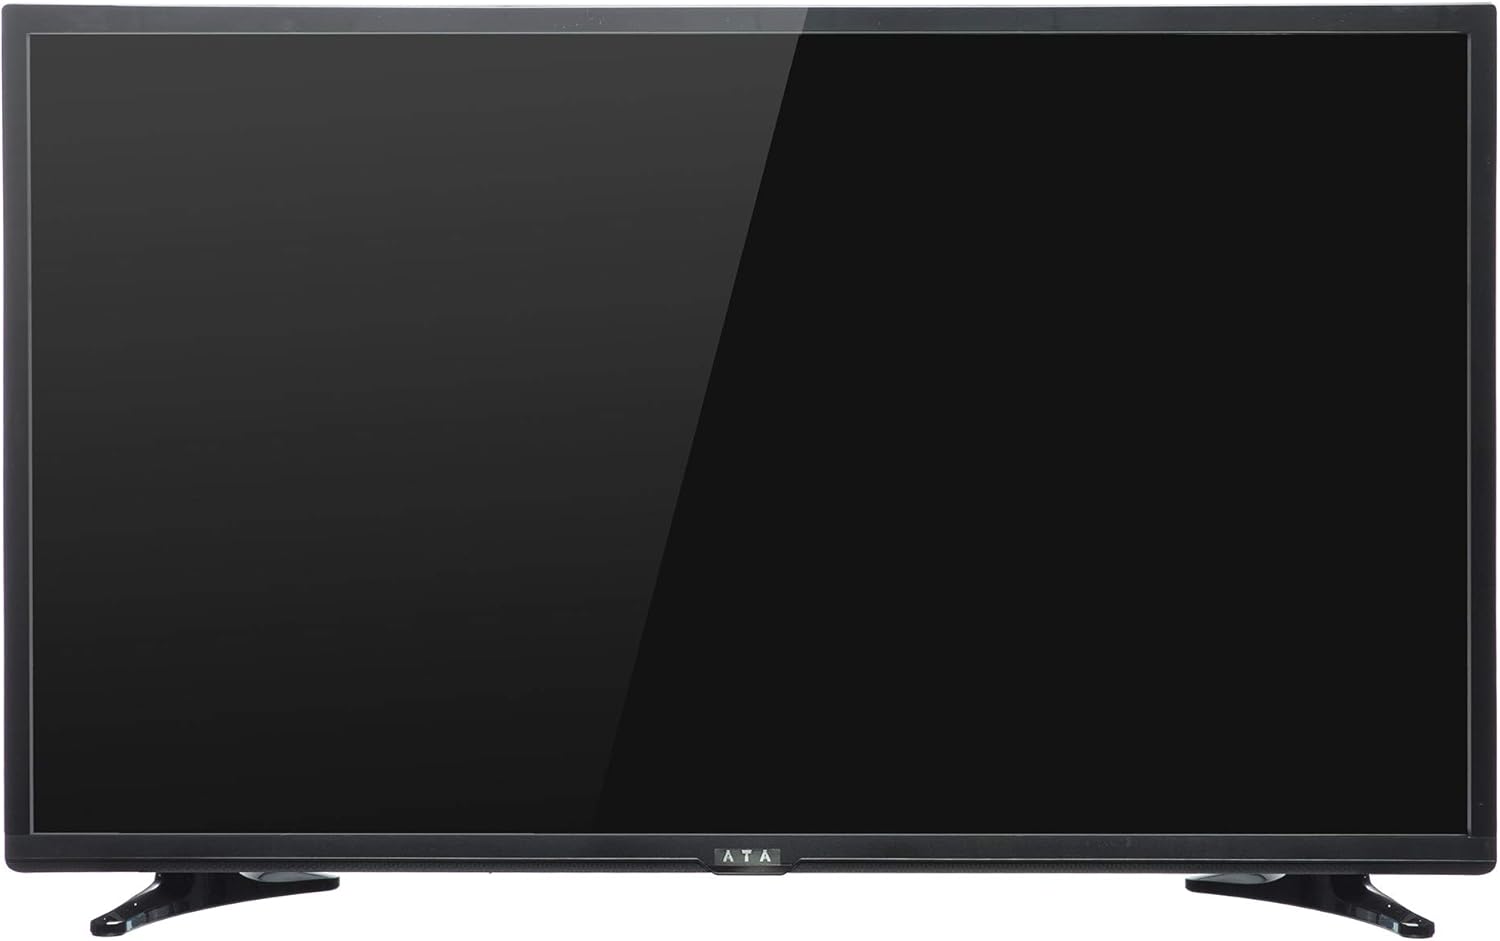
Slika 1: Spredaj view of the ATA 43 Inch Smart TV. The screen is black, indicating it is powered off or in standby mode. The ATA logo is visible at the bottom center.
The front of the ATA 43S1 TV features a sleek design with a narrow bezel, maximizing the screen area. The ATA brand logo is centrally located at the bottom of the frame. An indicator light (not visible in image) and IR receiver for the remote control are typically located near the logo.
4.2. Zadaj View

Slika 2: Zadaj view of the ATA 43 Inch Smart TV. This image displays the back panel, including VESA mounting holes for wall installation and designated areas for input/output ports.
The rear panel of the TV includes VESA mounting points for wall installation (wall mount bracket sold separately). Various input and output ports are located on the side and bottom sections of the back panel for easy access.
4.3. Vhodno/izhodna vrata
Your ATA Smart TV is equipped with a variety of ports to connect external devices.

Image 3: Close-up of the side-facing ports, showing three HDMI ports (HDMI1, HDMI2, HDMI3) and two USB ports (USB2.0, USB2.0).
- Vrata HDMI (x3): For connecting high-definition devices such as Blu-ray players, gaming consoles, and set-top boxes.
- Vrata USB (x2): Za priključitev USB-naprav za predvajanje medijev fileali za posodobitve programske opreme.

Image 4: Close-up of the bottom-facing ports, including Earphone, RJ45 (Ethernet), PC Audio, PC(VGA), Mini YPbPr, Video, L/R Audio (AV In), and Coaxial.
- Vrata RJ45 (ethernet): Za žično internetno povezavo.
- PC(VGA) Port: Za priklop računalnika.
- Avdio vhod računalnika: Zvočni vhod za VGA priključek.
- AV In (Video, L/R Audio): Za priključitev starejših naprav s kompozitnimi video in stereo avdio izhodi.
- Mini YPbPr: Komponentni video vhod.
- koaksialni: Za priklop antene ali kabelske televizije.
- Priključek za slušalke: Za priklop slušalk.
4.4. Daljinski upravljalnik

Image 5: The remote control for the ATA Smart TV. It features standard TV controls, navigation buttons, and dedicated function keys.
The remote control allows you to operate all functions of your TV. It includes buttons for power, input source selection, volume control, channel navigation, menu access, smart TV functions, and media playback controls.
- STANJE PRIPRAVLJENOSTI (rdeči gumb): Vklop / izklop.
- VIR: Select input source (HDMI, AV, TV, etc.).
- Številski gumbi (0-9): Neposredna izbira kanalov.
- GLASNOST +/-: Prilagodite glasnost.
- CH +/-: Zamenjaj kanale.
- MUTE: Izklop/vklop zvoka.
- MENI: Dostop do glavnega menija.
- VNESI: Potrdite izbiro.
- Navigacijski gumbi (gor/dol/levo/desno): Krmarite po menijih.
- IZHOD: Izhod iz trenutnega menija ali funkcije.
- DOMOV: Access the Smart TV home screen.
- P. NAČIN / S. NAČIN: Picture Mode / Sound Mode.
- SUBTITLE / AUDIO / REFRESH: Specific function buttons.
- PLAY/PAUSE, STOP, FF, FB, PREV, NEXT: Nadzor predvajanja medijev.
5. Nastavitev
5.1. Pritrditev stojala za televizor
- Televizor previdno postavite z zaslonom navzdol na mehko, čisto površino, da preprečite poškodbe zaslona.
- Poravnajte dele stojala z ustreznimi režami na spodnji strani televizorja.
- Stojala pritrdite s priloženimi vijaki. Prepričajte se, da so trdno priviti.
- Televizor previdno dvignite in ga postavite na stabilno, ravno površino.
Alternatively, you can use a VESA-compatible wall mount (not included) to mount the TV on a wall. Refer to the wall mount's instructions for installation.
5.2. Priključitev napajanja
Priključite napajalni kabel v vtičnico televizorja, drugi konec pa v stensko vtičnico. Televizor bo preklopil v stanje pripravljenosti.
5.3. Čarovnik za začetno nastavitev
The first time you power on the TV, an initial setup wizard will guide you through basic settings.
- Pritisnite OSTANI V PRIPRAVLJENOSTI gumb na daljinskem upravljalniku za vklop televizorja.
- Follow the on-screen prompts to select your preferred language, country/region, and time zone.
- Omrežna povezava:
- Wi-Fi: Na seznamu izberite svoje omrežje Wi-Fi in vnesite geslo.
- Ethernet: If you connected an Ethernet cable to the RJ45 port, the TV should automatically detect the wired connection.
- Complete any remaining steps in the setup wizard, such as channel scanning (if connecting an antenna/cable).
6. Navodila za uporabo
6.1. Vklop/izklop
- To turn on the TV from standby, press the OSTANI V PRIPRAVLJENOSTI gumb na daljinskem upravljalniku.
- Če želite televizor preklopiti v stanje pripravljenosti, pritisnite OSTANI V PRIPRAVLJENOSTI gumb znova.
6.2. Izbira vhodnega vira
To switch between connected devices (e.g., HDMI, AV, TV tuner):
- Pritisnite VIR gumb na daljinskem upravljalniku.
- Use the Navigation buttons (Gor/Dol) to highlight the desired input source.
- Pritisnite ENTER da potrdite svojo izbiro.
6.3. Nadzor glasnosti in kanala
- Pritisnite GLASNOST + za povečanje glasnosti, GLASNOST - za zmanjšanje glasnosti.
- Pritisnite CH + to go to the next channel, CH - za prehod na prejšnji kanal.
- Use the Number buttons to directly enter a channel number.
- Pritisnite MUTE to temporarily turn off the sound. Press again to restore.
6.4. Funkcije pametnega televizorja (Android 4.4.2)
Your TV runs on Android 4.4.2, providing access to various smart features and applications.
- Pritisnite DOMOV button on the remote to access the Smart TV home screen.
- From the home screen, you can navigate to pre-installed applications or access settings.
- Ensure your TV is connected to the internet via Wi-Fi or Ethernet to utilize online features.
- Use the Navigation buttons and ENTER to select and launch applications.
7. Vzdrževanje
- Čiščenje zaslona: Zaslon nežno obrišite z mehko krpo, ki ne pušča vlaken. Za trdovratne madeže rahlo obrišiteampkrpo obrišite z vodo ali specializiranim čistilom za zaslone (ne pršite neposredno na zaslon).
- Čiščenje kabineta: Za brisanje ohišja televizorja uporabite mehko, suho krpo. Ne uporabljajte abrazivnih čistil ali topil.
- Odstranjevanje prahu: Redno čistite prah iz prezračevalnih odprtin na zadnji strani televizorja, da preprečite pregrevanje.
- Napajalni kabel: Periodically check the power cord for any damage. If damaged, contact service personnel for replacement.
8. Odpravljanje težav
| Težava | Možen vzrok | rešitev |
|---|---|---|
| Brez moči | Napajalni kabel ni priključen; vtičnica ne deluje. | Prepričajte se, da je napajalni kabel varno priključen. Preizkusite vtičnico z drugo napravo. |
| Ni slike, vendar je zvok prisoten | Izbran je napačen vhodni vir; Težava z osvetlitvijo ozadja. | Pritisnite VIR button to select the correct input. Check picture settings. |
| Ni zvoka, vendar je slika prisotna | Volume is muted or too low; Audio cables not connected properly. | Pritisnite MUTE or increase volume. Check audio cable connections. |
| Daljinski upravljalnik ne deluje | Baterije so prazne ali nepravilno vstavljene; Ovira med daljinskim upravljalnikom in televizorjem. | Zamenjajte baterije. Zagotovite si linijo vidnega polja z IR sprejemnikom televizorja. |
| Ni mogoče vzpostaviti povezave z Wi-Fi | Napačno geslo; Težava z usmerjevalnikom; TV predaleč od usmerjevalnika. | Verify Wi-Fi password. Restart router. Move TV closer or use Ethernet. |
9. Specifikacije
| Funkcija | Podrobnost |
|---|---|
| Znamka | ATA |
| Številka modela | 43S1 (ATA43FOS) |
| Velikost zaslona | 43 palcev |
| Vrsta zaslona | LED FHD |
| Resolucija | 1920 x 1080 (Full HD) |
| Hitrost osveževanja | 60 Hz |
| Operacijski sistem | Android 4.4.2 |
| Tehnologija povezljivosti | HDMI (x3), USB (x2), VGA, Ethernet (RJ45) |
| Posebne lastnosti | Smart TV functionality, Flat Screen |
| Mere izdelka (D x Š x V) | 9 x 96.5 x 56 cm |
| Teža predmeta | 6.01 kg |
| Vključene komponente | TV, stojalo |
10. Garancija in podpora
For warranty information, please refer to the warranty card included with your product or contact your local ATA authorized dealer or service center. Keep your purchase receipt as proof of purchase for warranty claims.
For technical support or service inquiries, please contact ATA customer service through their official webspletnega mesta ali kontaktnih podatkov, navedenih v dokumentaciji izdelka.


