1. Izdelek je končanview
The Thlevel 20A 12V/24V Solar Charge Controller is designed to manage the power flow from your solar panel to your battery, ensuring efficient charging and protecting the battery from overcharge and over-discharge. It features a clear LCD display for monitoring system status and adjustable parameters for various battery types and load requirements. This controller is suitable for home, commercial, and industrial solar power systems.

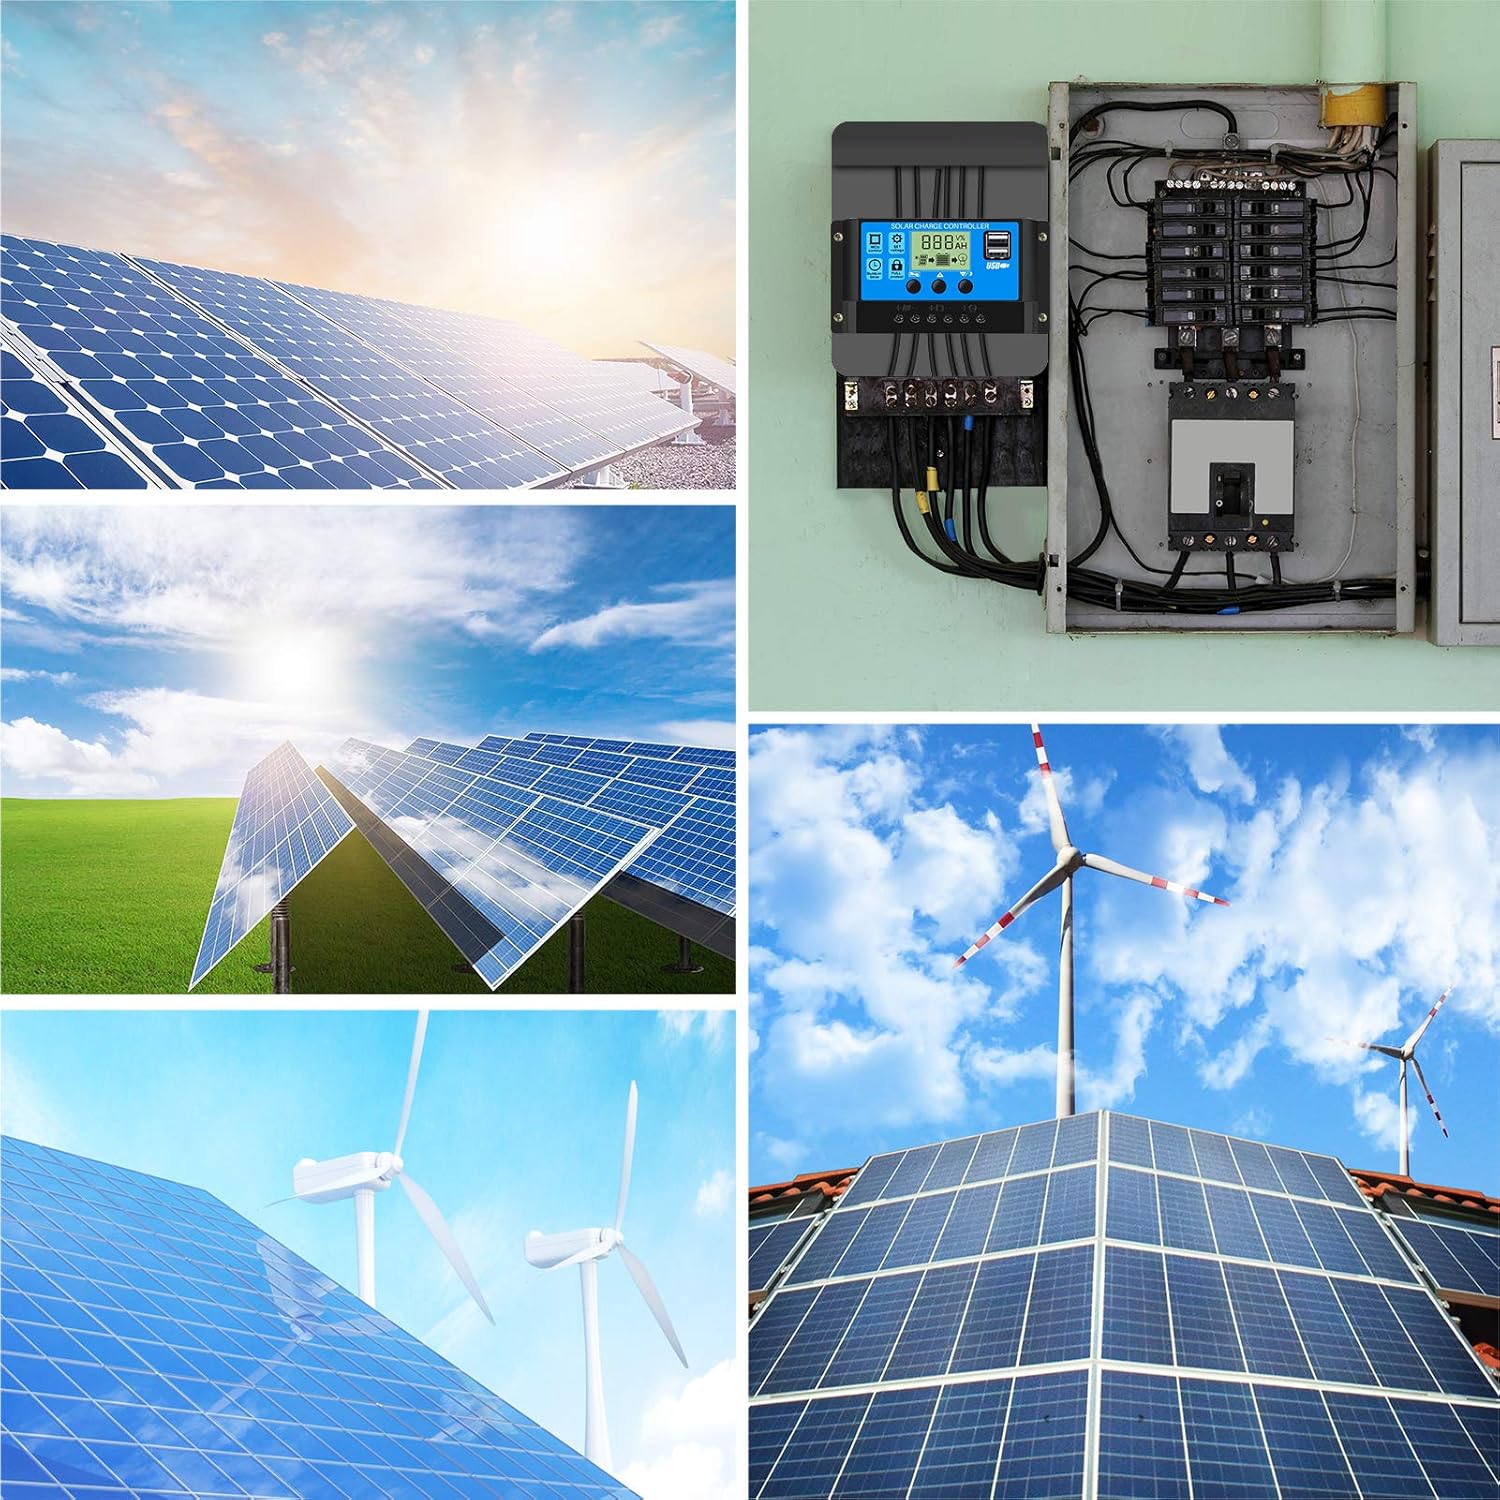
Figure 1: Thlevel 20A 12V/24V Solar Charge Controller front view.
Ključne značilnosti:
- Polnilni tok: 20 A; USB izhod: 5V/2A max; Baterija Voltage: 12V/24V auto-identification.
- Celovita varnostna zaščita: Built-in short-circuit protection, open-circuit protection, reverse connection protection, and overload protection.
- Advanced Charge Management: Features 3-level PWM charge management for optimal battery health.
- Nastavljivi parametri: Integrated industrial micro-controller allows for adjustable charge and discharge parameters, and configurable load operating modes.
- Učinkovito odvajanje toplote: Dual MOS reverse current protection ensures low heat generation and high reliability.
- Uporabniku prijazen vmesnik: LCD screen displays real-time status and data, making setup and operation straightforward.
2. Installation and System Connection
Follow these steps for proper installation. Ensure all connections are secure and correct to prevent damage to the controller or other components. Always connect the battery first.

Slika 2: Diagram sistemske povezave.
- Connect Battery (1): Connect the battery to the charge controller first. Ensure correct polarity (+ to + and - to -). The controller will automatically detect 12V or 24V battery systems.
- Connect Solar Panels (2): Connect the solar panel(s) to the charge controller. Again, observe correct polarity.
- Connect DC Load (3 - Optional): Connect your DC loads (e.g., LED lights) to the controller's load terminals. Ensure correct polarity.
- Connect Inverter (4 - Optional): If using an inverter for AC loads, connect it to the battery terminals. The inverter should not be connected directly to the load terminals of the controller.
Pomembna opomba: Connect in strict accordance with the sequence: 1. Battery, 2. Solar Panel, 3. Load. Disassembly should be in the reverse order to prevent damage.
Montaža:
- Mount the controller on a vertical surface to allow for proper heat dissipation.
- Ensure adequate clearance around the controller for air circulation.
- Avoid mounting in direct sunlight, high temperatures, or areas prone to water exposure.
3. Delovanje in nastavitve
The controller features an LCD display and three buttons for navigation and parameter adjustment.
3.1. Vmesnik LCD zaslona

Figure 3: LCD Display and Button Functions.
- Gumb MENU: Short press to switch between display interfaces. Long press (3-5 seconds) to enter or exit parameter setting mode.
- Gumb GOR: In parameter setting mode, press once to increase the parameter value.
- DOWN/ON/OFF Button: In parameter setting mode, press once to decrease the parameter value. In normal display mode, press to turn the load on or off.
The LCD displays various information including voltage, ampere-hour, load output status, battery status, and solar panel charging light indicators (On: Direct/Boost Charge; Slowly Flash: Float Charge).
3.2. Nastavitve parametrov
To adjust parameters, long press the MENI button for 3-5 seconds to enter the setting interface. Use the UP in DOL buttons to modify values. Long press the MENI button again to save and exit, or long press DOL to restore default parameters.

Figure 4: Parameter Setting Flow.
The common adjustable parameters include:
- Float Voltage: Voltage at which the battery is maintained after full charge.
- Izpraznitev Ponovna povezava Voltage: Voltage at which the load will reconnect after low voltage odklop.
- Izpust Stop Voltage: Voltage, pri katerem se bo obremenitev odklopila, da se baterija zaščiti pred prekomernim praznjenjem.
- Način dela: Configures how the load operates (e.g., 24 hours, dusk to dawn, timed).
- Vrsta baterije: Select the battery type (e.g., B01 for GEL, B02 for Sealed, B03 for Flood). This controller is only applicable to lead-acid batteries (Open type, VRLA, GEL, etc.).
4. Vzdrževanje
Redno vzdrževanje zagotavlja optimalno delovanje in dolgo življenjsko dobo vašega solarnega regulatorja polnjenja.
- Čistoča: Krmilnik naj bo čist in brez prahu ter umazanije. Za čiščenje uporabljajte suho krpo.
- Povezave: Periodically check all wiring connections to ensure they are tight and free from corrosion. Loose connections can cause overheating and damage.
- Prezračevanje: Prepričajte se, da prezračevalne odprtine niso blokirane, da se zagotovi pravilno odvajanje toplote.
- Okoljski pogoji: Verify that the controller is operating within its specified temperature and humidity ranges.
- Zdravje baterije: Spremljajte stanje in glasnost baterijetage regularly. A healthy battery is crucial for the overall system performance.
5. Troubleshooting and Safety Protections
The Thlevel solar charge controller is equipped with multiple safety features to protect itself and your solar power system. Understanding these protections can help in basic troubleshooting.

Figure 5: Built-in Security Protections.
- Zaščita pred kratkim stikom: Automatically disconnects if a short circuit is detected in the load or solar panel circuit. Check wiring for shorts.
- Zaščita pred preobremenitvijo: Disconnects the load if the current exceeds the rated capacity (20A). Reduce the load or use a higher-rated controller.
- Zaščita pred pretokom: Similar to overload, protects against excessive current flow.
- Zaščita pred prekomernim polnjenjem: Stops charging the battery once it reaches the set overcharge voltage, preventing damage.
- Pod-voltage Zaščita: Disconnects the load when the battery voltage drops below the set under-voltage threshold, protecting the battery from deep discharge.
- Nad-zvtage Zaščita: Protects the system from excessively high voltage vhodi.
- Zaščita pred povratno polarnostjo: Protects the controller from damage if the battery or solar panel connections are reversed. However, always ensure correct polarity during installation.
Pogoste težave:
- Brez zaslona/brez napajanja: Preverite povezave akumulatorja in se prepričajte, da je akumulator dovolj napolnjen.
- Baterija se ne polni: Verify solar panel connections, ensure panels are receiving sunlight, and check for any shading. Confirm battery type setting is correct.
- Nalaganje ne deluje: Check load connections, ensure the load is within the controller's current limits, and verify the load work mode settings. The battery might be too low (under-voltage protection activated).
6. Tehnične specifikacije
Slika 6: Dimenzije izdelka.
| Funkcija | Specifikacija |
|---|---|
| Nazivni polnilni tok | 20A |
| USB izhod | 5 V/2 A (maks.) |
| Baterija Voltage | 12V/24V (Auto-identification) |
| Največja PV vhodna glasnosttage | 50 V |
| Največja vhodna moč PV | 260 W (12 V), 520 W (24 V) |
| Dimenzije (D x Š x V) | 13.3 x 7 x 3.5 cm (5.23 x 2.75 x 1.38 palca) |
| Teža | 132 gramov |
| Material | Plastika |
| Vrsta zaslona | LCD |
| Delovna temperatura | -35°C do +60°C |
7. Varnostne informacije
Please read and follow all safety instructions carefully before installation and operation.
- This controller is designed for 12V/24V lead-acid batteries only (GEL, Sealed, Flooded). Do not use with other battery types (e.g., Lithium-ion) unless explicitly stated by the manufacturer.
- Ensure all wiring is correctly polarized before connecting. Incorrect polarity can damage the controller and other components.
- Install the controller in a well-ventilated, dry, and cool environment, away from flammable materials and corrosive gases.
- Krmilnika ne poskušajte razstavljati ali popravljati sami. Za servis se obrnite na usposobljeno osebje.
- Otroke hranite stran od komponent sončnega sistema.
- Med namestitvijo nosite ustrezno osebno zaščitno opremo (OZO), kot so rokavice in zaščita za oči.
8. Garancija in podpora
This product is manufactured by Thlevel. For warranty information or technical support, please refer to the retailer or contact Thlevel customer service directly. Keep your purchase receipt as proof of purchase.
While specific warranty details are not provided in this manual, most electronic devices come with a standard manufacturer's warranty covering defects in materials and workmanship under normal use.