
1. Uvod
Hvala za nakupasing the WulaWindy Digital Mirror Surface Alarm Clock. This device features a large LED display, dual USB charging ports, adjustable brightness, and a snooze function. Please read this manual carefully to ensure proper use and maintenance of your alarm clock.
2. Varnostne informacije
- Naprave ne izpostavljajte ekstremnim temperaturam, neposredni sončni svetlobi ali visoki vlažnosti.
- Izogibajte se padcem ali izpostavljanju naprave močnim udarcem.
- Uporabljajte samo navedeni napajalnik.
- Hraniti izven dosega otrok.
- Naprave ne poskušajte razstavljati ali popravljati sami. Obrnite se na usposobljeno servisno osebje.
3. Vsebina paketa
- WulaWindy Digital Mirror Surface Alarm Clock
- Napajalni adapter
- Uporabniški priročnik
4. Izdelek je končanview
Familiarize yourself with the alarm clock's components and controls.

Slika: Konecview of the alarm clock, highlighting the SNOOZE, MODE, UP, DOWN buttons on top, the dimmer control on the side, and the input port, USB ports, and battery compartment on the back. Dimensions are also indicated.
- Sprednji zaslon: Large LED time display with mirror surface.
- Zgornji gumbi: SNOOZE, MODE, UP, DOWN.
- Stran: Dimmer Control knob.
- Nazaj: Power Input port, Dual USB charging ports, Battery Compartment.
5. Nastavitev
5.1 Napajalni priključek
Connect the provided power adapter to the 'Input port' on the back of the alarm clock and plug it into a standard wall outlet. The display will light up.
5.2 Battery Installation (Optional Backup)
For time memory backup during power outages, install 3 AAA batteries (not included) into the 'Battery Jar' compartment on the back of the clock. The clock will not operate solely on battery power; batteries are for backup only.
6. Navodila za uporabo
6.1 Nastavitev časa
- Press and hold the 'MODE' button until the hour digits begin to flash.
- Use the 'UP' and 'DOWN' buttons to adjust the hour.
- Press 'MODE' again to switch to minute adjustment.
- Use the 'UP' and 'DOWN' buttons to adjust the minutes.
- Press 'MODE' once more to confirm and exit time setting.
6.2 Nastavitev alarma
- Press the 'MODE' button once to enter alarm setting mode. The 'AL' indicator will appear.
- Press and hold 'MODE' until the alarm hour digits flash.
- Z gumboma »GOR« in »DOL« nastavite želeno uro budilke.
- Press 'MODE' again to switch to alarm minute adjustment.
- Use the 'UP' and 'DOWN' buttons to set the desired alarm minutes.
- Press 'MODE' to confirm. The 'AL' indicator will remain lit, indicating the alarm is active.
- To deactivate the alarm, press the 'MODE' button until the 'AL' indicator disappears.

Image: The WulaWindy Digital Mirror Surface Alarm Clock showing the time, demonstrating its clear display and mirror functionality.
6.3 Funkcija dremeža
When the alarm sounds, press the 'SNOOZE' button to temporarily silence the alarm. The alarm will sound again after a set snooze interval (typically 5-10 minutes). To turn off the alarm completely, press any other button.
6.4 Svetlost zaslona (zatemnitev)
Rotate the 'DIMMER CONTROL' knob located on the side of the clock to adjust the display brightness. This allows you to customize the light intensity to your preference, preventing it from being too bright at night.
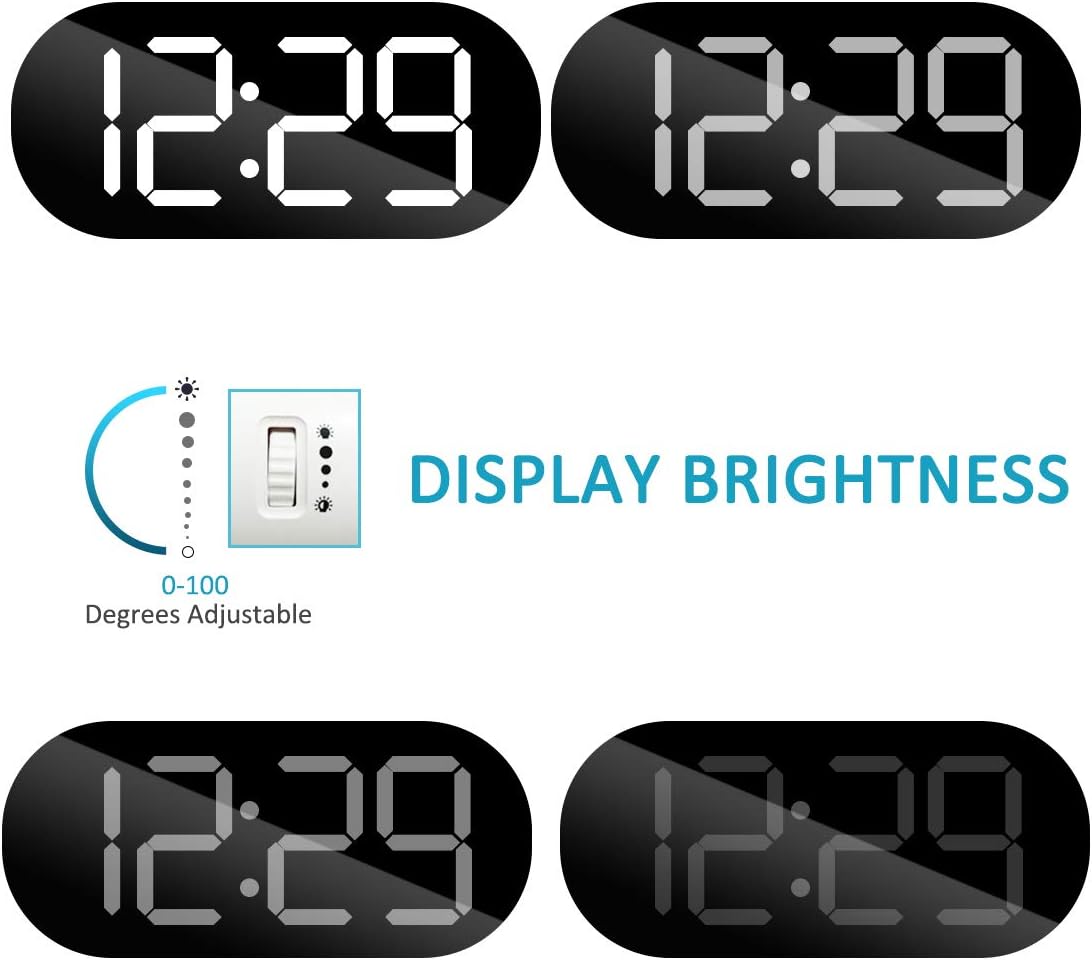
Image: Visual representation of the dimmer function, illustrating the adjustable brightness levels from 0 to 100 degrees.
6.5 Dvojna vrata za polnjenje USB
The alarm clock features two USB charging ports on the back. You can use these ports to charge your mobile phones or other smart devices simultaneously. Note: USB charging cables are not included.

Image: The alarm clock with two smartphones plugged into its dual USB charging ports, demonstrating its charging capability.
7. Vzdrževanje
- Clean the mirror surface and body with a soft, dry cloth.
- Ne uporabljajte abrazivnih čistil ali topil.
- Pred čiščenjem se prepričajte, da je naprava izklopljena.
8. Odpravljanje težav
- Ura se ne prikazuje: Ensure the power adapter is securely connected to both the clock and a working power outlet. Check if backup batteries are installed correctly.
- Alarm se ne oglasi: Verify that the alarm is set and the 'AL' indicator is visible on the display. Ensure the volume is not set to minimum (if applicable).
- Vrata USB se ne polnijo: Confirm the clock is powered on. Check if the USB cables are properly connected to both the device and the clock. Ensure the device being charged is compatible.
- Display too bright/dim: Adjust the 'DIMMER CONTROL' knob on the side of the clock.
9. Specifikacije
| Znamka | WulaWindy |
| Model | B07RNLNTRD |
| barva | Bela |
| Vrsta zaslona | Digitalna LED |
| Posebne lastnosti | Adjustable Brightness, Alarm, Snooze, Dual USB Charger |
| Dimenzije izdelka | 6.7 cm Š x 6.89 cm V |
| Vir napajanja | Corded Electric (Battery Powered for backup) |
| Zahteva za baterijo | 3 AAA baterije (niso vključene) |
| Material | Akrilonitril butadien stiren |
10. Garancija in podpora
For warranty information or technical support, please refer to the product packaging or contact WulaWindy customer service directly. Keep your purchase receipt for proof of purchase.