1. Uvod
This manual provides essential information for the safe and efficient use of your Alienware AW3418DW 34.1-inch Curved Gaming Monitor. This monitor features a WQHD (3440x1440) resolution, a 120Hz refresh rate (overclocked), and NVIDIA G-SYNC technology for an immersive gaming experience. Please read this manual thoroughly before operating the device.
2. Varnostne informacije
- Always disconnect the power cable from the wall outlet before cleaning the monitor.
- Monitorja ne izpostavljajte dežju ali vlagi, da preprečite nevarnost požara ali električnega udara.
- Ne odpirajte monitorja casing. V notranjosti ni delov, ki bi jih lahko uporabnik popravil. Vsa servisna dela prepustite usposobljenemu serviserju.
- Monitor postavite na stabilno, ravno površino, da preprečite njegov padec.
- Zagotovite ustrezno prezračevanje okoli monitorja. Ne blokirajte prezračevalnih odprtin.
- Uporabljajte samo napajalnik in kable, ki so priloženi monitorju.
3. Vsebina paketa
Preverite, ali so v paketu prisotne vse komponente:
- Monitor Alienware AW3418DW
- Stojalo za monitor (podstavek in dvižni element)
- Napajalni kabel
- Kabel DisplayPort
- HDMI kabel
- USB 3.0 navzgornji kabel
- Dokumentacija (Vodnik za hitro namestitev, Varnostne informacije)
4. Nastavitev
4.1 Fizična postavitev
Carefully remove the monitor and its components from the packaging. Place the monitor face down on a soft cloth or cushion to prevent scratches.
Pritrditev stojala
- Attach the stand riser to the monitor panel until it clicks into place.
- Attach the stand base to the stand riser and tighten the captive screw.

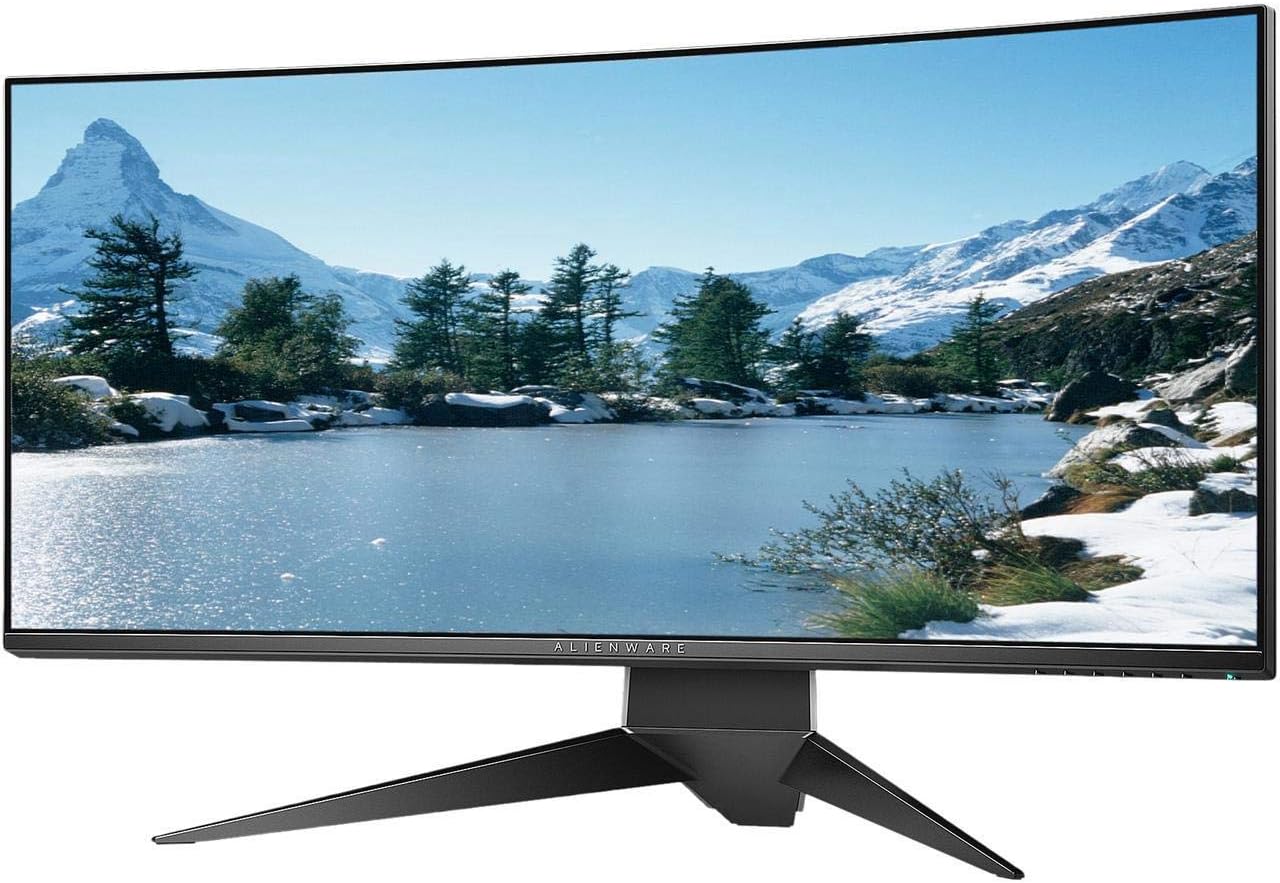
Slika 4.1: Spredaj view of the Alienware AW3418DW monitor with its stand attached.

Slika 4.2: stran view of the Alienware AW3418DW monitor with its stand.
Slika 4.3: Zadaj view of the Alienware AW3418DW monitor showing the stand and AlienFX lighting.
VESA pritrditev
The monitor supports VESA mounting (100 x 100 mm). Remove the stand riser by pressing the release button and then attach the VESA-compatible mount to the monitor using appropriate screws. Ensure the mount can support the monitor's weight of 26.1 pounds (without stand).

Figure 4.4: Monitor dimensions for VESA mount compatibility.
4.2 Povezovalni kabli
Priključite potrebne kable na monitor in računalnik.
- Napajalni kabel: Connect the power cable to the monitor's power port and then to a wall outlet.
- Video kabel: Connect either the DisplayPort cable or the HDMI cable from your computer's graphics card to the corresponding port on the monitor. For optimal performance, especially for 120Hz refresh rate and G-SYNC, use the DisplayPort connection.
- Kabel USB za prenos v smeri navzgor: Connect the USB 3.0 upstream cable from your computer to the monitor's upstream USB port to enable the monitor's USB hub functionality.
- Vrata USB Downstream: Connect your USB devices (e.g., keyboard, mouse, webcam) to the four USB 3.0 downstream ports on the monitor.
5. Navodila za uporabo
5.1 Vklop/izklop
Pritisnite gumb za vklop na monitorju, da ga vklopite ali izklopite. LED lučka za napajanje bo prikazovala stanje monitorja.
5.2 Navigacija po zaslonskem meniju (OSD)
The On-Screen Display (OSD) menu allows you to adjust various monitor settings. Use the control buttons, typically located on the bottom right or rear of the monitor, to navigate the OSD.
- Pritisnite kontrolni gumb, da aktivirate zaslonski meni.
- Use the navigation buttons (up/down/left/right) to move through menu options.
- Pritisnite gumb za izbiro, da potrdite izbiro ali vstopite v podmeni.
- Za vrnitev v prejšnji meni ali izhod iz zaslonskega menija uporabite gumb za nazaj/izhod.
5.3 Nastavitve zaslona
Prilagodite nastavitve zaslona za optimalno viewing and gaming performance.
- Resolucija: Set your computer's display resolution to 3440x1440 for the native WQHD experience.
- Hitrost osveževanja: The monitor supports up to 120Hz refresh rate (overclocked). Ensure your graphics card drivers are updated and the refresh rate is set in your operating system's display settings or graphics control panel.
- NVIDIA G-SYNC: For tear-free and smooth gameplay, enable G-SYNC in your NVIDIA Control Panel. This feature synchronizes the monitor's refresh rate with your GPU's frame rate.
- Svetlost/kontrast: Adjust these settings in the OSD menu to suit your environment and preference.
5.4 AlienFX Lighting
Customize the AlienFX lighting zones on your monitor through the OSD menu or Alienware Command Center software (if installed on your PC). You can select colors, effects, and synchronize lighting with other Alienware devices.
5.5 Uporaba USB-vozlišča
The monitor acts as a USB 3.0 hub, providing convenient access to four downstream USB ports for connecting peripherals. Ensure the USB upstream cable is connected to your computer for this feature to function.
6. Vzdrževanje
6.1 Čiščenje monitorja
- Pred čiščenjem vedno izključite monitor iz električne vtičnice.
- Narahlo uporabite mehko krpo, ki ne pušča vlaken dampz vodo ali neabrazivnim čistilom za zaslone.
- Čistila ne pršite neposredno na zaslon.
- Zaslon nežno obrišite, da odstranite prah in madeže.
- Očistite zunanjost casinz mehko, suho krpo.
6.2 Shranjevanje
If storing the monitor for an extended period, disconnect all cables, carefully disassemble the stand (if applicable), and store it in its original packaging in a cool, dry place.
7. Odpravljanje težav
Če imate težave z monitorjem, si oglejte naslednje pogoste korake za odpravljanje težav:
- Brez zaslona: Ensure all power and video cables are securely connected. Check if the monitor is powered on and the correct input source is selected in the OSD.
- Utripanje/zatikanje: Verify that your graphics drivers are up to date. Ensure G-SYNC is properly configured in the NVIDIA Control Panel. Check for interference from other electronic devices.
- Nepravilna ločljivost/hitrost osveževanja: Adjust the display settings in your operating system or graphics control panel to the native resolution (3440x1440) and desired refresh rate (up to 120Hz).
- Mrtve slikovne pike: The Alienware AW3418DW comes with a Premium Panel Guarantee. Refer to the warranty information for details on pixel policy.
- Vrata USB ne delujejo: Prepričajte se, da je kabel USB 3.0 za prenos v smeri navzgor priključen na monitor in računalnik.
8. Specifikacije
| Funkcija | Specifikacija |
|---|---|
| Znamka | Alienware |
| Številka modela | AW3418DW |
| Velikost zaslona | 34.1 palcev |
| Resolucija | WQHD (3440 x 1440 slikovnih pik) |
| Razmerje stranic | 21:9 |
| Hitrost osveževanja | 120 Hz (Overclocked) |
| Odzivni čas | 4 milisekund |
| Tehnologija prilagodljive sinhronizacije | NVIDIA G-SYNC |
| Vrsta zaslona | LED IPS |
| Ukrivljenost | 1900R |
| Svetlost | 300 cd/m² |
| Kontrastno razmerje | 1000:1 |
| Viewkota | 178 stopinj |
| Povezljivost | 1x DisplayPort (1.2), 1x HDMI (1.4), 4x USB 3.0 Downstream, 1x USB 3.0 Upstream |
| Teža predmeta | 26.1 funtov (brez stojala) |
| Vrsta namestitve | VESA Compatible (100 x 100 mm) |
9. Garancija in podpora
Your Alienware AW3418DW monitor is covered by a 3 Years Limited Hardware Warranty in 3 Years Advance Exchange Service, vključno z a Premium Panel Guarantee. The Premium Panel Guarantee ensures a free panel replacement during the limited hardware warranty period even if only one bright pixel is found.
For technical support, warranty claims, or additional information, please visit the official Alienware or Dell support website. You may also find updated drivers and firmware there.
Spletna podpora: www.dell.com/support