1. Uvod
The TeckNet TK-WR177A1 is a versatile wireless device designed to extend the coverage and improve the signal strength of an existing wireless network. It supports 300Mbps wireless N speeds and features a compact, wall-mounted design for flexible placement. This device can function as a Wireless Repeater or a Wireless Access Point (AP). Additionally, its Ethernet port allows it to act as a wireless adapter, enabling wired devices to connect to a wireless network.
2. Vsebina paketa
Prosimo, da natančno preverite vsebino paketa. Če kateri koli predmet manjka ali je poškodovan, se obrnite na prodajalca.
- TeckNet TK-WR177A1 Wireless-N Repeater/AP
- Ethernet kabel
- Quick Installation Guide (This document serves as a detailed guide)

Image: TeckNet TK-WR177A1 product packaging. The box shows the model number WR177A1 and "UK WiFi Repeater".
3. Izdelek je končanview
Familiarize yourself with the physical features of your TeckNet TK-WR177A1 device.
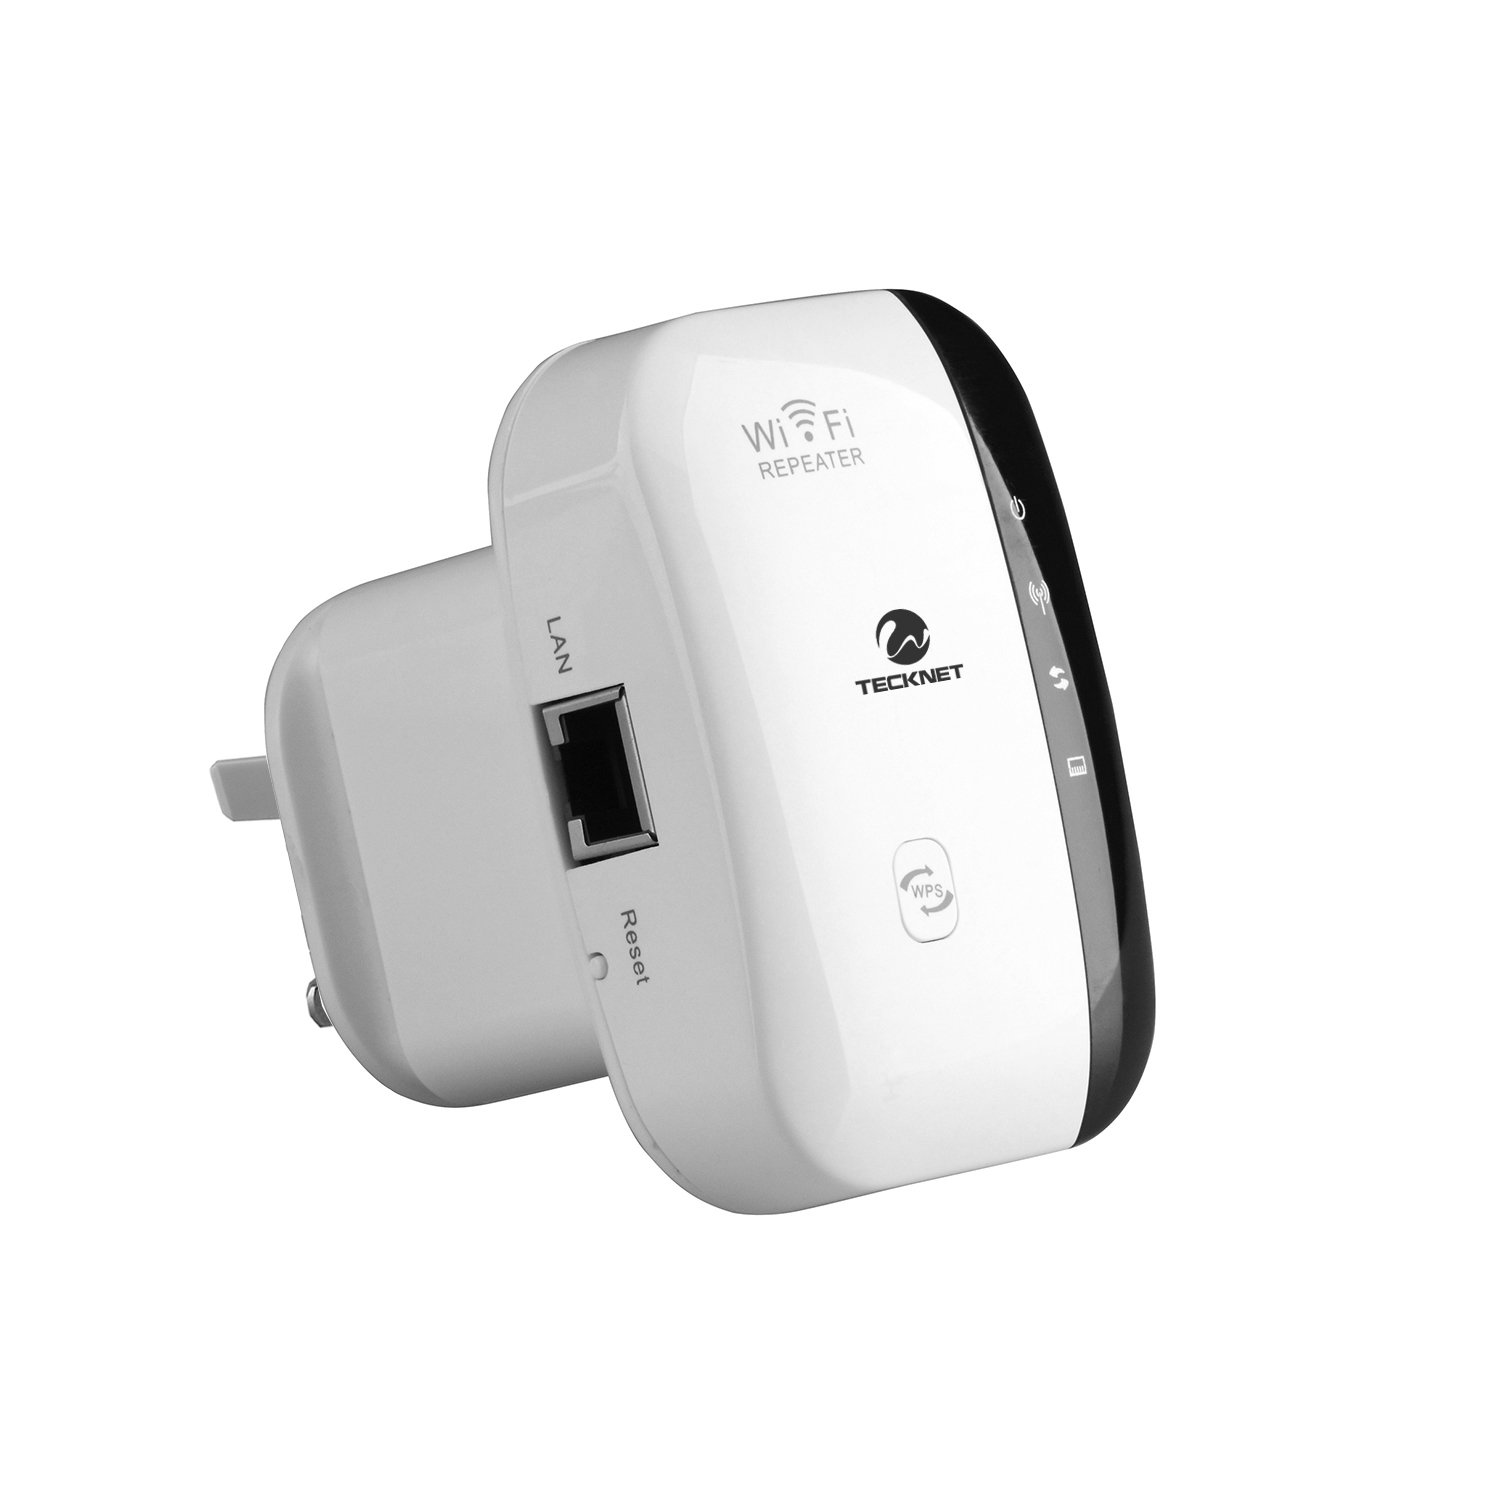
Slika: spredaj view of the TeckNet TK-WR177A1 Wireless-N Repeater. It features a white casing with a black central strip containing LED indicators and buttons, including a WPS button at the bottom.
3.1. LED Indicators and Buttons
- LED za napajanje: Označuje, da je naprava vklopljena.
- WLAN LED: Označuje brezžično aktivnost.
- LAN LED: Indicates Ethernet port activity.
- Gumb WPS: Used for quick, secure connection to a router via Wi-Fi Protected Setup.
- Gumb za ponastavitev: Used to restore the device to factory default settings. (Located on the side, recessed).

Slika: Stran view of the TeckNet TK-WR177A1, highlighting the LAN (Ethernet) port and the recessed Reset button.
3.2. Vrata Ethernet
The device includes one 10/100Mbps Auto-negotiation Ethernet LAN port. This port can be used for:
- Connecting a wired device (e.g., PC, smart TV, gaming console) to the wireless network when the TK-WR177A1 is in Repeater mode.
- Connecting the device to a router/modem to function as a Wireless Access Point (AP mode).

Image: TeckNet TK-WR177A1 with an Ethernet cable connected to its LAN port, demonstrating its wired connectivity.
4. Nastavitev in konfiguracija
The TeckNet TK-WR177A1 supports two main operating modes: Wireless Repeater and Wireless Access Point (AP). It also features a convenient WPS setup.
4.1. Quick Setup using WPS (Wi-Fi Protected Setup)
WPS allows for a quick and secure connection without manual configuration. Ensure your main router supports WPS.
- Plug the TK-WR177A1 into a power outlet near your main wireless router.
- Wait for the Power LED to become solid.
- Press the WPS button on your main wireless router.
- Within 2 minutes, press the WPS button on the TK-WR177A1.
- The WLAN LED on the TK-WR177A1 will flash during the connection process and then become solid when successfully connected.
- Once connected, you can unplug the TK-WR177A1 and relocate it to a desired area within the wireless range of your main router. No re-configuration is needed.
4.2. Ročna nastavitev (Web brskalnik)
If your router does not support WPS, or for advanced configuration, use the web metoda brskalnika.
- Plug the TK-WR177A1 into a power outlet.
- Connect your computer to the TK-WR177A1 using an Ethernet cable (recommended for initial setup) or wirelessly connect to the default Wi-Fi network broadcast by the repeater (e.g., "Wireless-N").
- Odpri a web brskalnik in vnesite privzeti IP-naslov: 192.168.10.1. (This information is often found on a label on the device itself).
- Vnesite privzeto uporabniško ime in geslo (običajno admin/admin or similar, check the device label).
- Follow the on-screen setup wizard to configure the device in either Repeater or AP mode.

Slika: Nazaj view of the TeckNet TK-WR177A1, showing the product label with default IP address (192.168.10.1) and user/password information.
5. Načini delovanja
5.1. Način ponavljalnika
In Repeater mode, the TK-WR177A1 extends the range of your existing wireless network. It receives the wireless signal from your main router and re-broadcasts it, effectively eliminating Wi-Fi dead zones. The Ethernet port can be used to connect a wired device to the extended wireless network.
- Connect to an existing Wi-Fi network.
- Broadcasts an extended Wi-Fi network with the same or a different SSID.
- Provides network access to wired devices via its LAN port.
5.2. Način dostopne točke (AP)
In AP mode, the TK-WR177A1 transforms a wired network connection into a wireless one. This is useful for adding Wi-Fi capability to a wired-only router or network switch.
- Connect the TK-WR177A1's LAN port to your wired router/modem using an Ethernet cable.
- The device will then broadcast a new wireless network, allowing wireless devices to connect to your wired network.
6. Vzdrževanje
6.1. Ponastavitev naprave
If the device is not functioning correctly or you forget your login credentials, you can restore it to factory default settings.
- With the device powered on, use a paperclip or a thin object to press and hold the recessed Ponastavi gumb približno 5–10 sekunde.
- Release the button when the LEDs flash. The device will restart with factory default settings.
6.2. Splošna nega
- Napravo hranite stran od vode, ognja in visokih temperatur.
- Naprave ne poskušajte razstaviti ali popraviti sami.
- Zagotovite ustrezno prezračevanje okoli naprave.
7. Odpravljanje težav
| Težava | rešitev |
|---|---|
| Ni mogoče dostopati do web stran za upravljanje (192.168.10.1). |
|
| No internet access after setting up Repeater mode. |
|
| Povezava WPS ni uspela. |
|
| Počasna hitrost povezave. |
|
8. Specifikacije
| Funkcija | Podrobnost |
|---|---|
| Številka modela | TK-WR177A1 |
| Brezžični standard | IEEE 802.11 b/g/n |
| Frekvenčni pas | 2.4 GHz |
| Hitrost prenosa podatkov | Do 300 Mbps |
| Ethernet vrata | 1 x 10/100Mbps Auto-negotiation LAN Port |
| Varnost | WEP, WPA, WPA-PSK, WPA2, WPA2-PSK (TKIP/AES) |
| Lastnosti | WPS (Wi-Fi Protected Setup), Repeater Mode, AP Mode, Ethernet Bridge |
| Dimenzije | Compact, wall-mounted design |
| Teža | 110 gramov |
9. Varnostne informacije
- Naprave ne izpostavljajte ekstremnim temperaturam, vlagi ali neposredni sončni svetlobi.
- Uporabljajte samo napajalnik, ki ga je priložil ali določil proizvajalec.
- Napravo hranite izven dosega otrok.
- Disconnect the device from power during lightning storms or when unused for long periods.
10. Garancija in podpora
TeckNet products typically come with a limited warranty. Please refer to the warranty card included with your product or visit the official TeckNet website for detailed warranty terms and conditions. For technical support or further assistance, please contact TeckNet customer service through their official channels.