
1. Uvod
The Coby DP772 is a versatile 7-inch widescreen digital photo frame designed to display your digital memories and play audio files. It features an LED-backlit TFT LCD display, ensuring bright and clear image viewing. This device supports various memory card formats, including SD, MMC, xD, and CompactFlash, and includes a USB port for connecting to digital media drives. With integrated stereo speakers, it can play MP3 and WMA audio files, and even combine them with photo slideshows. The DP772 also offers A/V output for connection to home theater systems and comes with interchangeable black and white faceplates to match your decor. It can be used with its included stand or mounted on a wall.
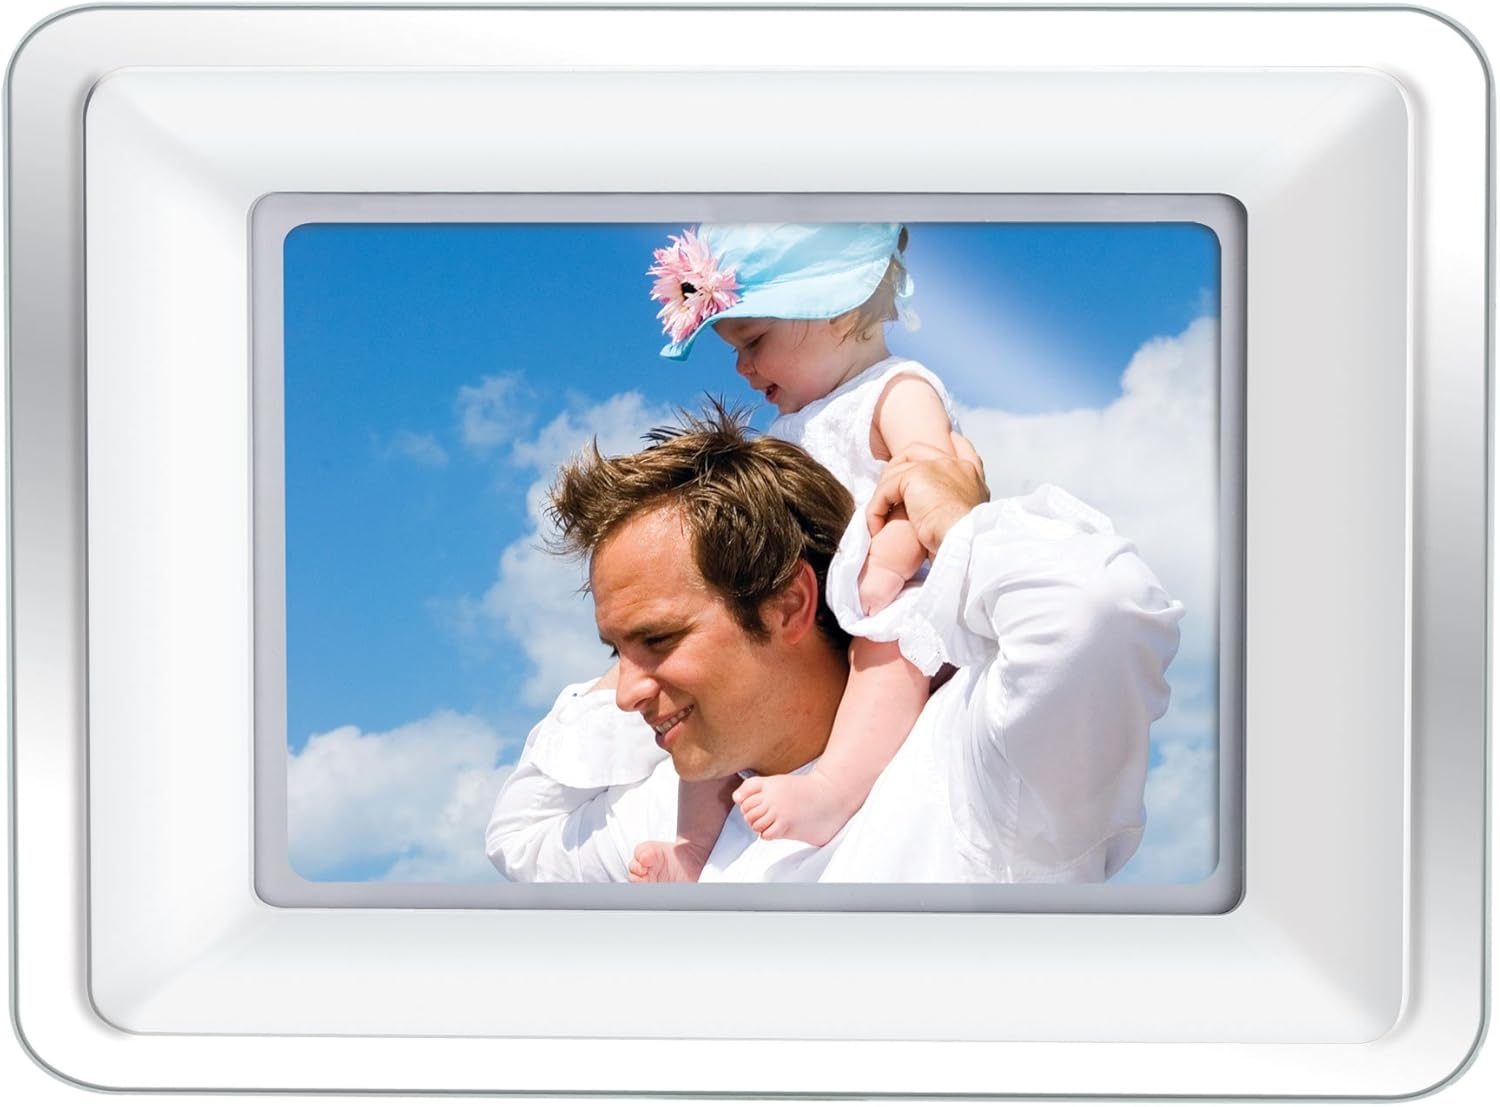
Image 1.1: The Coby DP772 Digital Photo Frame, showcasinrazstavni prostor z družinsko fotografijo.
2. Nastavitev
2.1 Razpakiranje in vsebina
Previdno vzemite vse komponente iz embalaže. Prepričajte se, da so prisotni naslednji elementi:
- Coby DP772 Digital Photo Frame
- AC napajalnik
- Daljinski upravljalnik
- Interchangeable Faceplates (Black and White)
- Namizno stojalo
- Uporabniški priročnik (ta dokument)
2.2 Napajalni priključek
- Connect the AC power adapter to the DC IN port on the back of the photo frame.
- Plug the other end of the adapter into a standard electrical outlet.
- The frame should power on automatically or can be turned on using the power button.
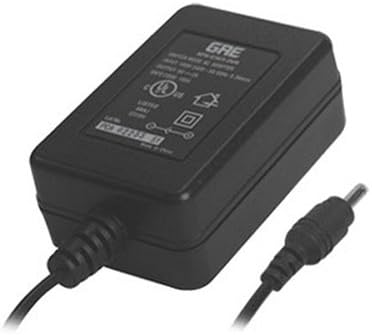
Image 2.1: The AC Power Adapter, essential for powering the device.
2.3 Inserting Memory Cards or USB Devices
The DP772 supports SD, MMC, xD, and CompactFlash memory cards, as well as USB flash drives.
- Locate the memory card slots or USB port on the side or back of the frame.
- Insert your memory card into the appropriate slot, ensuring it is oriented correctly. Do not force the card.
- For USB devices, insert the USB flash drive into the USB port.
- The frame should automatically detect the media and begin displaying content or prompt you to select a mode.
2.4 Pritrditev stojala ali stenskega nosilca
The frame can be displayed on a flat surface using the included stand or mounted on a wall.
- Za namizno uporabo: Attach the provided stand to the designated slot on the back of the frame. Ensure it is securely fastened to provide stable support. The stand allows for both landscape and portrait orientation.
- Za pritrditev na steno: Detach the stand if it is already attached. Use appropriate wall mounting hardware (not included) with the mounting holes on the back of the frame. Ensure the wall can support the weight of the frame.

Image 2.2: The detachable stand, used for tabletop display.
2.5 Changing Faceplates
The DP772 comes with interchangeable black and white faceplates.
- Gently remove the currently attached faceplate by prying it off from the edges.
- Align the desired faceplate (black or white) with the frame and press it firmly into place until it clicks securely.

Image 2.3: The interchangeable black and white faceplates, allowing customization of the frame's appearance.
2.6 Vstavljanje baterij daljinskega upravljalnika
The remote control requires batteries (not included) for operation.
- Poiščite predal za baterije na zadnji strani daljinskega upravljalnika.
- Odprite pokrov predala.
- Insert the required batteries, observing the correct polarity (+/-).
- Trdno zaprite pokrov prostora za baterije.

Image 2.4: The compact remote control for convenient operation of the photo frame.
3. Navodila za uporabo
3.1 Osnovna navigacija
The frame can be operated using the buttons on the unit or the included remote control.
- Gumb za vklop: Vklopi ali izklopi enoto.
- Gumb menija: Dostopi do glavnega menija za nastavitve in možnosti.
- Puščične tipke (gor/dol/levo/desno): Navigate through menus and select files.
- Enter/Play/Pause Button: Confirms selections, plays media, or pauses playback.
- Exit/Stop Button: Returns to the previous screen or stops media playback.
3.2 Photo Playback
- Insert a memory card or USB device containing JPEG or BMP image files.
- If the frame does not automatically enter photo mode, navigate to the 'Photo' option in the main menu and press Enter.
- Use the arrow buttons to browse through your photos.
- Press the Play button to start a slideshow. You can adjust slideshow intervals and transition effects in the settings menu.
3.3 Predvajanje glasbe
- Ensure your memory card or USB device contains MP3 or WMA audio files.
- Navigate to the 'Music' option in the main menu and press Enter.
- Use the arrow buttons to select an audio file ali mapo.
- Press the Play button to begin playback. Use the remote or frame buttons to control volume, skip tracks, or pause.
3.4 Predvajanje videa
The DP772 supports most MP4 and AVI video files.
- Insert a memory card or USB device with compatible video files.
- Navigate to the 'Video' option in the main menu and press Enter.
- Izberite želeni videoposnetek file z uporabo puščičnih gumbov.
- Press the Play button to start the video.
3.5 Slideshow with Music
To enhance your photo slideshows, you can play background music simultaneously.
- Ensure both photo and music files are present on the inserted media.
- Start a photo slideshow as described in section 3.2.
- Access the settings menu (usually via the Menu button) and look for 'Slideshow Music' or a similar option.
- Izberite želeno glasbo file or playlist to accompany your photos.
3.6 Connecting to a TV (A/V Output)
The DP772 features an A/V output for displaying content on a larger screen, such as a television. Note: The A/V cable is not included with the product.
- Obtain a compatible A/V cable (typically a 3.5mm jack to RCA composite video and stereo audio).
- Connect one end of the A/V cable to the A/V OUT port on the photo frame.
- Connect the RCA plugs (yellow for video, red/white for audio) to the corresponding input ports on your television.
- Switch your television's input source to the correct A/V input.
- The content displayed on the photo frame will now be mirrored on your television.
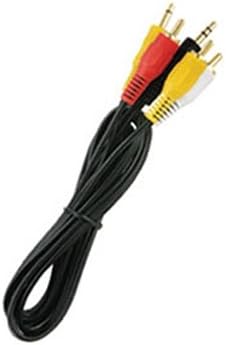
Slika 3.1: Bivšiample of the A/V cable required to connect the photo frame to a television.
4. Vzdrževanje
4.1 Čiščenje okvirja in zaslona
To maintain the appearance and functionality of your Coby DP772, follow these cleaning guidelines:
- zaslon: Use a soft, lint-free cloth specifically designed for electronics screens. Gently wipe the screen to remove dust and fingerprints. For stubborn marks, slightly dampKrpo sperite z vodo ali raztopino za čiščenje zaslona (izogibajte se agresivnim kemikalijam).
- Okvir: Wipe the frame and casing with a soft, dry cloth. Do not use abrasive cleaners or solvents, as these can damage the finish.
- Pred čiščenjem vedno preverite, ali je naprava izklopljena in izklopljena iz električnega omrežja.
4.2 Shranjevanje
If you plan to store the photo frame for an extended period:
- Izklopite napravo in jo izključite iz vira napajanja.
- Remove any memory cards or USB devices.
- Okvir shranjujte na hladnem in suhem mestu, stran od neposredne sončne svetlobe in ekstremnih temperatur.
- Consider storing it in its original packaging or a protective bag to prevent dust accumulation and damage.
5. Odpravljanje težav
This section addresses common issues you might encounter with your Coby DP772.
| Težava | Možen vzrok | rešitev |
|---|---|---|
| Okvir se ne vklopi. | Napajalnik ni priključen ali je pokvarjen. | Ensure the AC adapter is securely plugged into the frame and a working electrical outlet. Try a different outlet. |
| No image or sound. | Nepravilno file format; media not inserted correctly; volume too low. | Verify that image files are JPEG/BMP and audio files are MP3/WMA. Ensure the memory card/USB is fully inserted. Check volume settings. |
| Memory card/USB not recognized. | Card/USB not inserted correctly; incompatible format; corrupted media. | Re-insert the card/USB. Ensure it is a supported type (SD, MMC, xD, CF). Try formatting the card on a computer (this will erase all data). |
| Daljinski upravljalnik ne deluje. | Dead batteries; obstruction; out of range. | Replace batteries in the remote. Ensure there is a clear line of sight between the remote and the frame's IR sensor. Operate within close range. |
| Slaba kakovost slike. | Low resolution of original photos; incorrect aspect ratio. | Use higher resolution photos. For optimal display, consider resizing photos to match the frame's native resolution (e.g., 480x234 pixels) and aspect ratio (16:9 for widescreen). |
6. Specifikacije
Key technical specifications for the Coby DP772 Digital Photo Frame:
- Številka modela: DP772
- Velikost zaslona: 7 palcev
- Vrsta zaslona: TFT LCD with LED Backlighting
- Resolucija: WXGA (480x234 pixels, 16:9 aspect ratio)
- Podprti formati slik: JPEG, BMP
- Podprti zvočni formati: MP3, WMA
- Podprti video formati: Most MP4 and AVI files
- Podpora za pomnilniško kartico: SD, MMC, xD, CompactFlash (CF)
- Povezljivost: USB port, A/V output
- Integrirani zvočniki: ja
- Dimenzije izdelka: 9 x 7 x 2 palcev
- Teža artikla: 2 funtov
- barva: White/Black (interchangeable faceplates)
7. Garancija in podpora
Coby products are manufactured to high-quality standards. For information regarding warranty coverage, please refer to the warranty card included with your product or visit the official Coby webspletnega mesta. Račun shranite kot dokazilo o nakupu za morebitne garancijske zahtevke.
For technical assistance or customer support, please visit the Coby support section on their official webspletno mesto ali se obrnite na njihovo službo za pomoč strankam. Kontaktni podatki so običajno navedeni na embalaži izdelka ali na proizvajalčevem webmesto.